From zero... to your first eighty cards!
Sam Sutherland breaks down his competitive Puffin, Hightail Classic Constructed decklist, complete with sideboard and matchup tips. When a new hero hits the track, the pros get you up to speed with Zero to Eighty!
Puffin is one of the most difficult decks I’ve ever had the pleasure of brewing. The decision of whether or not to boost, the full might of the Pirate talent, and all the bits and doodads provided by the Mechanologist class are all factors which make it a tough nut to crack!
The deck can end up with numerous, wildly different end results, depending on which direction it’s taken. In fact, that’s exactly where I’ve personally ended up within Puffin, with three decks, each with shockingly differing gameplans, card synergies, and position on the spectrum from aggro to control.
I’ve decided to do a deep-dive into the one which I feel shows off the very best High Seas has to offer, as well as utilising a fan-favourite tool from the earliest set in Flesh and Blood.

In the Workshop
When building a new deck, one of the most valuable things to think about initially is what the most powerful things a hero has access to are, and to use this to guide the process. We want to be doing powerful things as often as possible, so we should ensure our deck is constructed to do exactly that.
First of all, Puffin’s hero ability can be split into two parts. The first allows us to convert Gold we control into a Golden Cog, and the second allows us to draw a card the second time we crank each turn. This second ability is what we should focus on here—drawing additional cards is one of the most powerful things in Flesh and Blood. Therefore, we want to be activating this ability as much as possible, while also ensuring the cards we play in order to crank are also generating value themselves.
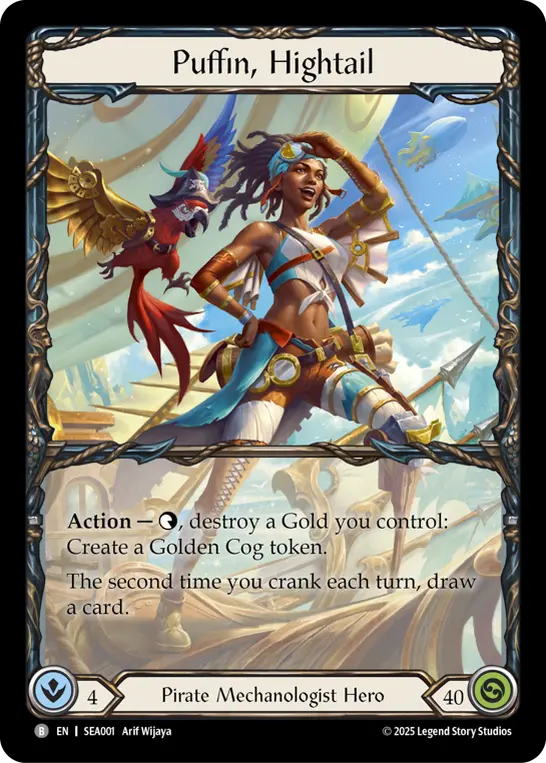
Puffin, Hightail
Gold
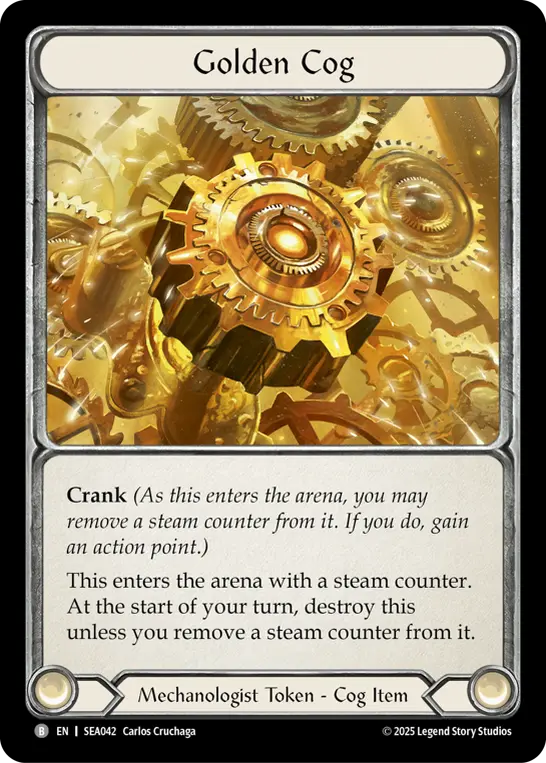
Golden Cog
Cog in the Machine, Cogwerx Workshop, and Copper Cogs all create cogs to amplify the effects of our other cards, such as Spitfire and Cogwerx Dovetail.
Cog in the Machine has the benefit of generating both of our required cranks in one go, effectively drawing a card, generating an additional action point, and creating two cogs, all on the one card! Our weapon lacks go again but has no resource cost, which means that we can always convert this additional action point.
Cogwerx Workshop and Copper Cog also have another benefit: they create cogs which exist for longer than just the current turn cycle, allowing us to utilise their effects later. Setting up a key threat like a Palantir Aeronought in arsenal after playing these cards will put us in a commanding position for the following turn cycle.
Finally, we have access to our beloved bird, Polly Cranka, who starts the game safely on our shoulder. Polly gives us one free crank on the first turn we use him, and then an additional one every turn after that for as long as our opponent doesn't (or can't) kill him. Make sure to crank your bird before the game’s over, he can be worth one or more free cards on his own!
Whenever we intend to draw a card using Puffin’s second ability in a turn, we want to have a plan for how the drawn card will fit into our turn. This might look like leaving the arsenal open for whatever the drawn card might be, or else having a potential pitch outlet we could use in the circumstance that we draw a blue card. Being able to effectively utilise the random card drawn from Puffin is what separates the great Puffin players from the excellent ones.
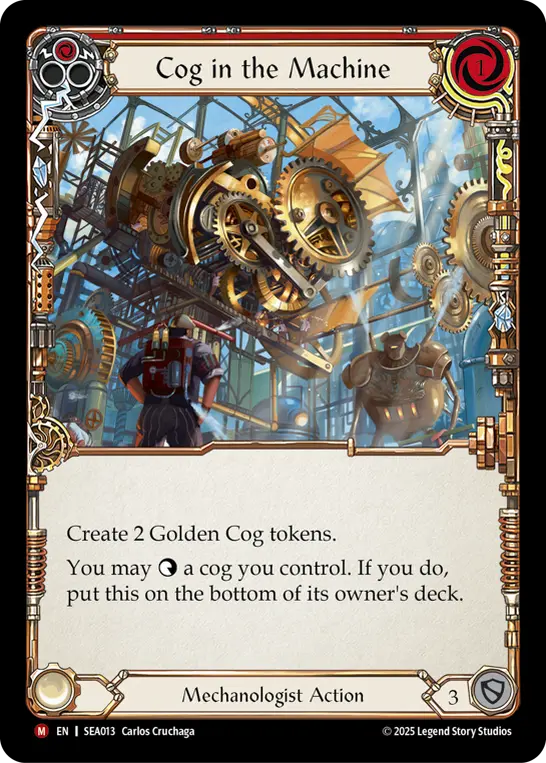
Cog in the Machine
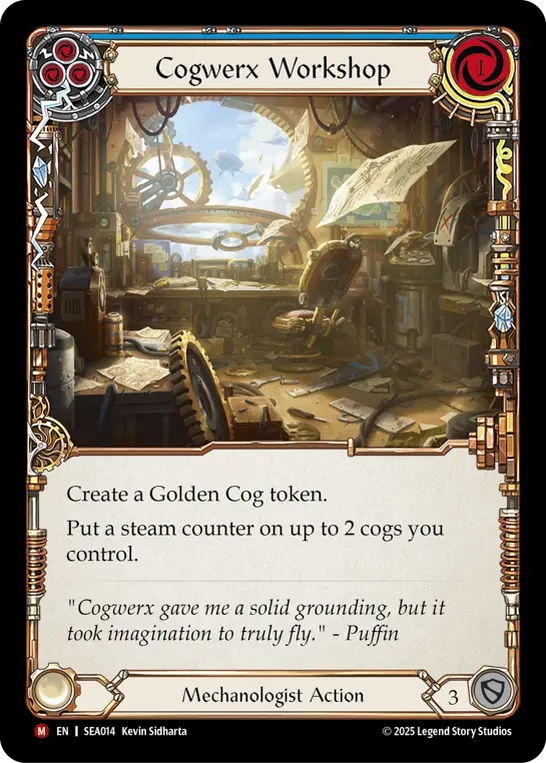
Cogwerx Workshop
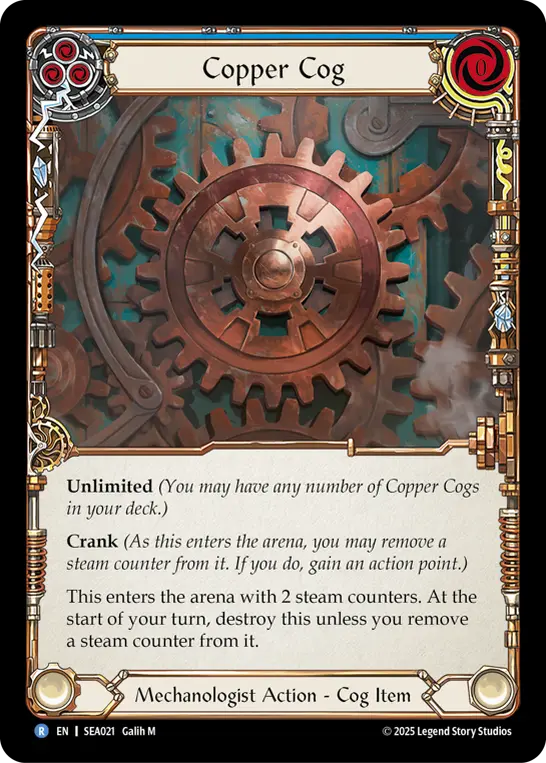
Copper Cog
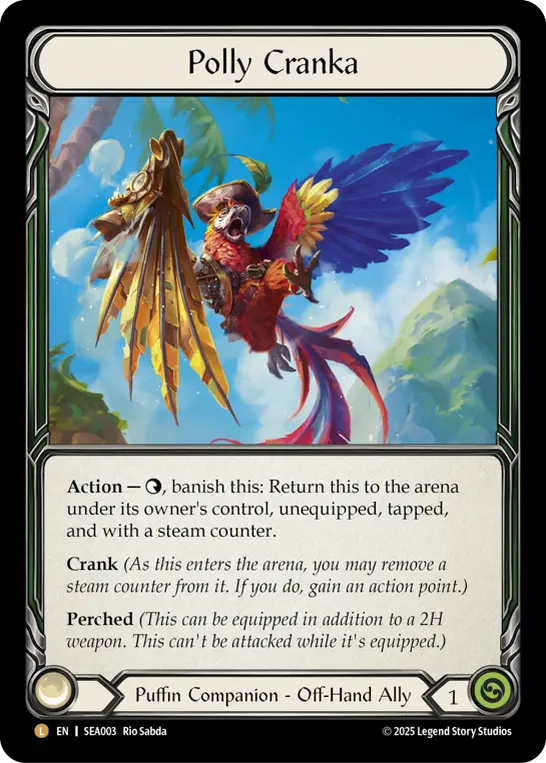
Polly Cranka
Cogs
Cogs are items which on the surface appear to only provide us with one use—to be tapped to improve the effects of our other cards. However, a cog actually provides us with three different assets, of which we want to make use of as many as possible. These assets are:
- The ability to be tapped for additional effects of cards.
- A crank to help utilise our second hero ability.
- A galvanize target to allow us to block efficiently.
When playing cards/using abilities which create cogs, we want to do so very mindfully, with a good idea of how we’re going to utilise as many of these assets as possible. The more often a cog converts for multiple of these assets instead of just one, the better the game is going to look for us.
Our payoffs for tapping cogs are Cogwerx Dovetail, Palantir Aeronought, Cogwerx Zeppelin, and Spitfire. In all of these instances the “floor”, or minimum value gained by tapping a cog is one. Oftentimes though, the additional synergistic value will make each cog tap be worth more than one on average.
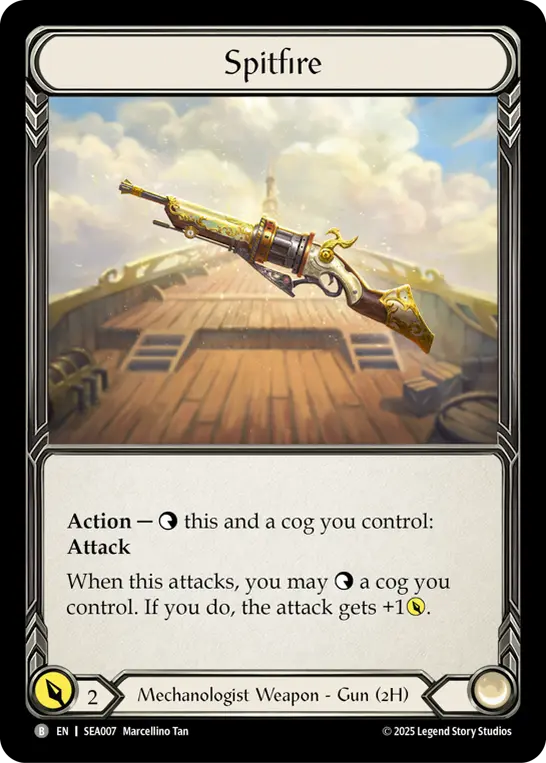
Spitfire
2-costs
Another thing to be aware of when building a deck is consistency. In the deckbuilding process, this looks like having many cards which fill similar roles. This is especially important in a deck like Puffin with action phase card draw, because we want to have some idea of what we might draw, so that we can plan our turn well. To achieve this, the deck contains a respectable number of 2-cost attack actions. These form the bread and butter of the deck, and are all great ways to end off a turn. Puffin has access to a multitude of different 2-cost (and above) attacks, which all have a very commanding effect or on-hit trigger.
One powerful such Majestic released in High Seas, Palantir Aeronought, forces an equipment to defend it, so if our opponent has a significant amount of Blade Break or Temper, this effect on its own can be very powerful. However, the true strength of the Palantir comes from its triple-tap effect, which destroys any defending card. This means we can effectively deal an extra 3 damage to our opponent by destroying a defending 3-block, or we can destroy one of their equipment, meaning they lose access to the effects of that equipment for the rest of the game!
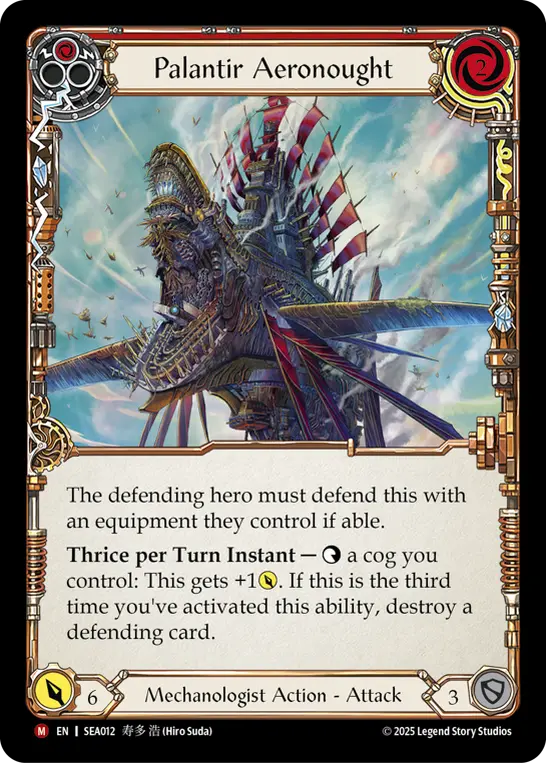
Palantir Aeronought
The most powerful non-Majestic card available to Puffin from High Seas is Cogwerx Zeppelin, with an on-hit trigger that hides a very potent effect. If we have a cog to tap when Cogwerx Zeppelin hits, we can create a new cog, which can be cranked to regain our action point, effectively giving Cogwerx Zeppelin go again. Not only that, but this will either be our second crank for the turn, or we can easily crank once afterwards, so this will just draw us a card! Basically this gives Cogwerx Zeppelin a similar effect to “when this hits, it gets go again and draw a card”. Even in the few scenarios where Cogwerx Zeppelin isn’t drawing us a card, the additional cog can always convert into a Spitfire attack for 2, since cranking it grants us the action point needed to shoot.
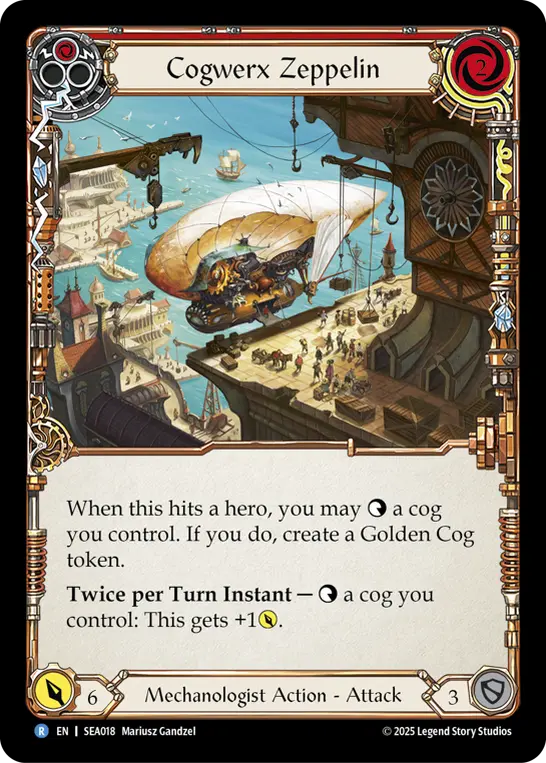
Cogwerx Zeppelin
Blocking Cogwerx Zeppelin is also exceedingly difficult for our opponent, since the breakpoint on this little boat can change depending on how many cogs we can tap. If we still have Unicycle available, we also have an on-demand cog tap which stays with us the entire game, constantly threatening to be the +1 power required to force through a key on-hit. The explicit value provided by Unicycle is already solid, but it also creates an Arousing Wave-esque threat that makes it near-impossible for our opponent to defend correctly.
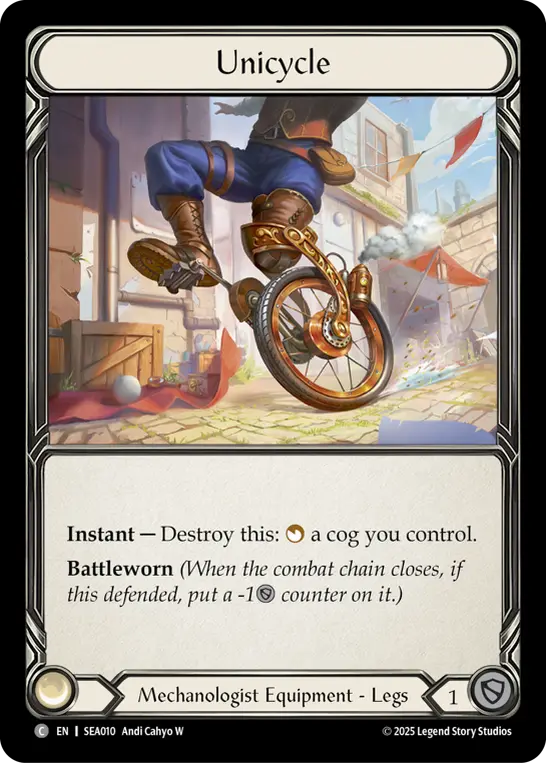
Unicycle
A Pirate ain't a Pirate without a badass ship! So naturally, we’re playing the most powerful Majestic released in High Seas: Conqueror of the High Seas. This high-impact card is excellent to arsenal, because it allows us to convert our hand, even on turns when our opponent may concede tempo to us or attack with evasive damage. Preventing its on-hit effect often requires three cards, or else commands significant equipment defense. Following up a Conqueror of the High Seas with a Command and Conquer adds insult to injury, and all but ensures our opponent’s arsenal is reduced to dust (or Gold!).
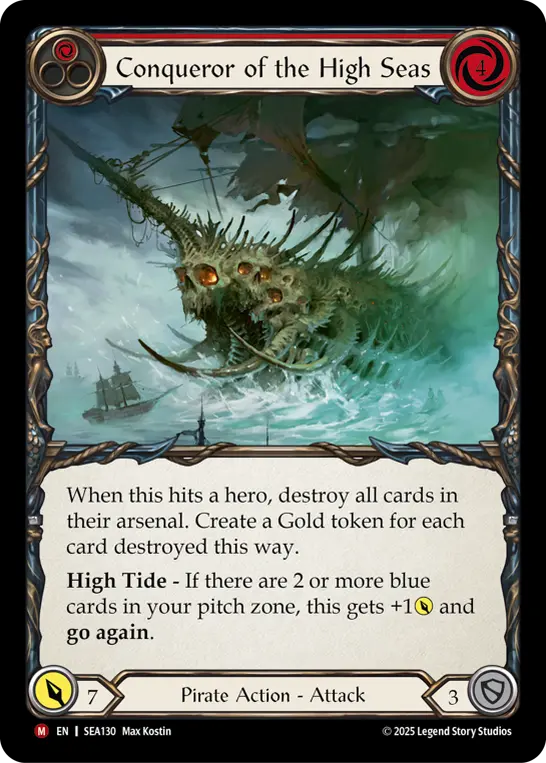
Conqueror of the High Seas
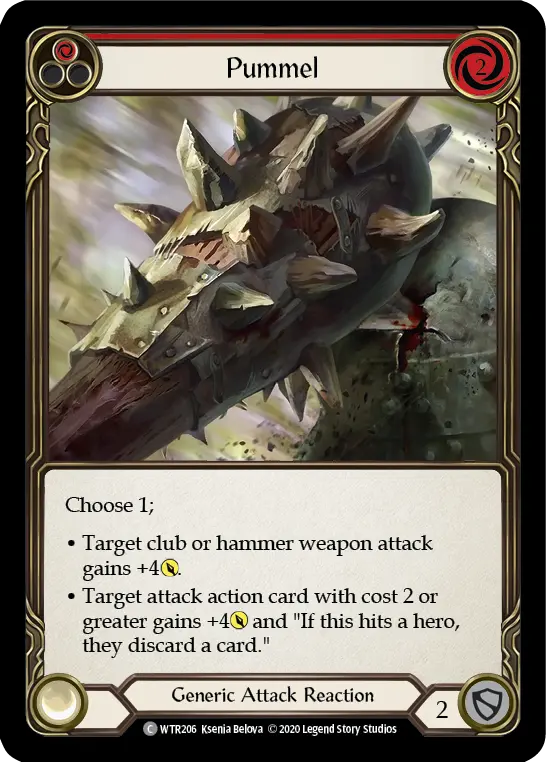
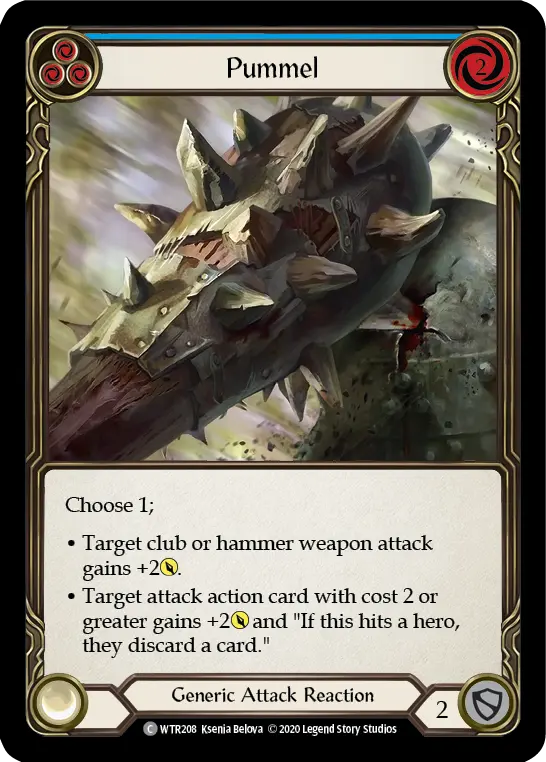
Pummel
For a deck with many 2-cost attacks, each with formidable on-hits, there’s one card which supports our game plan. That’s right, Puffin is a Pummel deck! Forcing through our important on-hit effects, while also adding disruption to them with a forced discard sounds like a great idea!
Pummel’s best targets are Cogwerx Zeppelin, Conqueror of the High Seas, and Command and Conquer. We’ll be playing a mix of red and blue Pummels, which means if our opponent suspects we may have one in hand, they still won’t know exactly how much they should be blocking to prevent the hit. Combined with the Unicycle on a Cogwerx Zeppelin means the final attack value could be anywhere within the range of 6 to 12 damage—impossible to block effectively!
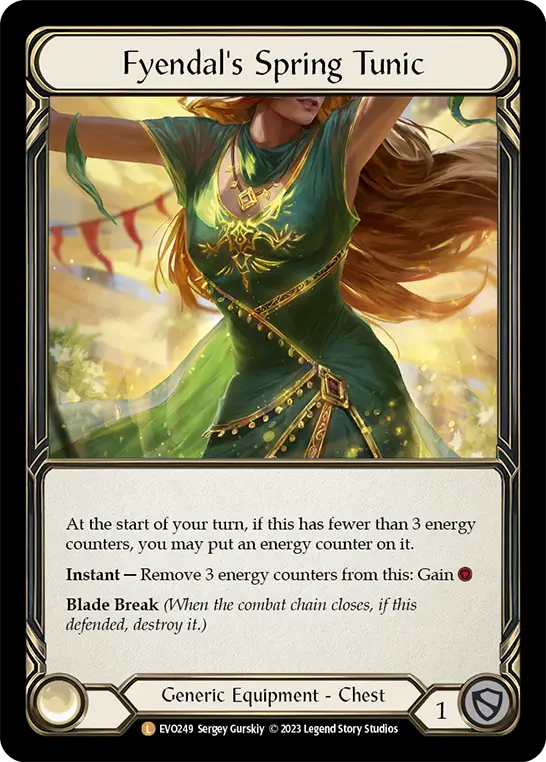
Wherever possible, we want to make it difficult for our opponent to guess whether we have Pummel or not. To facilitate this, we’ll be playing Fyendal’s Spring Tunic as our only chest piece. When our Tunic resource is available, we want to craft situations where we’re pitching a blue to attack with a 2-cost with a threatening on-hit, holding exactly one card in hand. This card will be either Pummel, or a card we want to arsenal for next turn. In this situation, it’s very hard for our opponent to work out whether the card we hold in our hand is a Pummel or not, because the arsenal is always free to take our drawn card.
Other ways to hide the Pummel are to play it on a turn where we have an additional action point available, thanks to Cog in the Machine, or to threaten it on Conqueror of the High Seas. This is often enough incentive to make our opponent simply allow the on-hit effect to happen—even if we don’t have it!
Pummel
Pummel

Command and Conquer
Fyendal's Spring Tunic
Smaller attacks
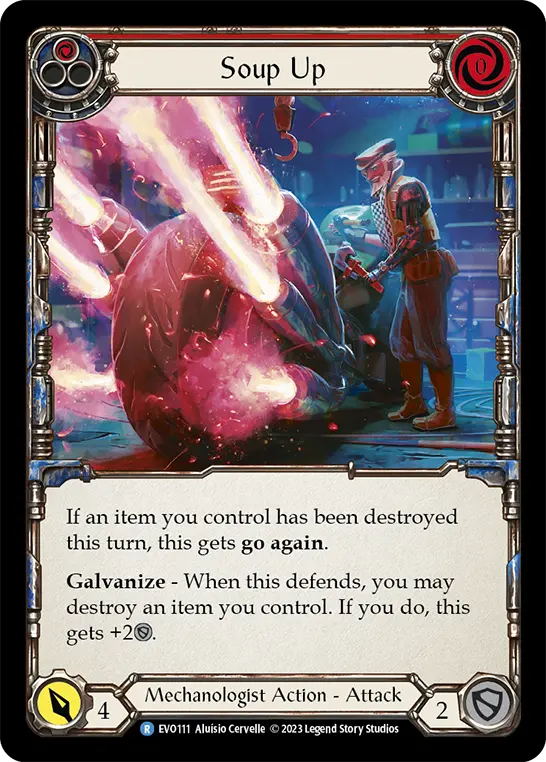
Soup Up and Cogwerx Dovetail are our smaller red attacks, and while they are not targets for Pummel, they are still very powerful parts of the deck. Soup Up will have go again on almost every turn of the game, and can always be turned on by destroying a Gold. Remember, items that destroy at the start of the turn count!
Cogwerx Dovetail untaps all of our cogs on-hit, making it incredibly potent, potentially allowing for a maximum-impact Palantir Aeronought to follow up. It’s important to note that Cogwerx Dovetail can be given go again in the Damage Step, after the hit effect has been triggered. This means we can use both of our available cogs to buff Cogwerx Dovetail if we’re sure it will hit, then after it does, it can be given go again by a freshly-untapped cog. Similar to Cogwerx Zeppelin, this gives it a hidden breakpoint for the opponent to deal with.
Soup Up
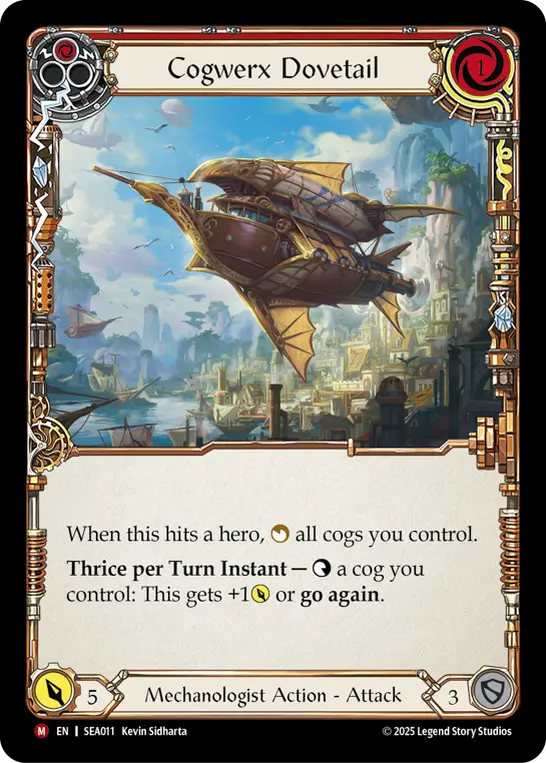
Cogwerx Dovetail
The Economy
Compared to limited, it is much harder to generate Gold in Classic Constructed due to the absence of Treasure Island. This means that it's exceedingly important we make the most of every Gold we use. There are only a few cards in the deck which generate Gold for us, being our primary head piece Crown of Dominion, and our deck-cards Golden Skywarden and Sunken Treasure.
Golden Skywarden is our most effective tool for creating Gold, because it is able to turn all of our Golden Cogs back into Gold, fuelling our economy. However, unlike most other power cards in Flesh and Blood, Golden Skywarden cannot be set up without holding a card in hand between turn cycles. This makes it very difficult to facilitate a scenario where Golden Skywarden will generate the most Gold for us. Still, the long-term effectiveness provided cannot be understated, as one key Golden Skywarden at the right time can set up our economy for the rest of the game.
Sunken Treasure is the other way to generate Gold in this deck, and will always be able to generate a Gold token when blocked with, provided there is a yellow card in either player’s graveyard. Thus, it is important to recognise that when we draw yellow cards (Golden Skywarden, Cogwerx Zeppelin), we put them into the graveyard if possible, and find lines where we are blocking with Sunken Treasure. Notably, Sunken Treasure also has added utility in specific matchups, such as turning over Fai’s Phoenix Flame, Cindra’s daggers, and Gravy Bones' allies.
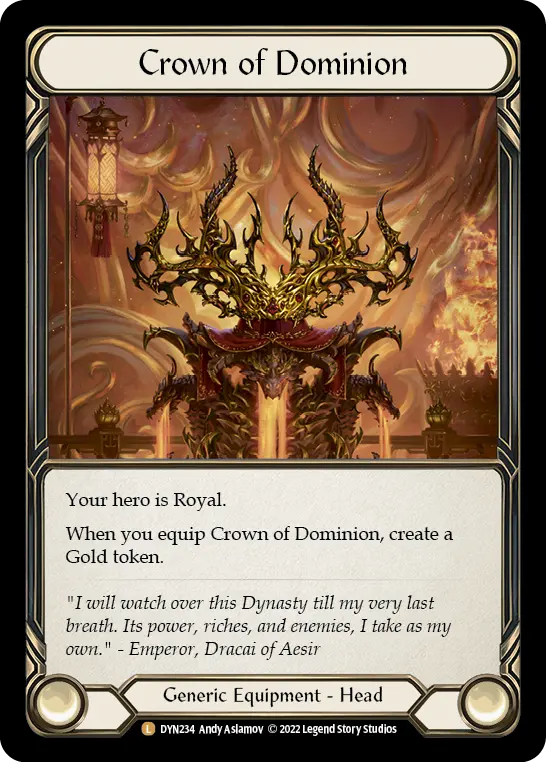
Crown of Dominion
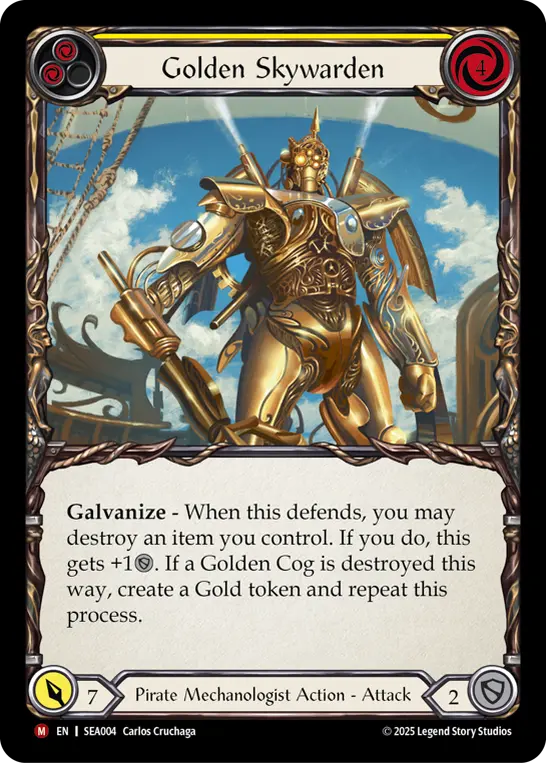
Golden Skywarden
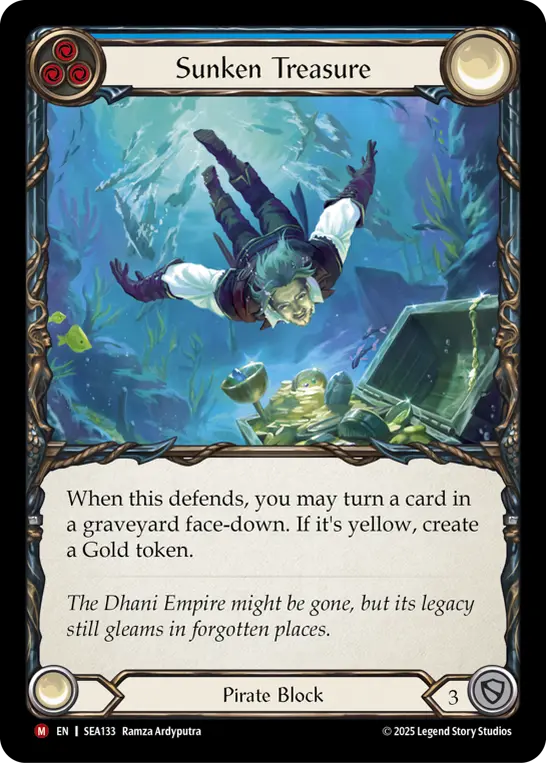
Sunken Treasure
Sideboarding
We now know the core goal of the deck: to ride the value of card draw and powerful on-hit effects, to an endgame where breakpoints, Palantir Aeronought, or Pummel can close it out. But how might this plan change depending on the matchup? First, we’ll discuss what particular strategies Puffin is best positioned into, what she struggles into, and how we can alter our deck to target these tough-to-beat strategies.
The number of on-hits in the deck which amplify our damage is very high. This naturally makes the deck most powerful into decks that have trouble defending. Alongside Pummel, this makes it very difficult for opposing decks which refuse to block to get a foothold on the game. Thankfully, because of how variable each on-hit’s breakpoint can be, even decks that are happy to block can struggle to work out exactly how much they need to defend to stifle our turns. This makes Puffin very strong into the vast majority of decks that want to play fair Flesh and Blood.
However, the opposition to this is decks that don’t walk down life total linearly. These are decks that are comfortable having off turns to power up a following turn, or sacrifice strength in the early game in order to be stronger in the late game. This play pattern can make us unable to use our efficient galvanize effects, stifling our Golden Skywarden economy. The deck that is most adept at creating these scenarios is Florian, but this is also applicable when facing Wizards, Teklovossen, and Rhinar.
If our early game hands can’t convert offensively, we can be put in a really bad position in the late game. To target this strategy, we’re going to swap out Golden Skywarden for our replacement Gold generators: Loan Shark and Riches of Trōpal-Dhani. For those on a budget—don’t worry, you can replace Riches of Trōpal-Dhani with a third Loan Shark.
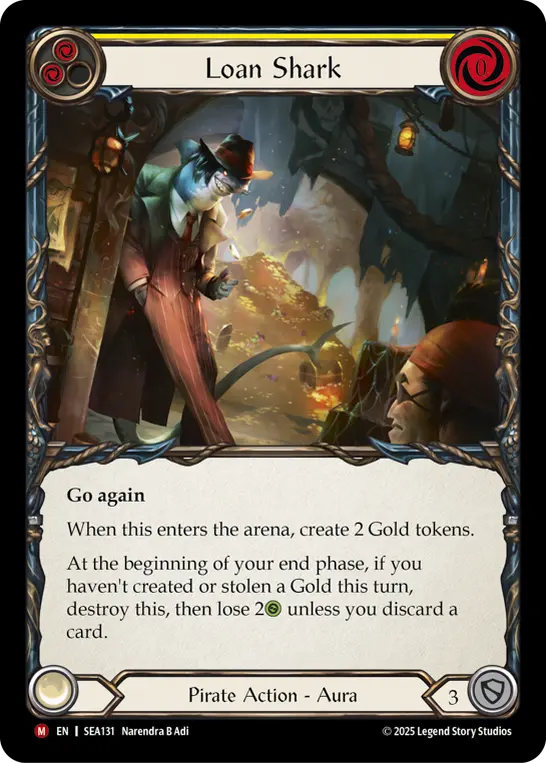
Loan Shark
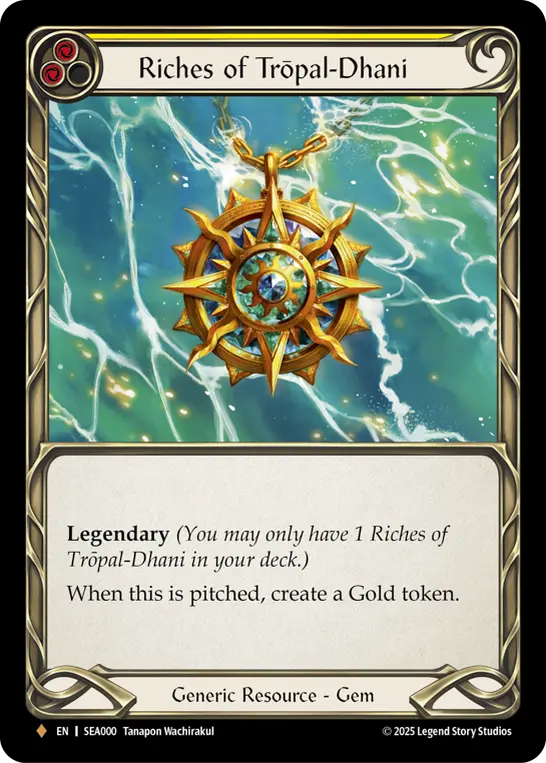
Riches of Trōpal-Dhani
Wizards also have the additional strength of taxing our equipment slots, forcing us to play Arcane Barrier. We’ll be playing Viziertronic Model i and one Adaptive Dissolver as our tools for this, equipping Adaptive Dissolver in the arms slot, because we may not be able to block with Cogwerx Tinker Rings when we want to.
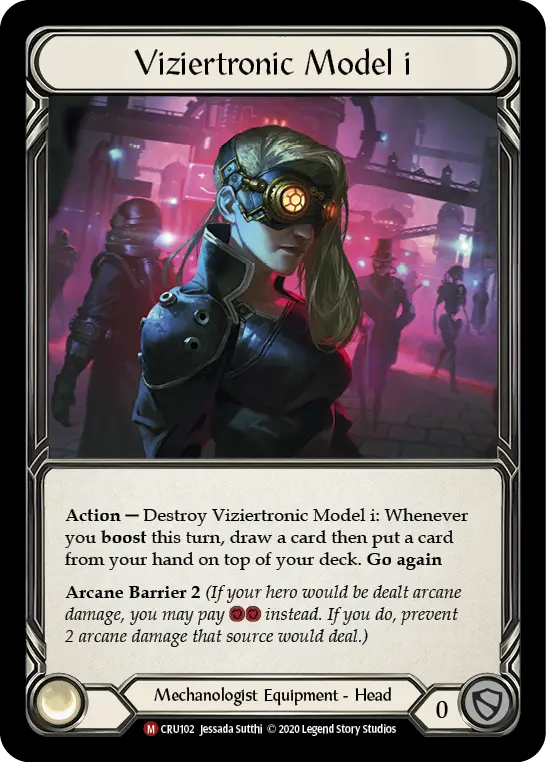
Viziertronic Model i
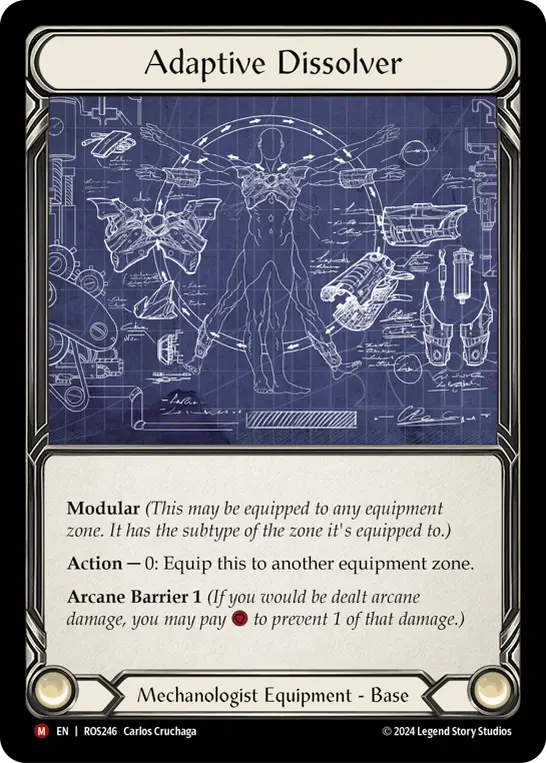
Adaptive Dissolver
Crown of Providence exists as an alternative to Crown of Dominion, and comes into play when we either expect a large amount of arsenal disruption, or we’re at risk of having our initial Gold stolen by Gold-Baited Hook. Thus, we’ll be equipping this against any Assassins or Pirates (it also insulates us against Regicide).
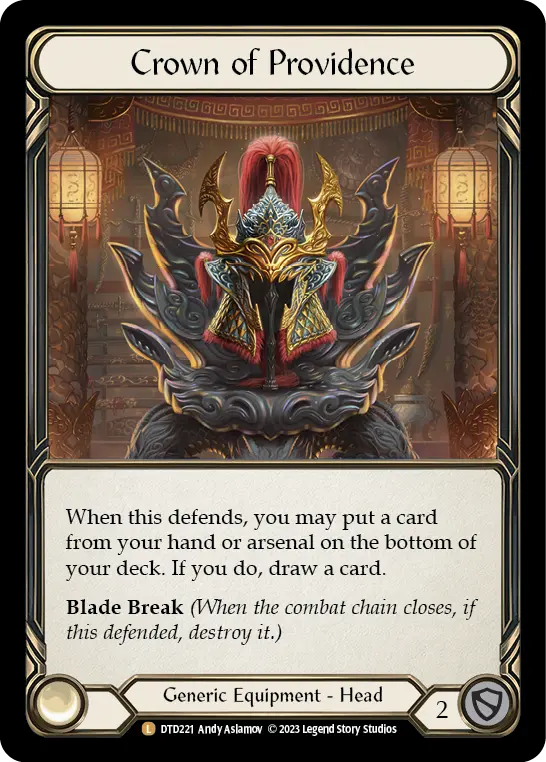
Crown of Providence
When acting in the Reaction Step provides us with additional value beyond just defending, such as against Assassins or Dorinthea, we’ll be siding in Fate Foreseen. Take out 2 Cogwerx Zeppelin (yellow) and 1 Pinion Sentry, since our opponent will likely have a few yellows we can target with Sunken Treasure (thanks, Codex of Frailty!). Additionally, Fate Foreseen’s opt allows us to see the card we would draw in our action phase from Puffin’s effect, which can allow us to sculpt out our whole turn during the opponent’s action phase.
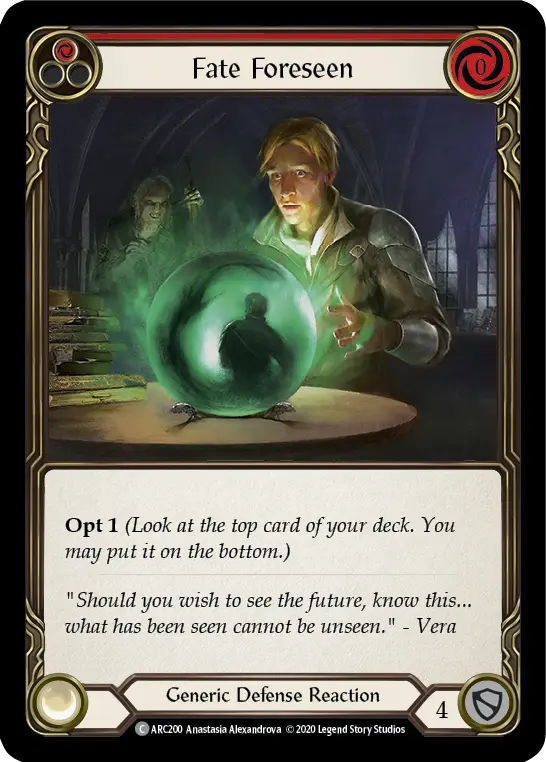
Fate Foreseen
Jolly Bludger joins the fray when playing against any item-based decks. Remember, Gold is an item too, so this hits all the Pirates, Victor, Kassai, as well as other Mechanologists. Take out 3 Cogwerx Zeppelin (yellow) for this, as it fills the exact same role within the deck.
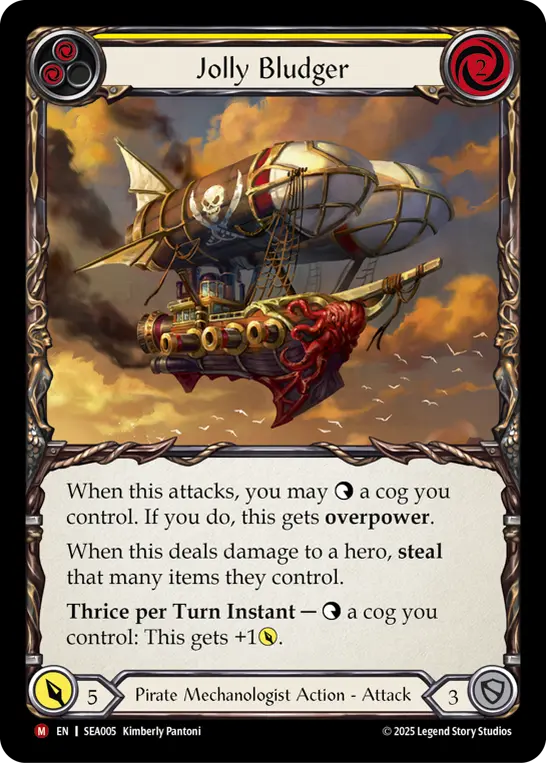
Jolly Bludger
Against decks that may potentially run us out of threats, Backup Protocol: RED will recur some of our strongest threats to close out the game. We’ll be siding this in against Guardians and Teklovossen. Since we’re playing this card to avoid fatigue, we won’t need to take out any cards to fit this in: we’ll simply play it alongside the rest of our core for a 62-card deck. We’ve got a whole toolbox of cards to choose from, depending on our pitch curve from the given turn, thanks to Soup Up, Cogwerx Dovetail, and Palantir Aeronought costing 0, 1, and 2, respectively. It’s also worth noting that into decks that try to fatigue us, we can keep our threat density high by always choosing to return Cog in the Machine to our deck when we play it.
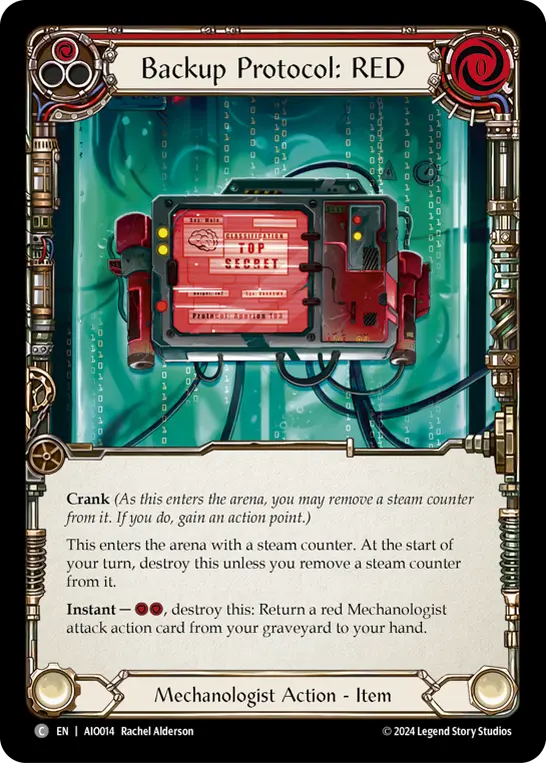
Backup Protocol: RED
Metagame Position
A few card choices in this deck are based off the idea that Nuu is not a meta contender, Battalion Barque being the key one. If you’re in a pre-Nuu Living Legend world, it’s important to consider swapping this for a different blue, such as Shifting Tides. If you really want to respect Nuu, playing a Snag or two in the sideboard wouldn’t go awry.
In general, Assassins can be tough to deal with, as they can switch between playing aggressive disruption, and also blocking well with defense reactions. This makes it hard for us to get our key on-hit effects, and if they send back disruption on the right turns, it can be hard for us to regain control of the game.
Two Verdance and two Florian made Top 8 of the United States National Championship. Earth heroes being on the slightly tougher side of Puffin’s matchup spread, it’s important to recognise the meta we’re walking into when we decide to register Puffin for an event. While every matchup is certainly winnable, especially with a targeted sideboard plan, Puffin’s current position in the metagame may be minor, at least for now.
Set Sail!
Puffin is a deck that can be built in many, many different ways. It has possibly the most different archetypes out of any hero in Flesh and Blood so far, due to the broad card pools she has access to.
After just a couple of weeks with the set, this is the build I’ve found to be most viable, but there is a world of possibility out there. Take this deck, tinker with it, refine it, throw it all out, and start anew! Let your creativity soar! That’s what being a Mechanologist is all about.