From zero... to your first eighty cards!
Pablo Pintor breaks down his competitive Marlynn, Treasure Hunter Classic Constructed decklist, complete with sideboard and matchup tips. When a new hero hits the track, the pros get you up to speed with Zero to Eighty!
“Ahoy, me mateys! Welcome aboard the most distinguished crew of Lady Marlynn! Follow me as I teach you the ropes of life on this ship—but be warned, this isn’t work for the faint of heart!”
When the fine folks over at Legend Story Studios asked me to write an article about one of the new heroes from High Seas, I couldn’t have been happier—my passion for pirates was finally being rewarded! What surprised me, though, was being asked to write about a Ranger. I haven’t dabbled much in the class (aside from a pretty fun Pro Tour with Riptide!), but it didn’t take many games to see why they thought I’d be a good fit for this one…

Go Fish!
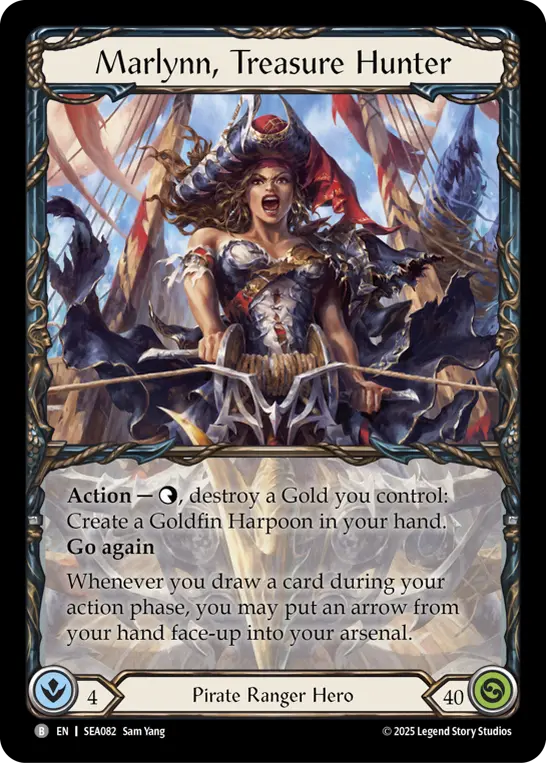
Marlynn, Treasure Hunter is a Ranger hero like no other before her. Her “reload” ability might resemble Riptide’s, but the combination between the Pirate class and her tap ability are very exciting both from a deckbuilding and gameplay perspective. She has some real firepower coupled with disruption, and her easy access to Gold generation offers a lot of options while also having some very cool interactions.
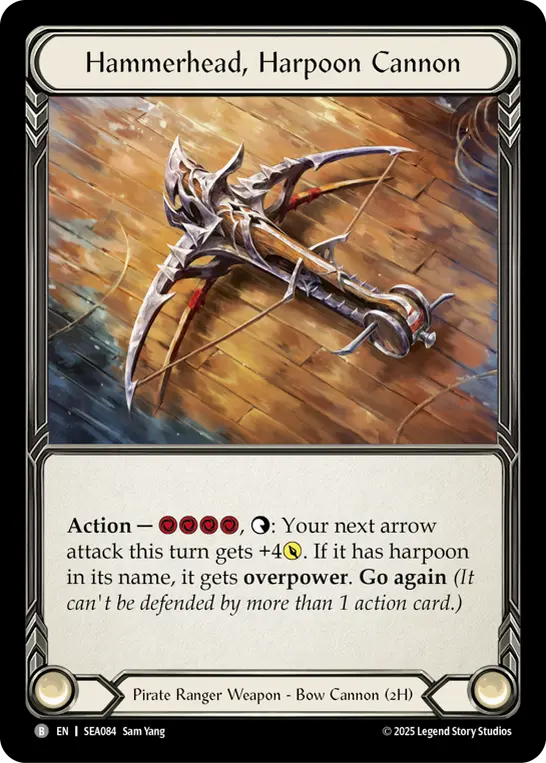
For clarity, I’ll be discussing a build that uses Hammerhead, Harpoon Cannon. There are other viable builds—some more aggressive, using bows like Death Dealer and skipping harpoon attacks—but I believe this version best represents Marlynn’s identity. The deck is straightforward, but offers a ton of decision-making each game—easy to pick up, hard to master.
Marlynn gives us access to big attacks that are hard to block and come with disruptive effects that generate Gold. In turn, the Gold fuels even more powerful plays. She also has access to strong defensive tools. Watch your opponents struggle to take meaningful turns under your disruption, while you chain together attacks with overpower and end the game in just a few hits!
When I build a deck, I like to start with a clear vision of what I want to do during a game. I find the core cards that support that strategy and build around them—either to enhance their strengths or to patch up weaknesses. In this case, I want to abuse the powerful on-hit effects of my harpoon cards to disrupt my opponent while dealing heavy damage and cycling through my deck quickly to find my power cards.
Marlynn, Treasure Hunter
Hammerhead, Harpoon Cannon
Gold
The core
The five harpoons (don’t underestimate the blue ones—they’re powerhouses too) are the core of the deck.
They’re big and mean, but to get full value from them, we’ll usually need to activate our cannon. That means we’ll need two blue cards and the harpoon already in our arsenal—or a way to get it there. Keep in mind that in some matchups, we won’t need to activate the cannon at all. For example, against Kano (with four non-attack actions) or Cindra (with a hand full of attacks), our harpoons will hit their mark without extra help.
I’m also including Codex of Frailty here—it acts like a harpoon of our choice with upside. Codex has always been a meta-defining card, but Marlynn might be its best user yet. Two blues to pay for Hammerhead and a Codex to recover a key harpoon? That’s a play we want to make as often as possible.
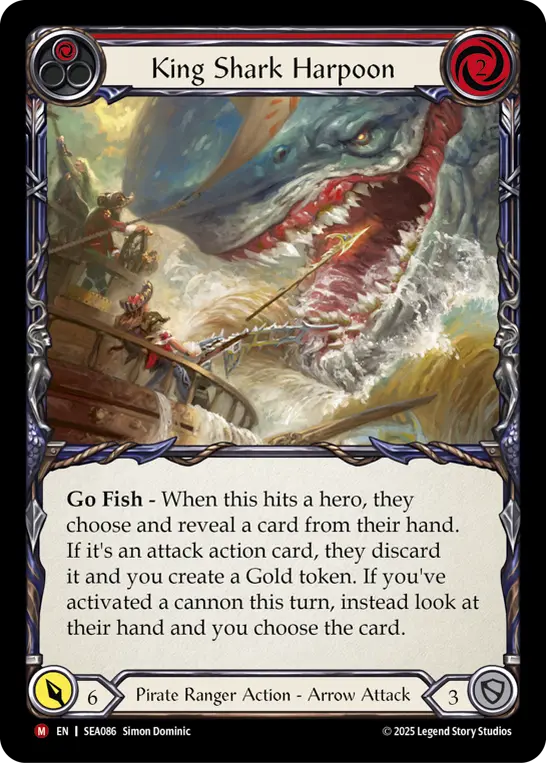
King Shark Harpoon
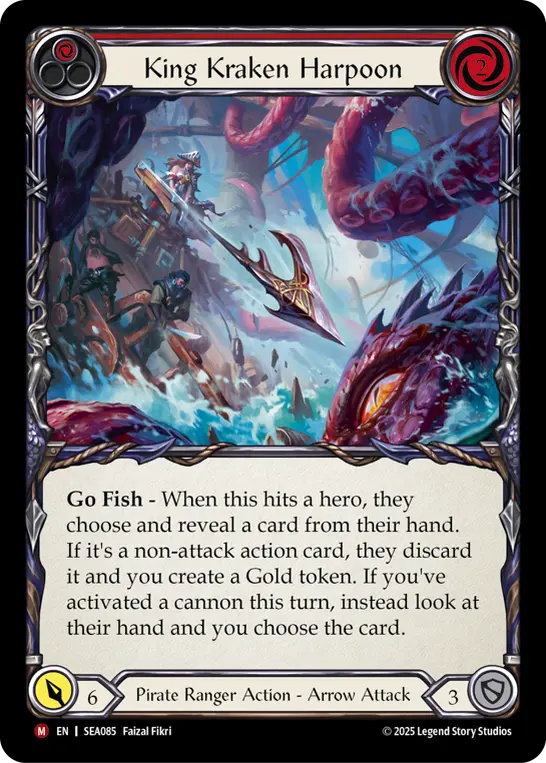
King Kraken Harpoon
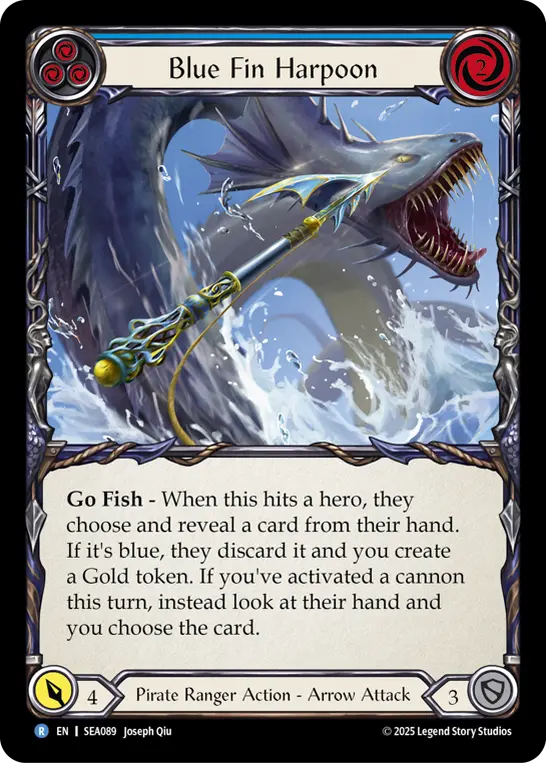
Blue Fin Harpoon
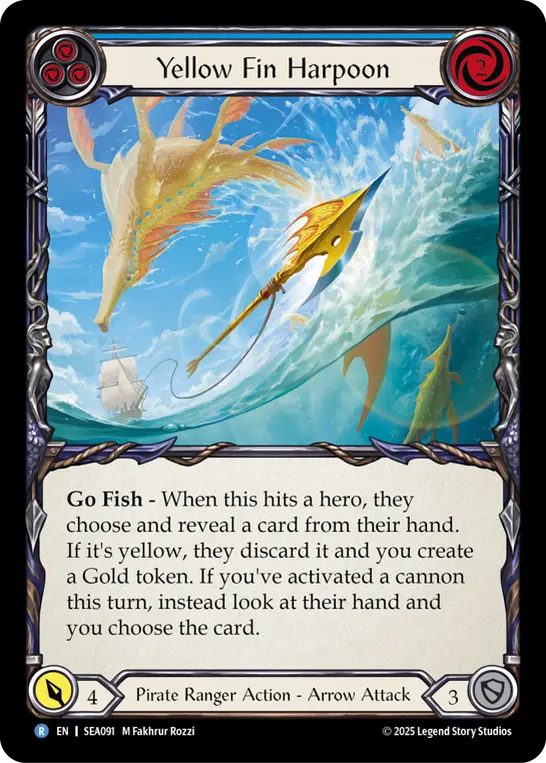
Yellow Fin Harpoon
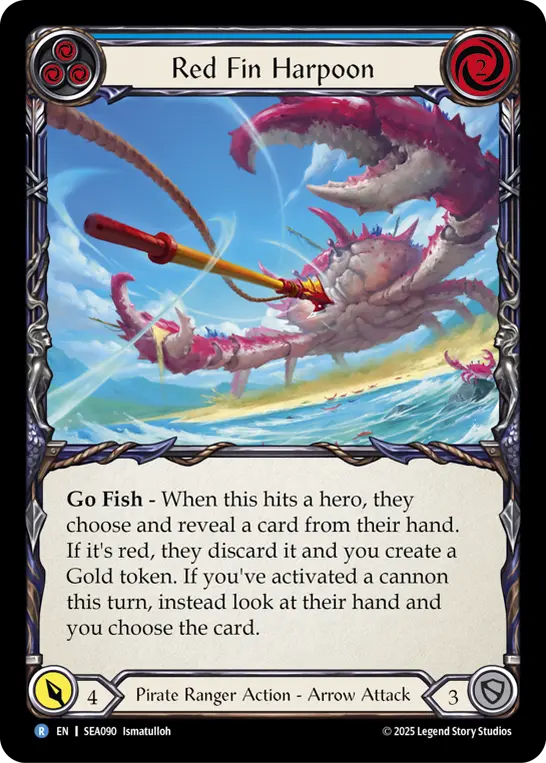
Red Fin Harpoon

Codex of Frailty
The blues
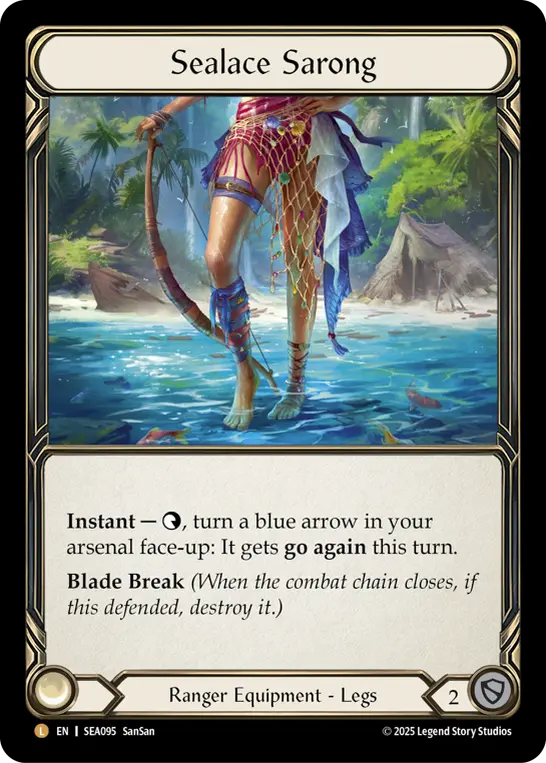
We need a lot of blues to play our core cards, so this deck has the highest blue count of any Ranger deck I’ve built. That creates a challenge, since the Ranger card pool isn’t built around strong blues. While the Pirate blues are cool, they don’t always support our game plan… enter Sealace Sarong!
This new legs equipment lets us play blue arrows and feel good about it—even if we have to arsenal them. It also enables some sweet double-harpoon turns with cannon activation. Now we don’t have to worry about holding onto blue cards we draw off a Ponder token. There are plenty of 0-cost blue arrows with strong on-hit effects that won’t mess up our resource curve but still demand blocks from our opponent. Game-changer.
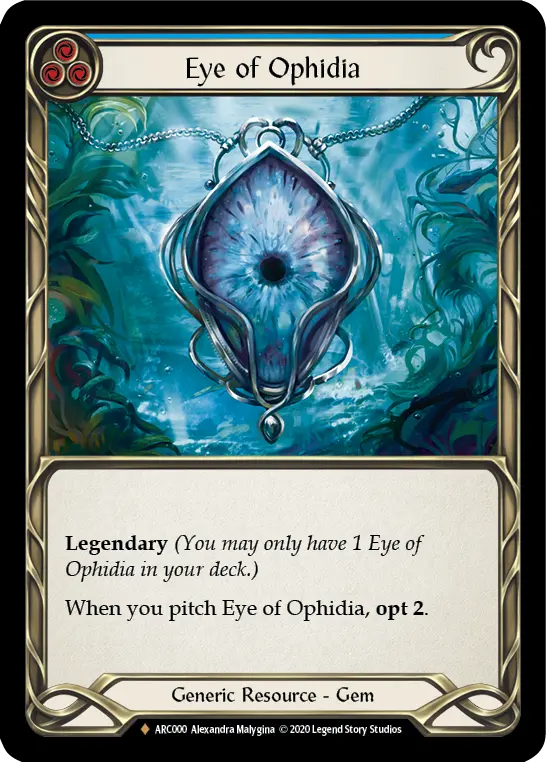
To round out our blue base, we’ve got Sunken Treasure (more on that later) and Eye of Ophidia, which shines when used to pay for Gold or Three of a Kind.
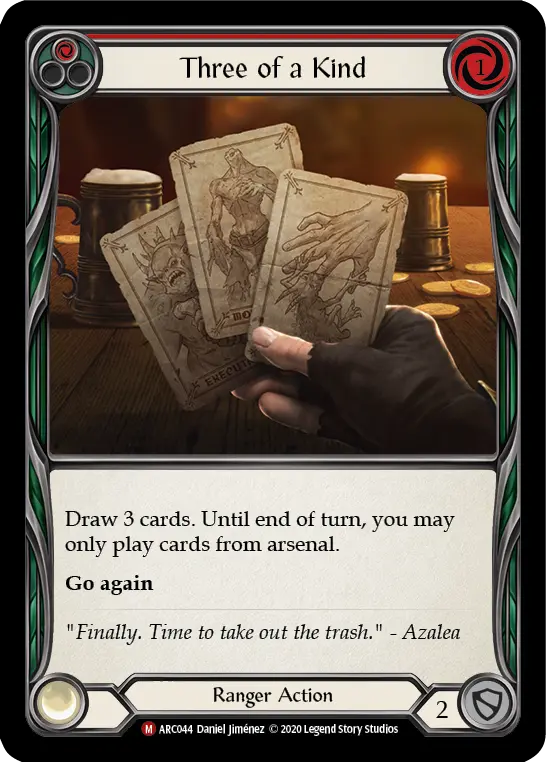
Speaking of which, I’m including Three of a Kind in the resources section. It’s primarily a way to find arrows or blues to pay for itself. It lets us play buffs or block with cards and still have a turn, while digging through our deck to find more copies of itself or Codex of Frailty. Don’t be afraid to play it with no arrows in hand—it’s easy to hit one, and you can keep digging with Gold even if you don’t.
23 blues might not seem like much, and we could run more for stability. But hitting a four-blue hand when you have priority is the easiest way to lose a game—a lesson I learned the hard way playing Guardian. So we’re taking a bit of a risk for more firepower, and we’ve got plenty of card draw to smooth out bad hands.
Sealace Sarong
Searing Shot
Eye of Ophidia
Three of a Kind
Gold generation
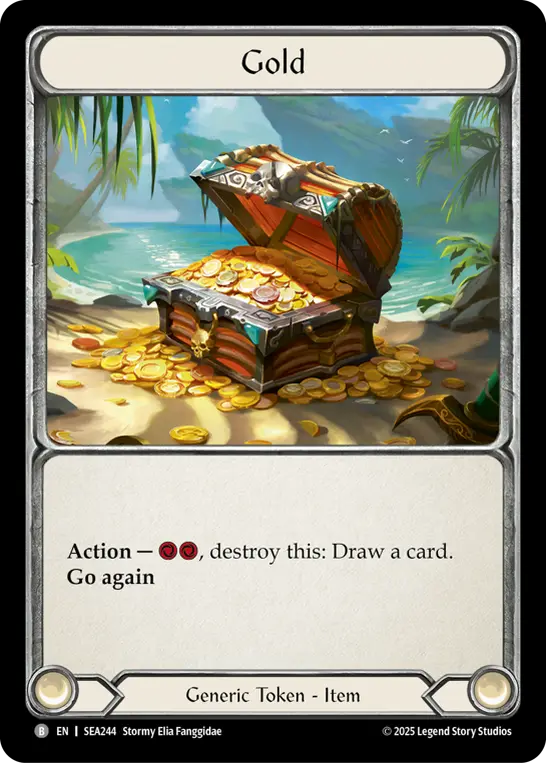
Gold’s main use in this deck is to draw a card and get an arrow into arsenal when we don’t have another way to do it. While we won’t use Marlynn’s ability every turn, it’s a safety net—and sometimes the best play is to plan the turn around Goldfin Harpoon.
Card draw is also key to protecting us from four-blue hands, so we want cards that generate a steady flow of Gold. On-hit effects can be tricky to land, so we need reliable ways to get Gold even when our opponent blocks well.
The main way to generate Gold is using Gold-Baited Hook alongside our huge harpoons, and buffs like Big Game Trophy Shot and Gold the Tip, which also create Gold when the arrow hits. When our opponent cannot stop an attack with overpower, we get a free and secure hook activation, as well as a safety net for our turns. The harpoons are already strong—Gold is just the cherry on top.
Shoutout to Golden Tipple for discarding the Goldfin Harpoon Marlynn creates, and giving back the Gold we used for it. It’s essentially a 1-cost, 3-power, go again attack that draws a card and lets us use the hook with no risk.
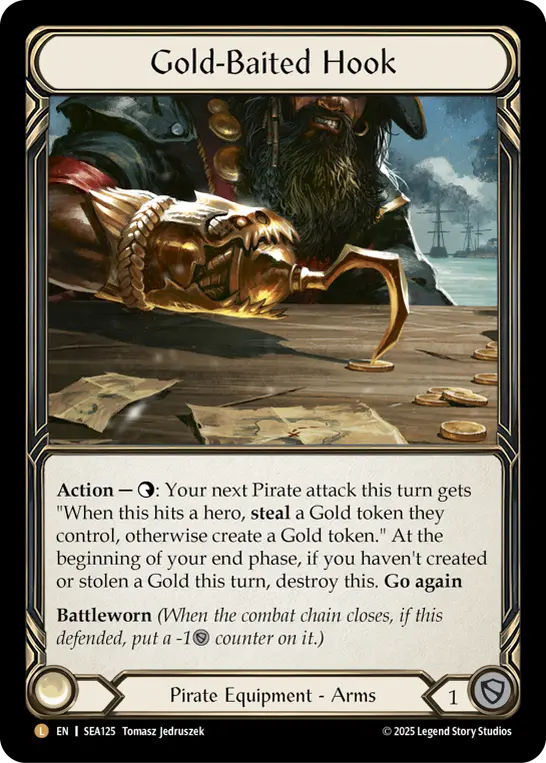
Gold-Baited Hook

Big Game Trophy Shot
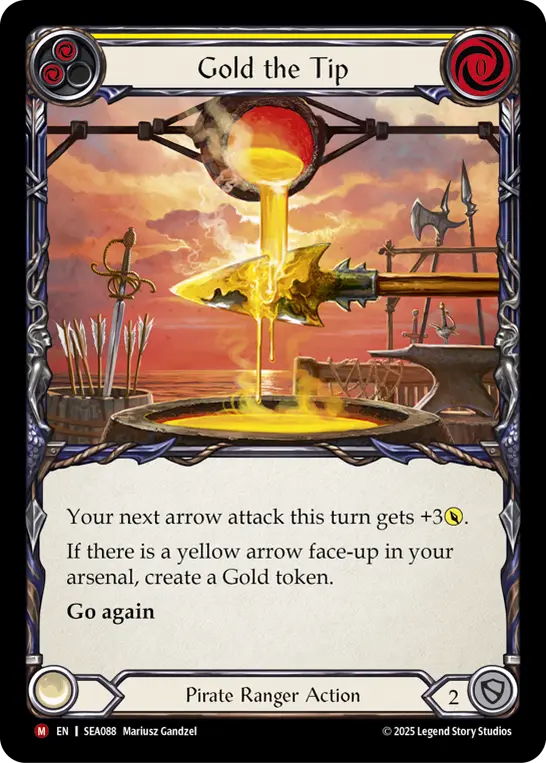
Gold the Tip
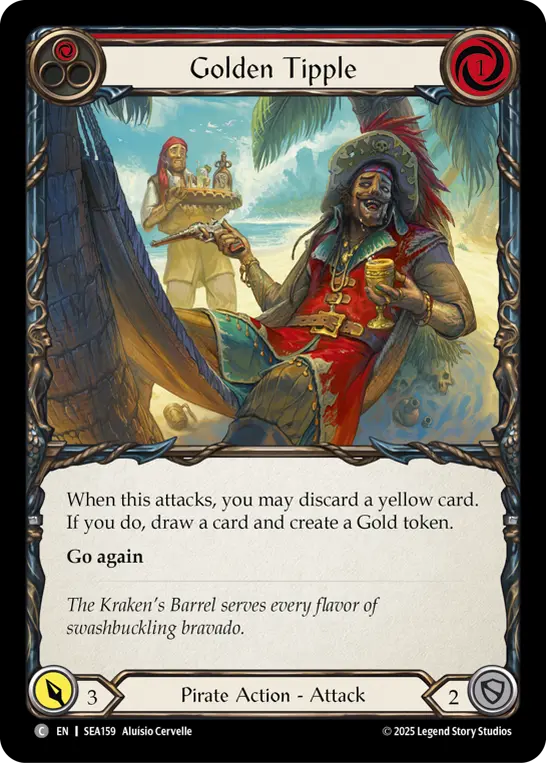
Golden Tipple
The only non-proactive card in this category, Sunken Treasure, is one of the most powerful cards in High Seas, being both a blue and a powerful block that usually nets us a Gold, but also having impressive impact in some matchups.
Obviously forcing Fai to recover his Phoenix Flame early in the turn has a lot of value, or destroying Gravy Bones' plan by blocking his blue attack and turning the ally he was going to play face-down, but there are many more instances where this card shines!
Turning Leave no Witnesses face-down so Nuu or Arakni won't have a good Codex of Frailty target for a few turns, or denying Prism the recovery of Herald of Erudition can be game winning. Stay on the lookout for opportunities to outplay your opponent with this one!
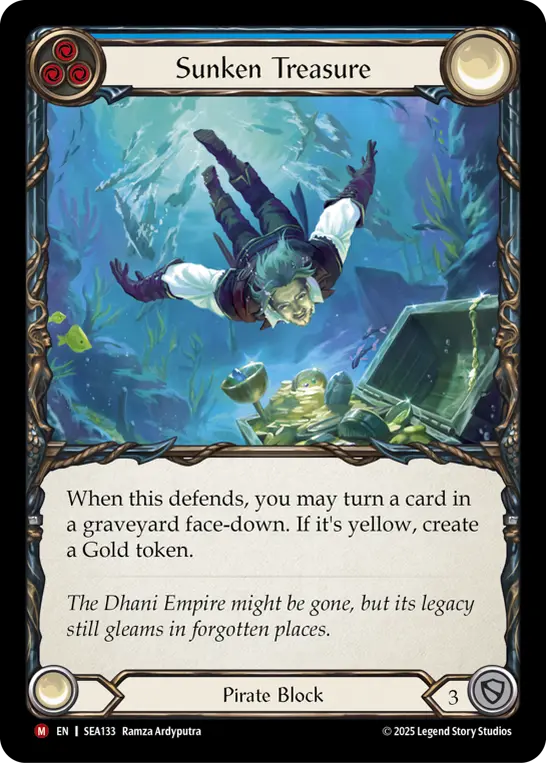
Sunken Treasure
Aggressive tools
If we want our attacks to hit and our big hands to convert, there’s no better way than doing what Rangers do best: pumping our arrow attacks!
Throwing a 10-power attack with overpower that strips cards and generates Gold is great. But make it 16, add some Bloodrot Pox, and net a Ponder? Now we’re not only protecting our hook from being blocked by a single equipment and a defense reaction—we’re also putting up some truly wild numbers.
I’ve included what I consider the most powerful and versatile pumps. Special mention goes to Take Aim—reloading is already great in this deck, but it also lets us play it from arsenal after a Three of a Kind, put another pump in arsenal, play that too, and then use Gold to load in an arrow for a massive attack.
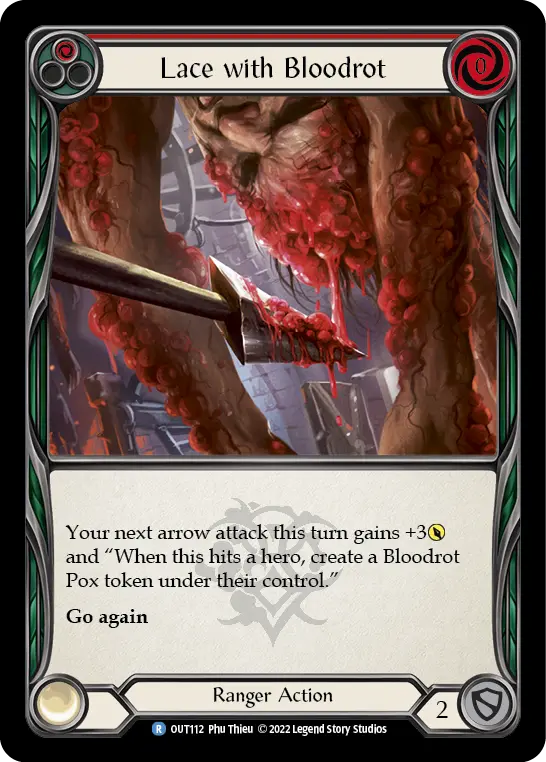
Lace with Bloodrot
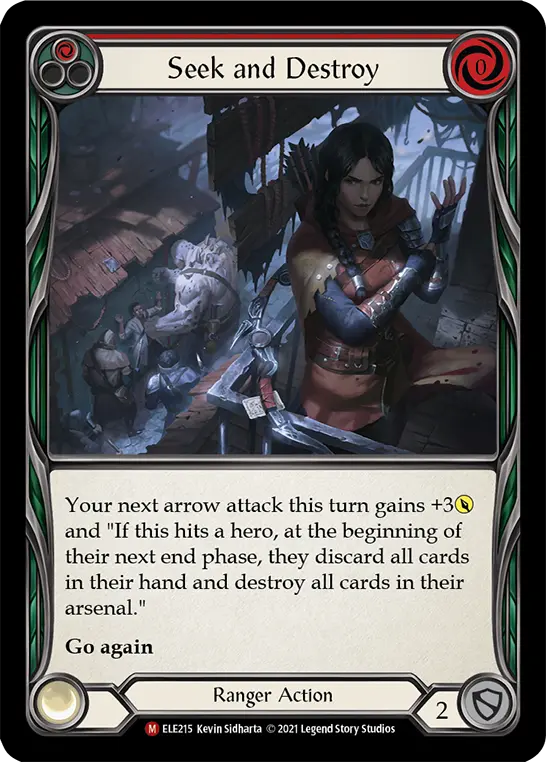
Seek and Destroy
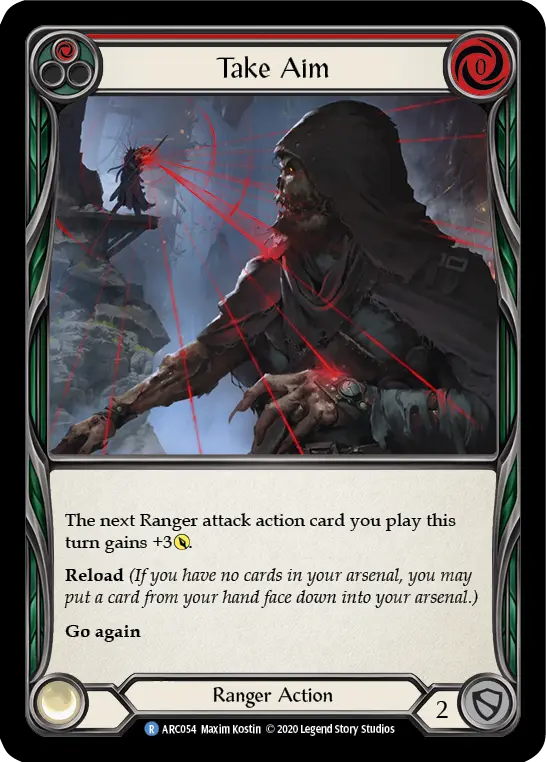
Take Aim
Defensive tools
Sometimes we’ll be forced to defend, and those 2-block pumps won’t cut it. That’s when we bring out these value machines!
Return Fire is incredibly powerful when it lines up with one of our arrows—it's a block for 4 at minimum, and always above rate. Take Cover offers reload while blocking for 4. But I want to focus on the last card here, because I think many players don’t realize just how powerful Tarpit Trap is.
Tarpit Trap is one of my favorite card designs in all of Flesh and Blood, and I’m always delighted when I can include it. Blocking for 3 might seem low for a defense reaction, but once you see the plays it shuts down, you’ll start to respect this Riptide staple. A 4-power breakpoint on the third chain link with Mask of Momentum active? Sorry, no card draw for you. Herald of Erudition about to ruin your day? Oops—it’s now a yellow Wild Ride. Three attack reactions on Bonds of Agony (with go again from Slippy or Beckoning Mistblade)? I’ve got something to say about that…
And did I mention it's yellow? Pair it with Fyendal's Spring Tunic to smooth out awkward turns. Respect the trap!
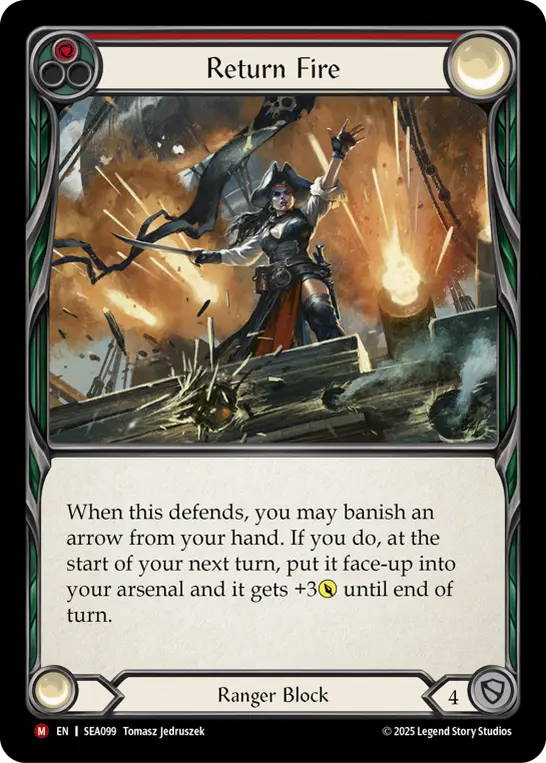
Return Fire
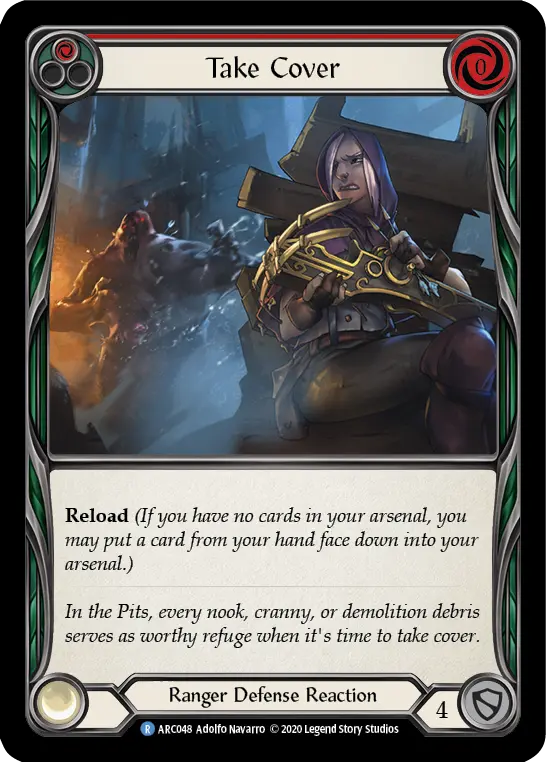
Take Cover
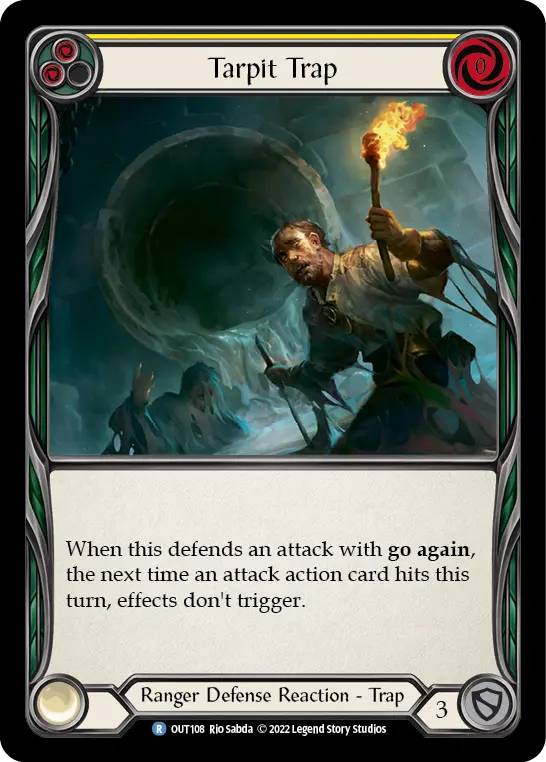
Tarpit Trap
Endless Loops
Endless Arrow may seem like a strange choice for a deck like this, right? Maybe it’s just some Gravy Bones hate to clear allies? A tool against fatigue?
Well, one of my biggest discoveries while playing Riptide was how powerful this card becomes when you have access to strong blocks and your opponent lacks 4-block cards or blocking equipment. Getting one of these into the arsenal and playing it every turn after blocking with your whole hand is an incredible value play. If your opponent uses two cards to block it—congrats, you’ve regained tempo. If they let it hit? That’s 16 value per turn (12 from blocks + Endless Arrow from arsenal). Since your overpowered on-hits will draw out all their equipment, keep an eye out for setting up an Endless Arrow loop!
And yes, it’s also great against Gravy Bones and fatigue, but this deck is already pretty good against fatigue thanks to the Riches of Trōpal-Dhani / Goldfin Harpoon infinite overpower loop, which is extremely easy to set up.
You just need to reach a game state where every turn you draw the cards you pitch, allowing you to use Marlynn's ability to turn a Gold into a Goldfin Harpoon, pay for the cannon by pitching Riches of Trōpal-Dhani (getting your Gold back) to give a Goldfin Harpoon that is already in your arsenal +4 power and overpower, end your turn by putting the Goldfin Harpoon you created this turn into arsenal, then drawing Riches of Trōpal-Dhani again to keep the machine going. That is better than Anothos, and that is nothing to scoff at!

Endless Arrow
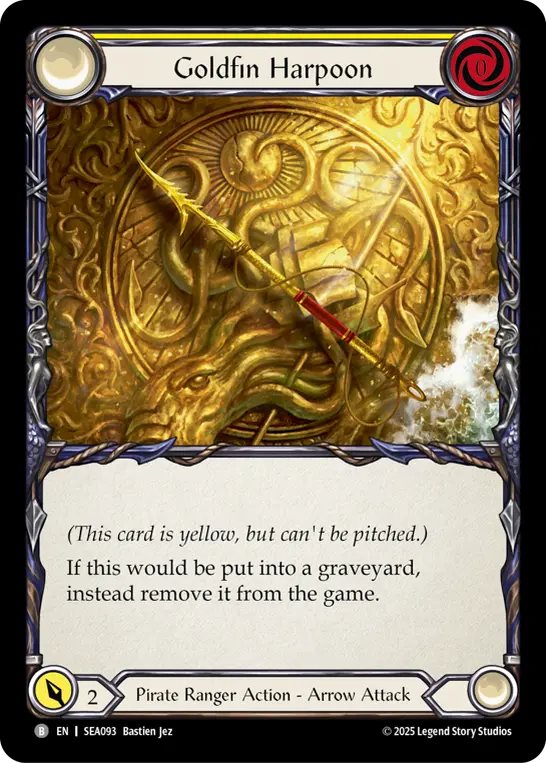
Goldfin Harpoon
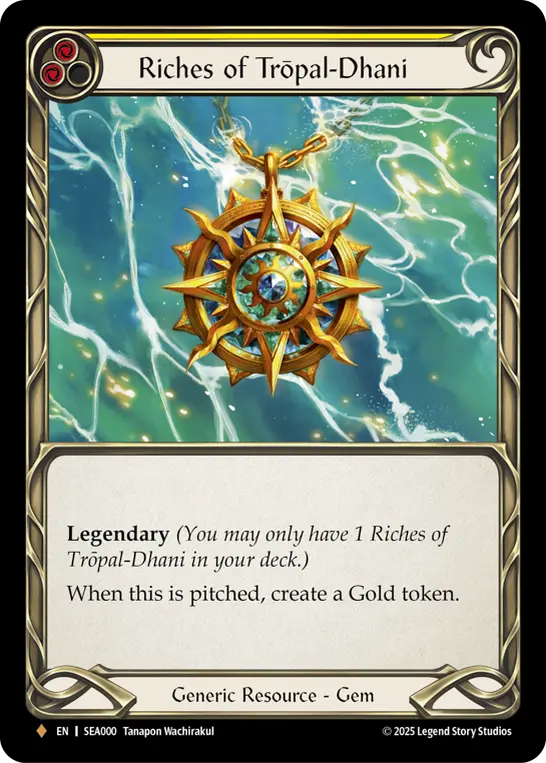
Riches of Trōpal-Dhani
Equipment
Fyendal's Spring Tunic
Fyendal's Spring Tunic serves a simple but crucial purpose: it lets our yellows act like blues, which allows for a more aggressive pitch curve. It’s also great for playing Golden Tipple, and with a blue, it can help buff 0-cost arrows using the cannon.
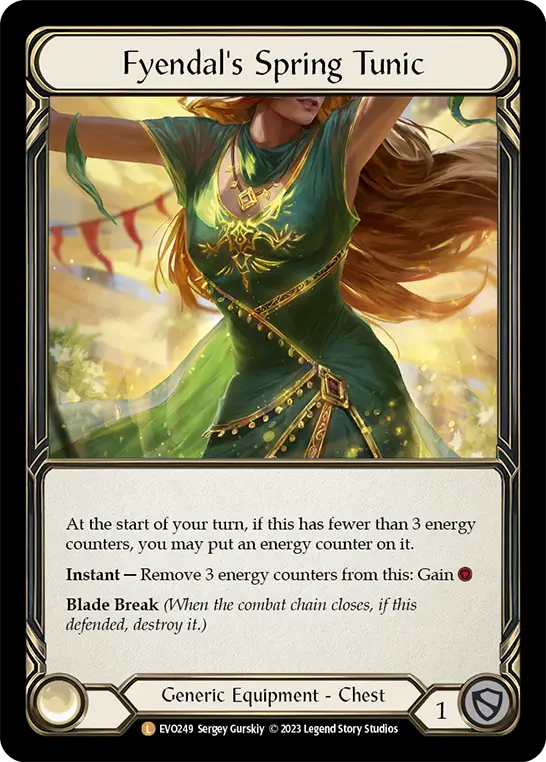
Fyendal's Spring Tunic
Crown of Dominion
Crown of Dominion is an incredible head piece for Marlynn. Most cards that generate Gold in this deck require a harpoon, so starting with Gold makes everything easier. It also gives us a way to play on turn one, even if it’s just drawing and loading with Gold.
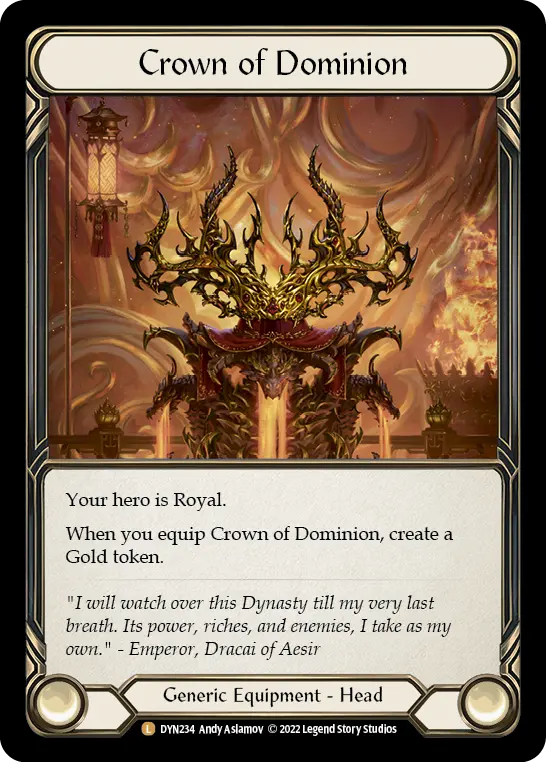
Crown of Dominion
Quiver of Rustling Leaves
Quiver of Rustling Leaves lets us cycle cards on turn zero, and with a high arrow count, it can be clutch in desperate situations. But let’s be honest—we’re running it because the opportunity cost is so low, and the upside is real.
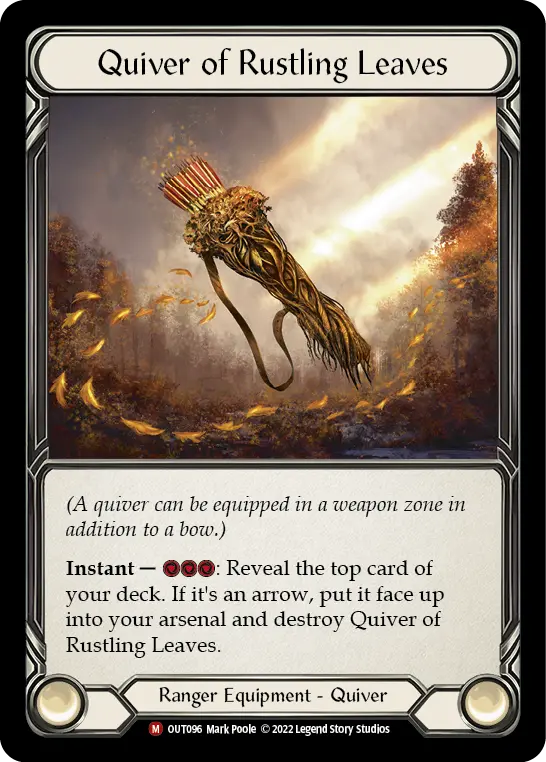
Quiver of Rustling Leaves
Respect Wizards
This one’s simple: if you have enough blues, always pack your Arcane Barrier! We also get some free prevention from our Quiver slot.
Trench of Sunken Treasure not only provides Arcane Barrier, but also helps mitigate the downside of not running Sealace Sarong. It lets us arsenal blue cards, while Skullbone Crosswrap helps set up our Gold draws—both are solid choices.
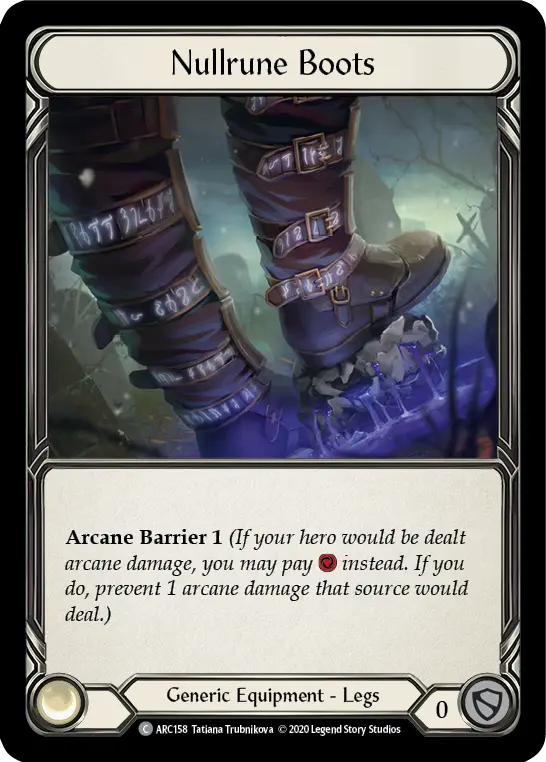
Nullrune Boots
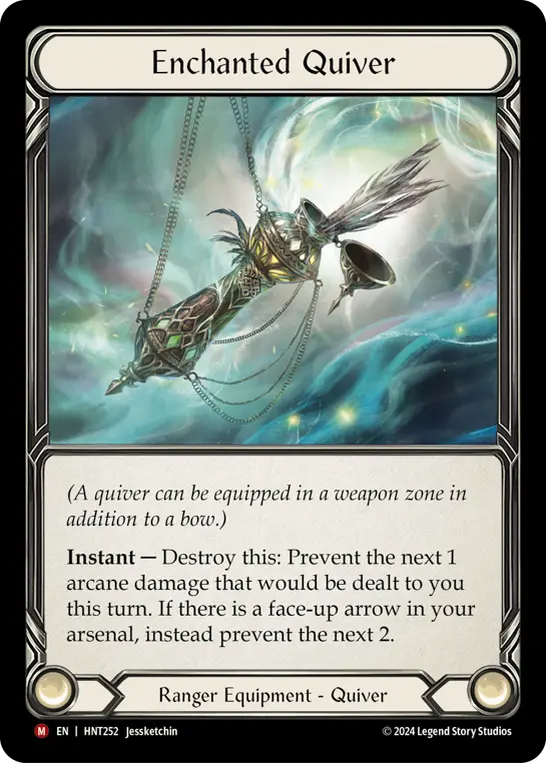
Enchanted Quiver
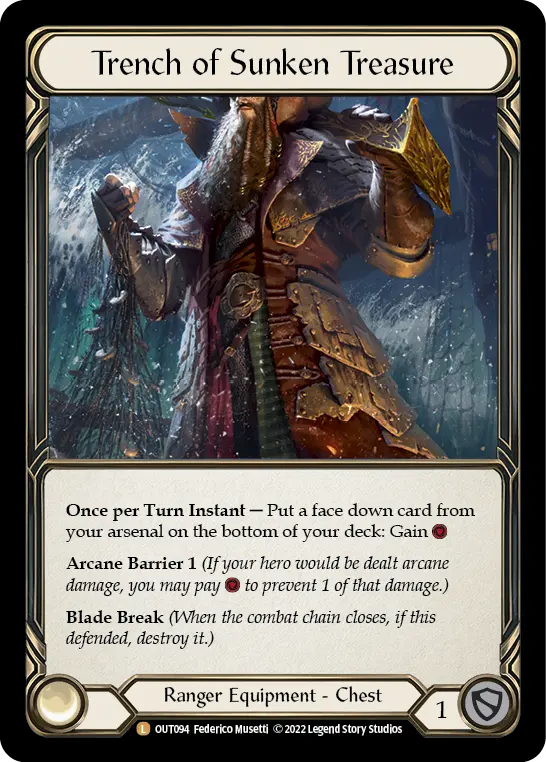
Trench of Sunken Treasure
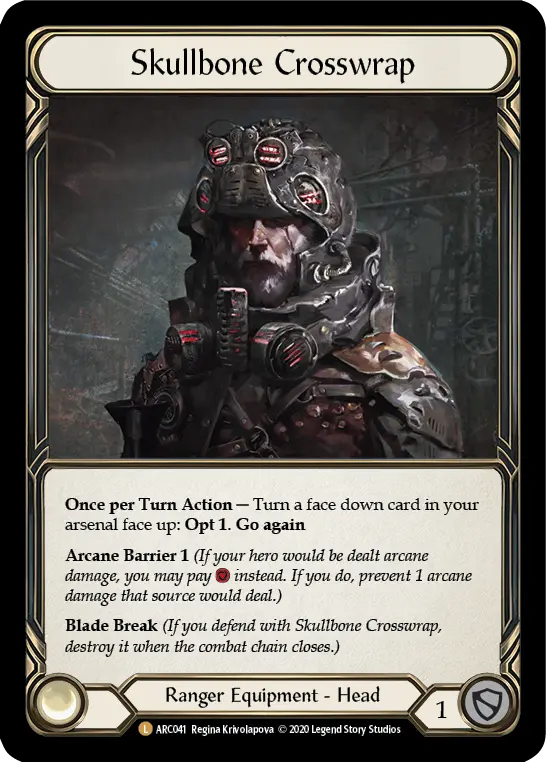
Skullbone Crosswrap
Sideboarding
The sideboard consists of the following:
- 3 Endless Arrow
- 3 Return Fire
- 1 Take Cover
- 3 Tarpit Trap
- Nullrune Boots
- Enchanted Quiver
- Trench of Sunken Treasure
- Skullbone Crosswrap
Everything else makes up the core 60 and usual equipment setup (and I highly recommend sticking to 60—you want to maximize your chances of drawing key cards, and fatigue isn’t a concern). So when do we bring in the sideboard?
- Swap pumps for Return Fire when you know your opponent will be attacking every turn.
- Swap pumps for Tarpit Trap when it’s relevant in the matchup. If defense reactions are important, add Take Cover too.
- If you think you can set up the Endless Arrow loop, take out another pump—keep the ones that synergize well (like Lace with Bloodrot and Take Aim) and maximize your 3-blocks. Golden Tipple might seem risky in this plan, but it’s usually so powerful that it’s worth it.
- Against Kano and Verdance, run Arcane Barrier 3 and Enchanted Quiver—you need to stop the arcane barrage.
- Against Oscilio, swap Crown of Dominion for Skullbone Crosswrap—you’ll generate Gold quickly anyway.
- Runeblades require Arcane Barrier 1, but they’re good at blocking your attacks, so Crown of Dominion helps you start generating Gold. I’d still run Trench of Sunken Treasure here, even if it means losing Fyendal's Spring Tunic.
Metagame Position
Marlynn struggles against decks that can play through her disruption or block her on-hits effectively.
It’s a safe bet that Florian will remain a top deck, alongside Assassins, Azalea, Prism, Gravy Bones, and the occasional Kano. This metagame isn’t particularly hostile to Marlynn (no Warriors or Guardians in sight is great for her), so I wouldn’t be surprised to see her doing well in tournaments—though she’s unlikely to warp the meta. Warmonger's Diplomacy isn't being commonly played right now either, otherwise it would demand some changes to the deck.
Depending on how the meta evolves, we can tweak the deck further. Maybe Gravy Bones overperforms and we need more go again tools to clear allies, or maybe Kassai forces us to include Battering Bolt. Stay alert and stay one step ahead!
Set Sail!
First of all, congrats on making it this far! I tried to keep this read light and fun, but a full deck breakdown is no small feat.
I hope I’ve inspired some of you to give Marlynn a try—and that you’ve enjoyed the journey. See you on the High Seas!