From zero... to your first eighty cards!
Sam Sutherland breaks down his competitive Kayo, Underhanded Cheat Classic Constructed decklist, complete with sideboard and matchup tips. When a new hero hits the track, the pros get you up to speed with Zero to Eighty!
Kayo, Underhanded Cheat is the devilish new Reviled Brute hero from Super Slam. While Brutes generally have a strong reliance on 6-power attack action cards, Kayo has done away with need for these, unlike all other Brutes in Flesh and Blood so far. Rather than wanting to play actual 6-powers, Kayo loves to play (apparently) weaker cards, in order to make use of his hero ability to change the base power of these otherwise-weak attacks to 6.
Kayo’s hero ability is split up into two parts. Firstly, as a (functional) once per turn instant, he may give an attacking (or defending) attack action card base 6 power, at the cost of 4 resources (or just over one card). Secondly, when the crowd boos him, he generates a Vigor token.
These two abilities work together in tandem to generate some high-value plays turn-to-turn: The 1 extra resource provided by the Vigor token from the previous turn’s boo allows us to activate Kayo’s ability by just pitching a single blue. This turn-to-turn play pattern is one we’ll want to employ often, as keeping Vigor tokens flowing is one of the ways to make Kayo consistently above rate.
Notably, we’ll be playing Fyendal’s Spring Tunic to act as a pseudo-Vigor token every 3 turns. Make sure to use this resource wisely – it can allow you to break back into the Vigor-chaining cycle again after you’ve fallen out of it, without holding too many cards to do so.
Now that we know why we’re playing Kayo and what he’s trying to achieve, let’s discuss some of his power plays!
Power Plays
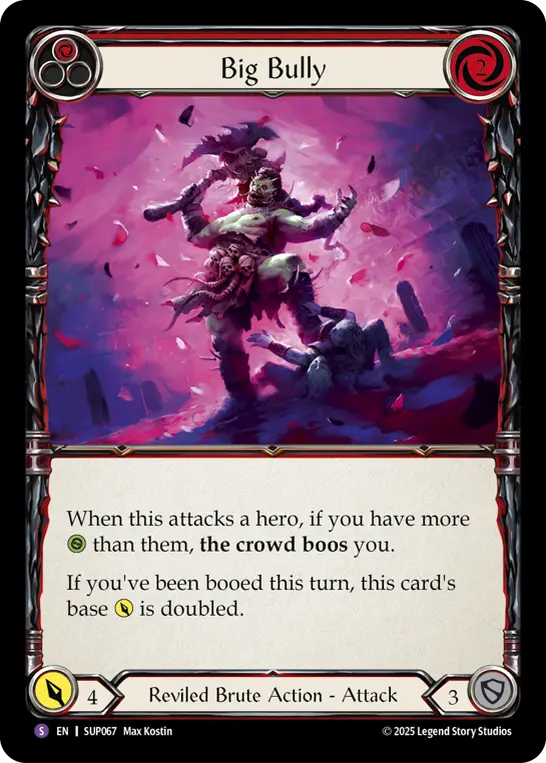
Big Bully
Big Bully is a card clearly designed to be Kayo’s signature play. Whenever we have a chance to resolve Big Bully’s full effect, we’re going to do everything we can to do so. Big Bully is only powerful if we have more life than our opponent. It generates a Vigor from its boo effect, and also doubles its own base power from 4 to 8 at the cost of 2 resources. This is already better than Brute's best attacks, equal to Swing Big and Show of Strength with their 2 for 8 cost ratio, but also generating an extra resource for the following turn.
That’s not all, though – targeting Big Bully with Kayo’s ability bumps its base power all the way up to 12, by the nature of Kayo affecting an attack’s base power, and Big Bully doubling the base power. This makes Big Bully a highly modal card, able to function as a 2 for 8 or a 6 for 12, with a free Vigor token to boot!
Hitting your opponent over the head for 12 may feel amazing, but don’t be afraid of playing it just for 8 – both modes are valuable, and which one we decide to use depends on the situation. Whichever mode you choose, resolving Big Bully will be one of the key ways for Kayo to get ahead in the game.
Big Bully
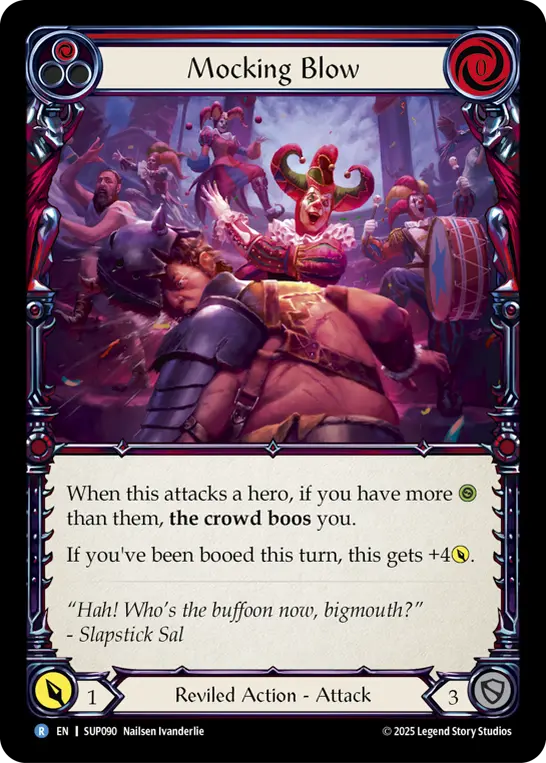
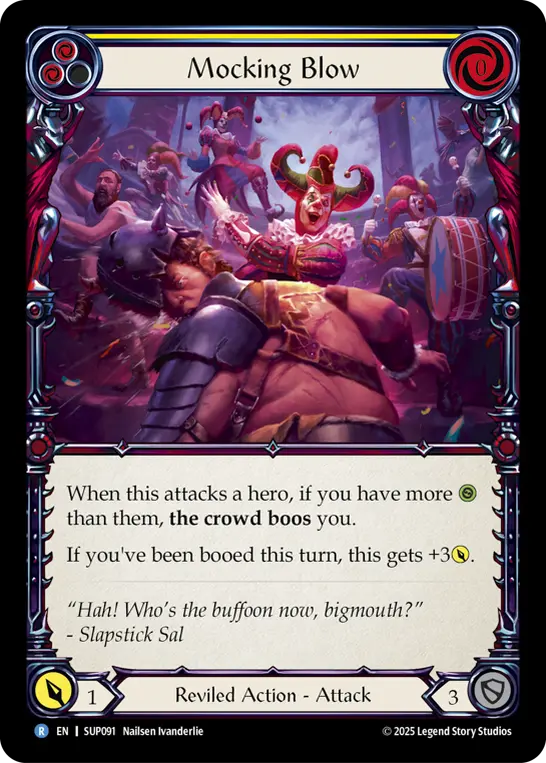
Mocking Blow
Similar to Big Bully, Mocking Blow gains additional effects when we have more life than our opponent. With all colors of this card having a base power of 1 (making them prime targets for a Kayo activation), they also generate a Vigor token and gain an increase in power, making them a functional 0 for 3, 4, or 5 depending on the color played. Kayo’s ability functions as a +5 power increase to these cards, so setting up situations to be able to pay a clean 4 resources into them is the best thing we can being doing. This card is the bread and butter of the deck, which is why we’re playing the full 9 copies.
Mocking Blow’s best play line involves us attacking with it while holding exactly one card in hand with an empty arsenal, and having a Vigor token / Fyendal's Spring Tunic resource. This makes it very difficult for our opponent to work out if we intend to arsenal a card afterwards, or simply choose to activate Kayo on our attack. Even better, if we hold a blue that is a great arsenal anyway (like the next card we’ll talk about), we can option select based on how much our opponent blocks.
Mocking Blow
Mocking Blow
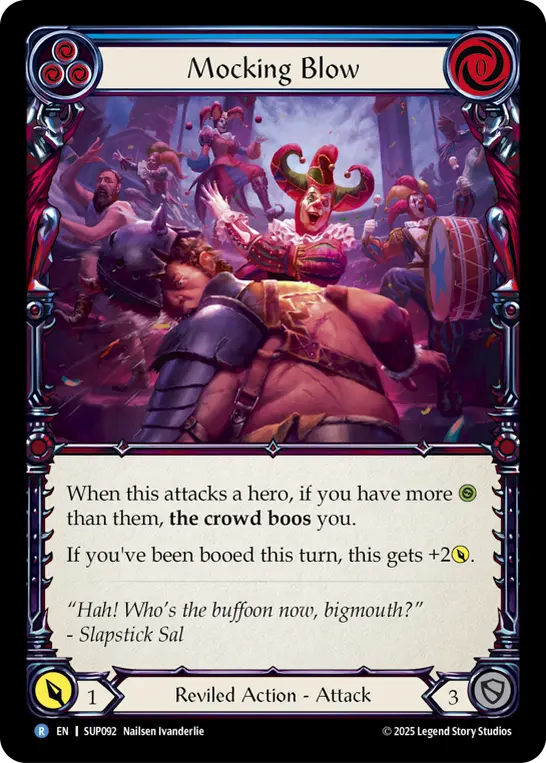
Mocking Blow
Nimby + Nimblism
“What in the name of Fyendal’s left nostril is NIMBY doing in my Brute deck?” I hear you say. While it may seem a tad odd at first glance, Nimby is secretly an incredible piece of Kayo’s resource base. First off, the main play line with Nimby is to use its effect to search a blue Nimblism, which we can immediately sink into Kayo’s ability after blocks to push the base power up to 6. This functionally makes Nimby a 1 for 6 attack - an astonishing rate to be achieving from a blue.
However, if we already have the blue we need to activate Kayo on Nimby, we can instead search a red Nimblism to arsenal. Again, while Nimblism may seem an odd choice in a Brute deck, it is functional on almost everything in this deck, because we actively want to be playing low power (and thus low cost) cards in order to get the absolute most out of Kayo’s hero ability, making Nimblism a potent card in the deck of the Underhanded Cheat.
Notably, because we are now playing red Nimblism, we have the opportunity to play Nimblism payoff cards, such as the Jack cards or Nimble Strike. We want to be playing fewer copies of payoff cards compared to copies of Nimblism so that we can be sure the payoffs will almost always be online, so I’ve opted for 5 copies of Nimblism (so that we still have the luxury of being able to block with a blue copy if necessary, or arsenal our searched blue copy if our opponent decides to block our Nimby for 6), and 3 payoffs. Per my personal preference, I’ve included a single Nimble Strike and two copies of Jack Be Nimble, as I prefer Nimble Strike’s cost curve, but don’t want to take the 2-block density too high. Feel free to experiment with the ratio of these cards to find works best for you!
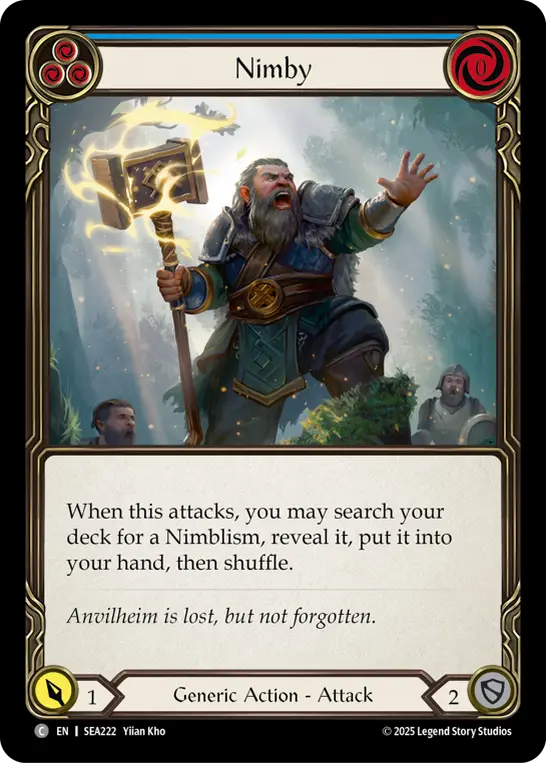
Nimby

Nimblism
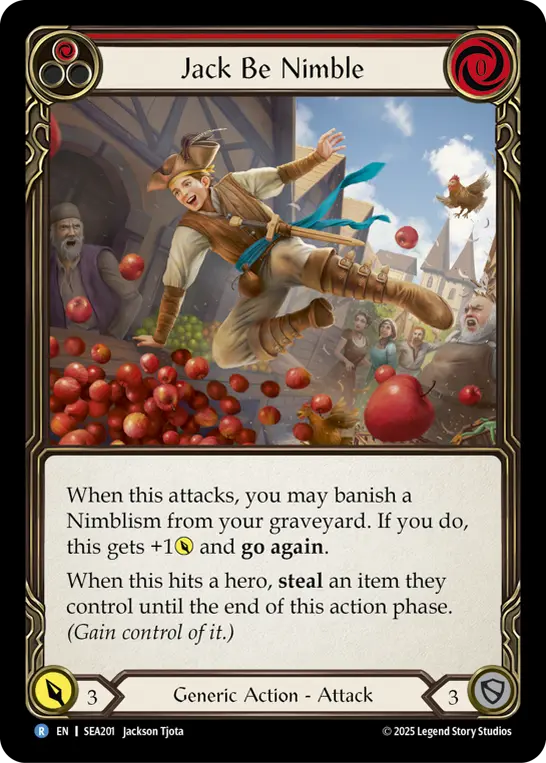
Jack Be Nimble
Looking for a Scrap
As a Mechanologist player exploring other decks, I always get a little bit excited at the prospect of being able to put Looking for a Scrap in a deck. Looking for a Scrap is a 1 for 5 with go again, slotting perfectly into a turn with any 2-cost attack, such as Mandible Claw, Swing Big, Show of Strength, or Big Bully.
A large portion of our resource base, as well as every copy of Mocking Blow, all function as fodder for this card, so the chances are this will always be online when you wish to use it. Always make sure just to double-check your graveyard before making a plan to play it though – you don’t want to be caught without go again!
3 copies of the blue version make the cut too, assisting us with hand conversion if there’s ever a turn cycle we’re not given the opportunity to defend. Furthermore, at low life totals, the blue can be very threatening, as we can pump it all the way up to 7 with Kayo’s ability, or hold our fire until the second attack for the turn, potentially putting our opponent in a lose-lose situation.
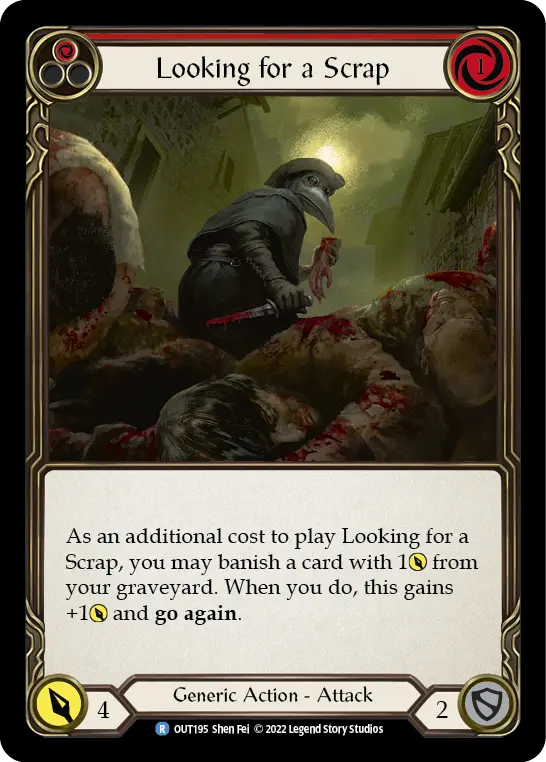
Looking for a Scrap
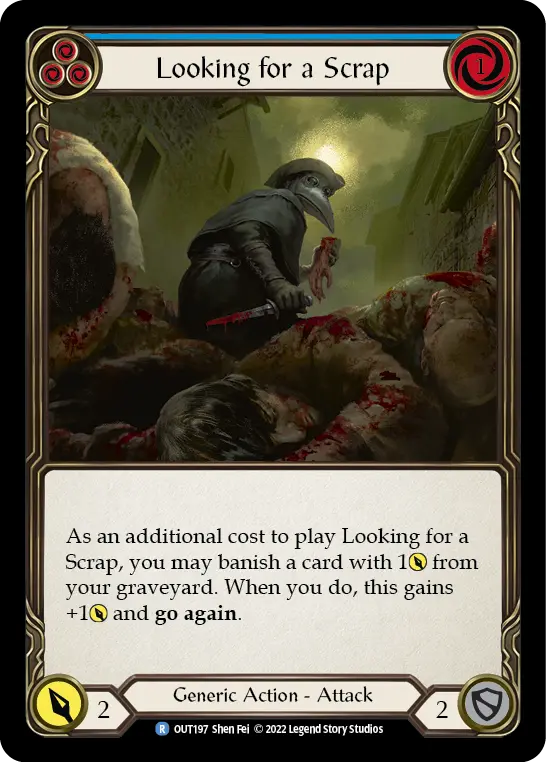
Looking for a Scrap
Brute stuff
While we’re definitely not a traditional Brute deck, there’s no reason we can’t make use of some of the class’s most powerful cards! To that end, we’ve employed the use of both Swing Big and Show of Strength. While these cards don’t synergize with our hero ability, they are incredible two card plays, and they curve nicely such that we can make use of the resource we would have leftover from just pitching a blue. When we see these cards, we want to do our absolute best to play them, as they are simply incredible numbers.
Similarly, we also play blue Wrecker Romp simply as a blue 3-defense that can generate a Might token from Apex Bonebreaker.
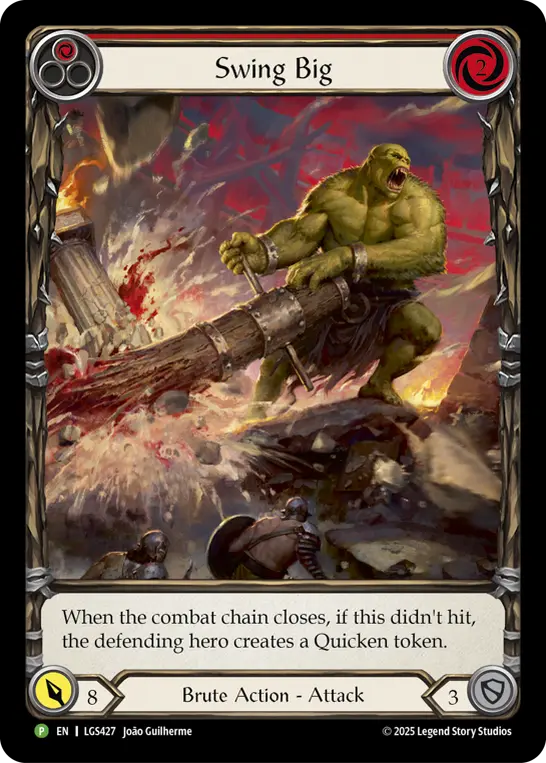
Swing Big
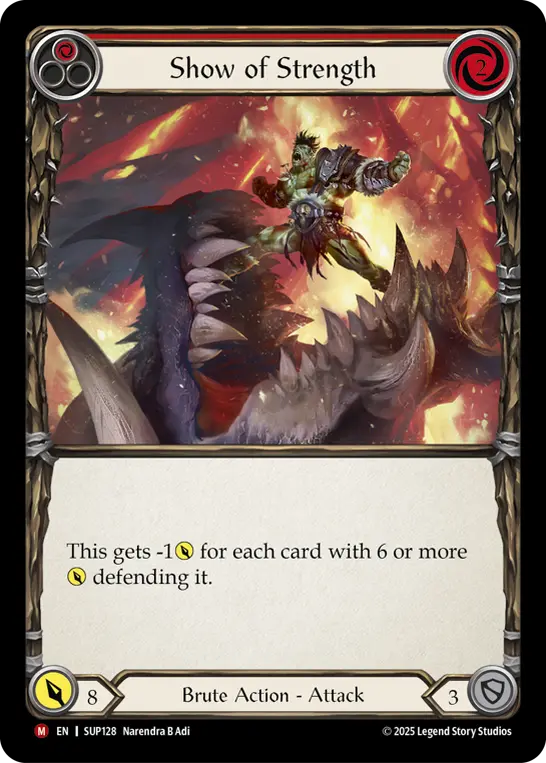
Show of Strength
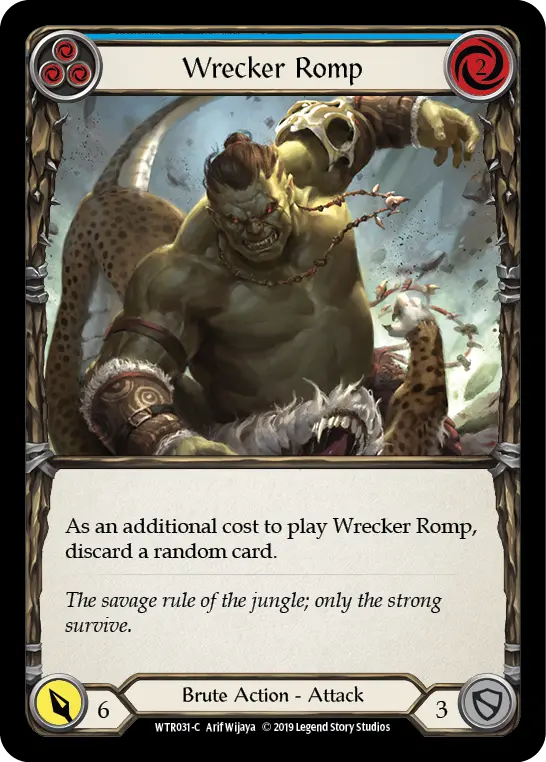
Wrecker Romp
Cute stuff
Approaching the late stages of the game, it’s often difficult to completely block out all Kayo’s attacks, due to his hero ability’s reactive nature. This makes Kayo often able to naturally close out a game. However, there is still the potential to have a long game against some heroes who will try running you out of cards.
To account for this, hidden deep in the resource base is a mini combo to counter fatigue. The deck has a single copy of Barraging Beatdown (blue), with a simple use case. Well into second/third cycle, Barraging Beatdown functions with Bully Tactics to force a turn with quadruple intimidate. Bully Tactics can be stored in your inventory and searched with Outside Interference (more on that card soon).
Access to this combo, alongside the threat of a Kayo activation on any attack in the late game, should be enough to scrape through enough damage to finish off those pesky fatigue decks!
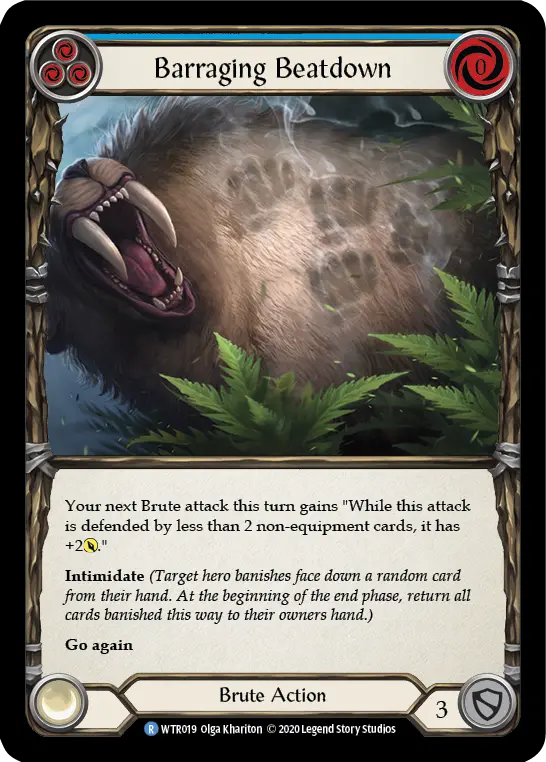
Barraging Beatdown
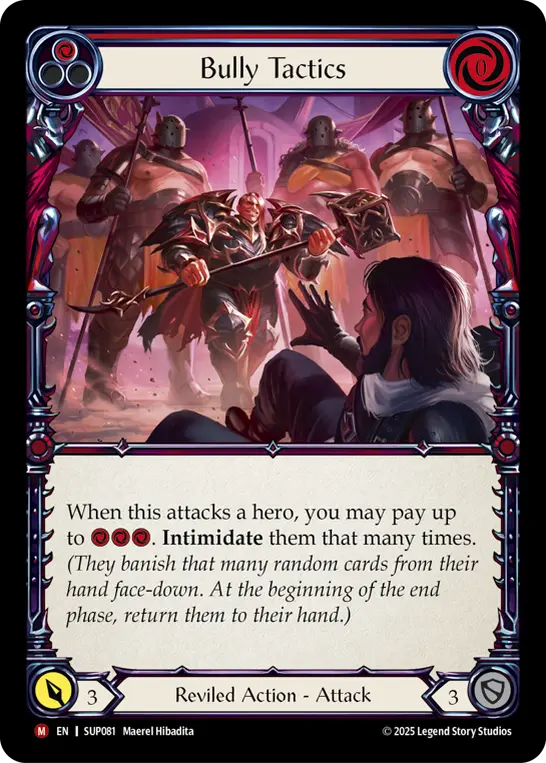
Bully Tactics
Boo stuff
One of the trickiest parts of building Kayo is working out how to make the deck function decently when left with a full hand, without majorly impacting the deck’s ability to produce the greatest value possible each turn cycle, including total block and attack value. A few select cards exist within the deck to help improve the hand conversion, including cards like Villainous Pose, Booze!, and Looking for a Scrap (blue).
It’s worth being aware of this challenge, as it will be important against some heroes (e.g. Earth) to have a higher rate of hand conversion, because you’re more likely to be forced to play a larger hand, whereas against other heroes (e.g. Ninja), it may be more important to keep block values high at the cost of hand conversion, because you can always expect to be attacked each turn, and thus can always convert cards on defense.
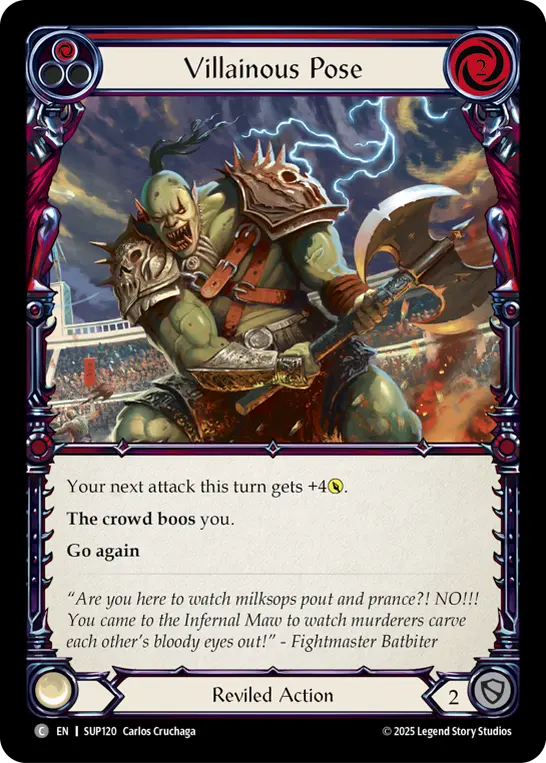
Villainous Pose
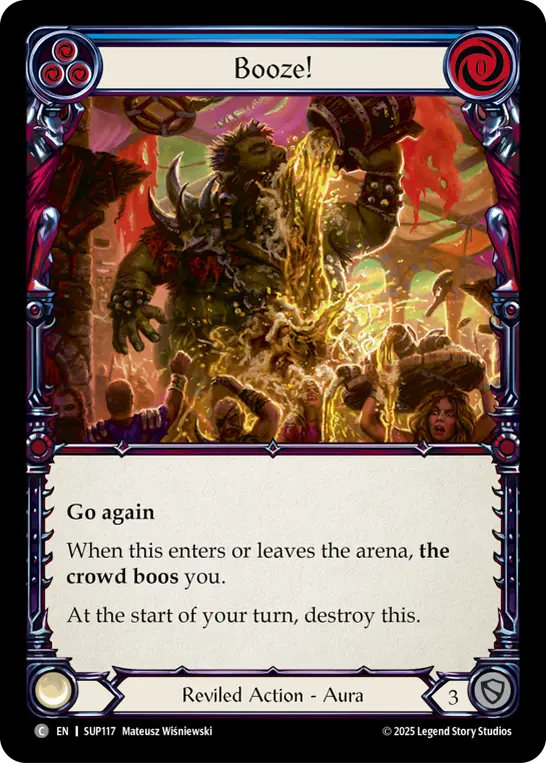
Booze!
Life gain
As noted earlier, a number of Kayo’s most impactful plays are linked to effects that trigger only if we have more life than our opponent. This raises somewhat of an issue from the gameplay side of things – how are we supposed to maintain a life total higher than our opponent's? Two main things help achieve this – a smattering of life gain, and strong blocking equipment.
3 copies of Sigil of Solace and 2 copies of Fiddler’s Green make the cut, allowing us to jump ahead on life from behind, pulling us abruptly back into the game. Sigil of Solace also has the added benefit of being a sidestep, the only card in our deck that can potentially bait our opponent to overdefend an assumed to-be-Kayo-ed attack. Sigil of Solace is one of the only factors that makes Kayo not an entirely face-up deck, so make sure to Sigil wisely to outmaneuver your opponent.
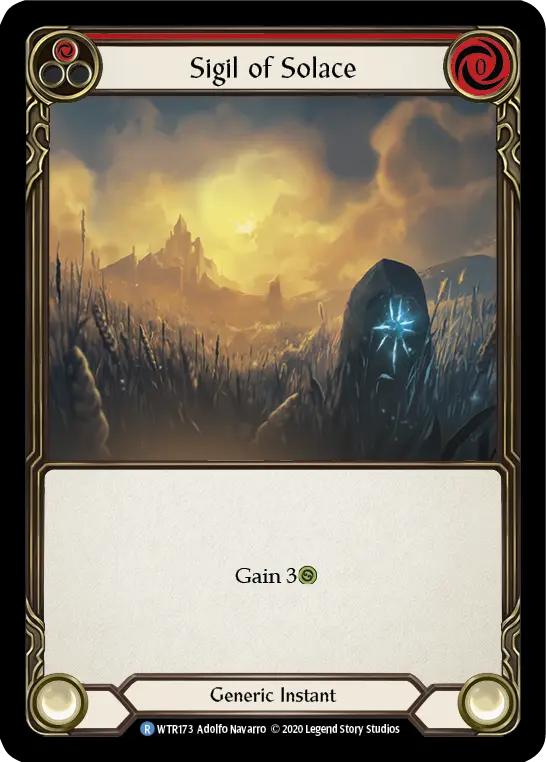
Sigil of Solace
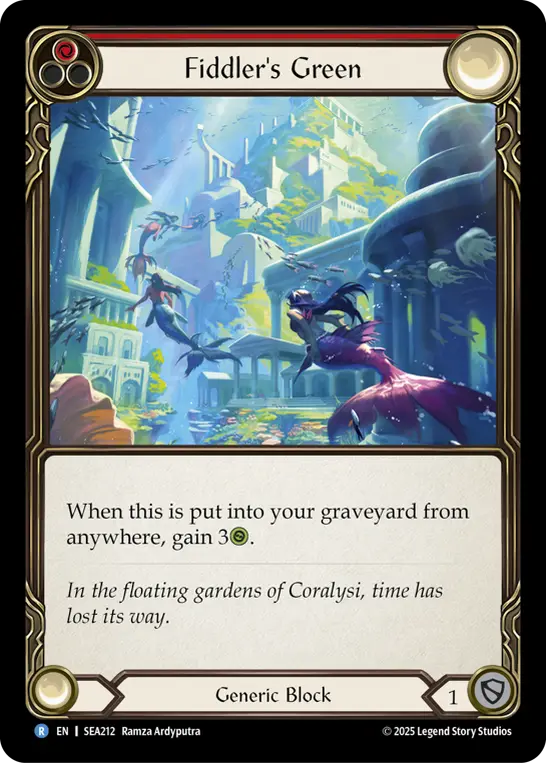
Fiddler's Green
Equipment
In our equipment suite, we’ll be playing with Scowling Flesh Bag, Fyendal’s Spring Tunic, Apex Bonebreaker, and Scabskin Leathers. Because many of our cards only function well at higher life, we’re going to be using our equipment defense a little more aggressively than we otherwise would be. In an ideal world we’d love to save it to stop key on-hits throughout the game (and we should do this if we’re comfortably ahead), but what’s most important is ensuring our own deck functions correctly. We want to block well early, use Scowling Flesh Bag to shut off an early aggressive turn, and maintain ourselves at a life total above our opponent's for the majority of the game.
Scabskin Leathers… what a card! With Kayo’s reliance on staying healthy throughout the game, choosing not to bring a piece of equipment with Battleworn 2 is unfortunately not a luxury we can afford. Thus, Scabskin Leathers is our main leg piece, and its impact on the game needs to be understood in Kayo far more than in other Brute heroes. There is one key reason for this, being that if you fall behind, a significant amount of your deck’s power is permanently turned off.
Rolling a 1 on Scabskin Leathers in the early section of the game is practically a death sentence - your opponent wins tempo, pressures your life total, and you’re no longer able to both keep your life high enough to play Mocking Blow or Big Bully for any value. It’s a rough cycle to fall into, so always think exceedingly carefully before making the decision to roll Scabskin Leathers. Is the potential upside worth it compared with the impact on the game rolling a 1 would cause? Remember, if given the option, you should always block with excess cards where possible to avoid ending up in a situation where you’re forced to roll the die to convert your hand.
Truthfully, there are some scenarios where rolling Scabskin Leathers is the correct action to be taking. Whether it be because you’re falling behind and need a good roll to get back in the game, or because the potential downside is low and your opponent is unlikely to be able to convert their whole hand anyway. Ask yourself whether you have focused purely on the upside, with no consideration for the potential downside.
However, there’s almost no reason not to be rolling Scabskin Leathers on the very first turn of the game, if you are going first. The potential upside is high, while the potential downside is near-zero. Threatening a Kayo activation on a tiny attack, especially Nimby, then moving on to the next one when they overdefend can be a great way to leak damage on the first turn.
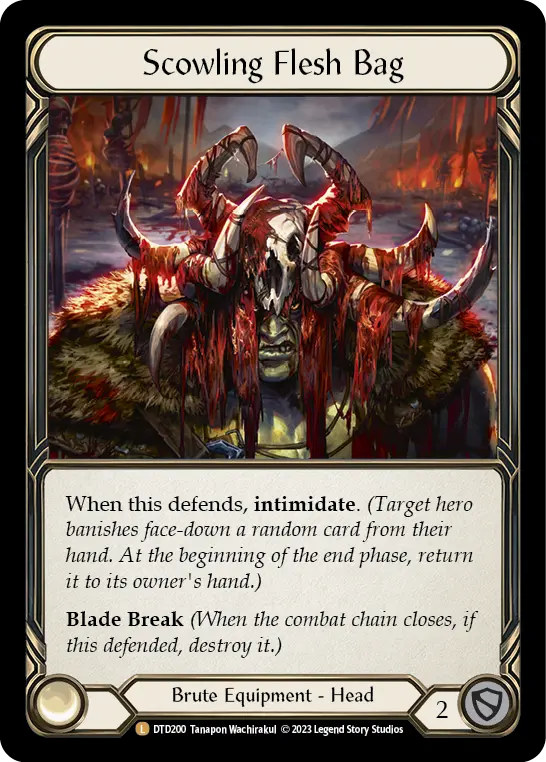
Scowling Flesh Bag

Fyendal's Spring Tunic
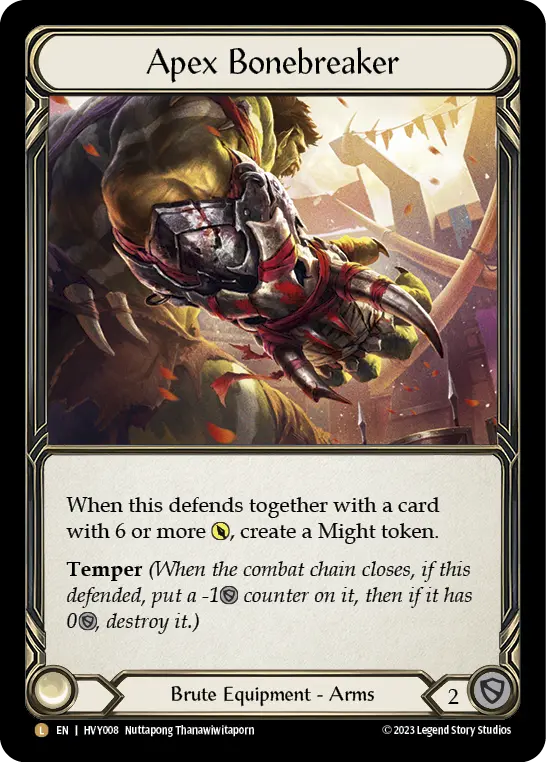
Apex Bonebreaker
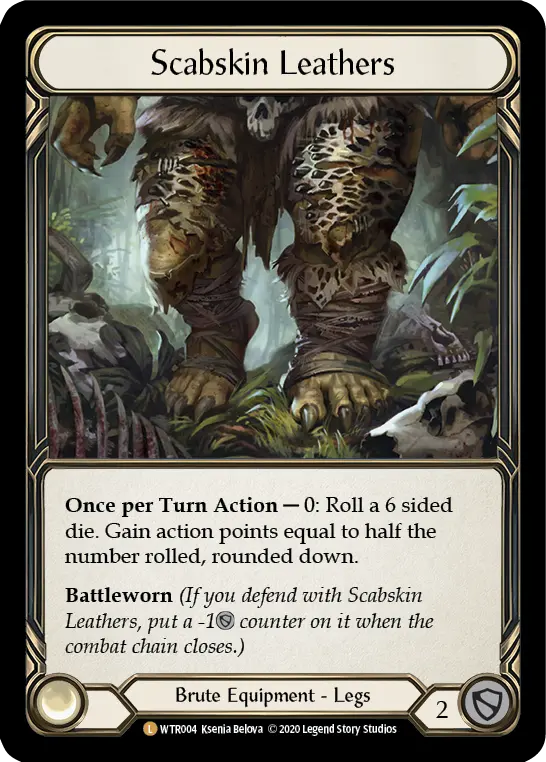
Scabskin Leathers
Outside Interference
Throughout the process of building this deck, out of anything else this deck has to offer, I have been looking forward to discussing this card the most. Outside Interference is a masterclass in game design, and is without a doubt the most versatile card in Flesh and Blood history, with an uncountable number of different uses it could have. I can do nothing but applaud Legend Story Studios for printing this type of effect, it really puts my brain into overdrive each and every time I draw it.
First thing to note – it is the only card in our deck that can turn on the innate go again effect of Mandible Claw. Any time you see this card in your hand, you don't just consider playing any of the Reviled attacks in your toolkit, but also consider whether slotting in a Mandible Claw attack fits the cost curve nicely too.
Because of this card, we’ll actually keep a few copies of the previously mentioned power plays in our inventory instead of in our main deck, waiting for the right moment to strike!
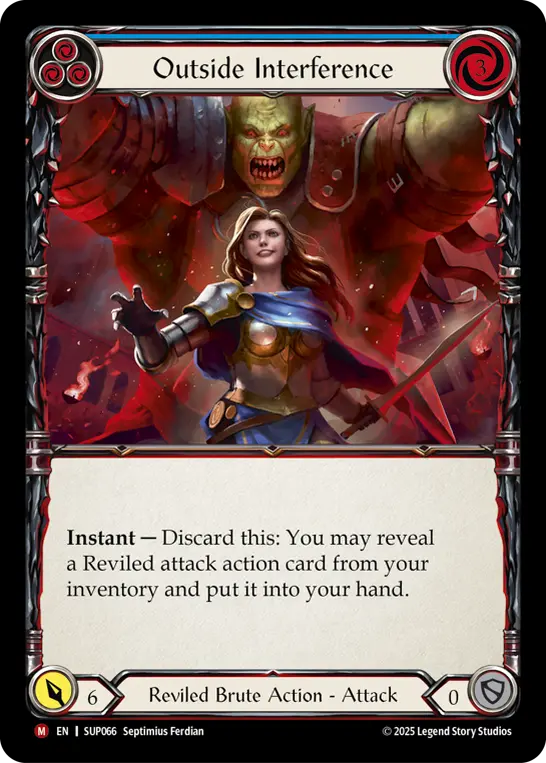
Outside Interference
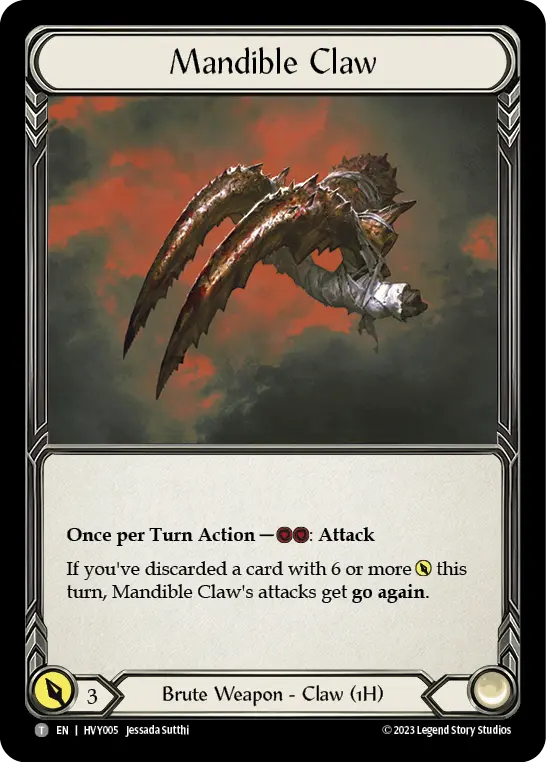
Mandible Claw
The Toolkit
Kept in our inventory instead of the main deck, but considered separate from the rest of our sideboard cards, is the Outside Interference toolkit, consisting of:
- 1x Big Bully
- 1x Mocking Blow (red)
- 1x Bully Tactics
- 1x Take That! (red)
- 1x Tear Down the Idols
- 1x Bask in Your Own Greatness (blue)
- 1x The Old Switcheroo
While some cards in your inventory can be used to target certain matchups, it also has an additional use. Kayo’s inventory functions as his "toolkit" of Reviled attacks to choose from during each game, using Outside Interference. Single copies of Big Bully and Mocking Blow always exist in the inventory to be searched, and these two are usually the best to fetch.
However, a number of other cards can also be very useful to search. Use Bully Tactics to surprise kill an opponent out of nowhere with multiple intimidates, or to leak damage on the first turn. Sneak attack your opponent with Take That! after they’ve already declared blocks on what they think is the final claw attack for the turn. Tear Down the Idols acts as a simple 3 for 7 or as a block with Apex Bonebreaker. Set up Might tokens on the first turn of the game with Bask in Your Own Greatness. Make Victor Goldmane cry by searching for The Old Switcheroo in response to their clash trigger. Simply search a blue and pitch it for Mandible Claw, which now has go again!
The more I’ve played the deck, the more use cases I’ve seen for this card, and I’m sure in your games you’ll find things I haven’t even considered. There’s also an incredible amount of future design space for this card, when the next batch of Reviled attacks get released.
Big Bully
Mocking Blow
Bully Tactics
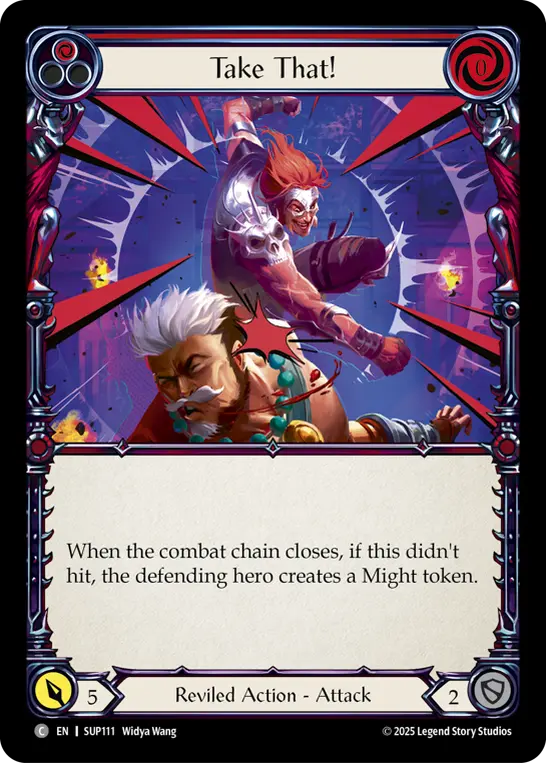
Take That!
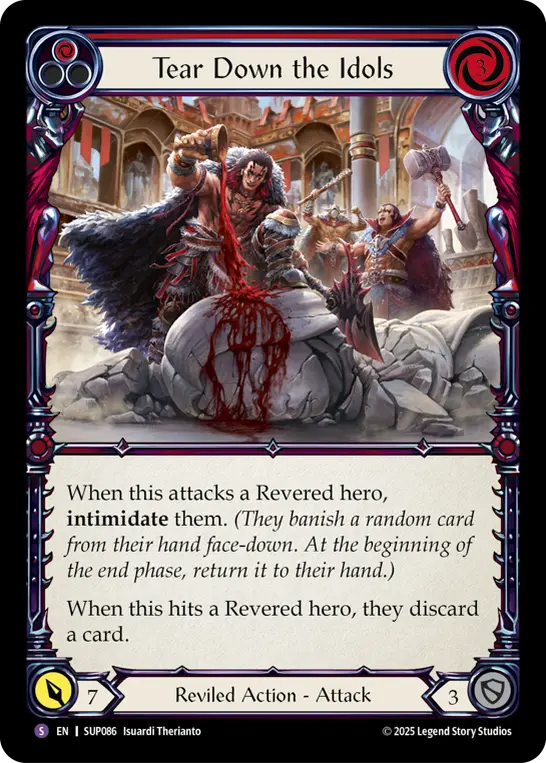
Tear Down the Idols
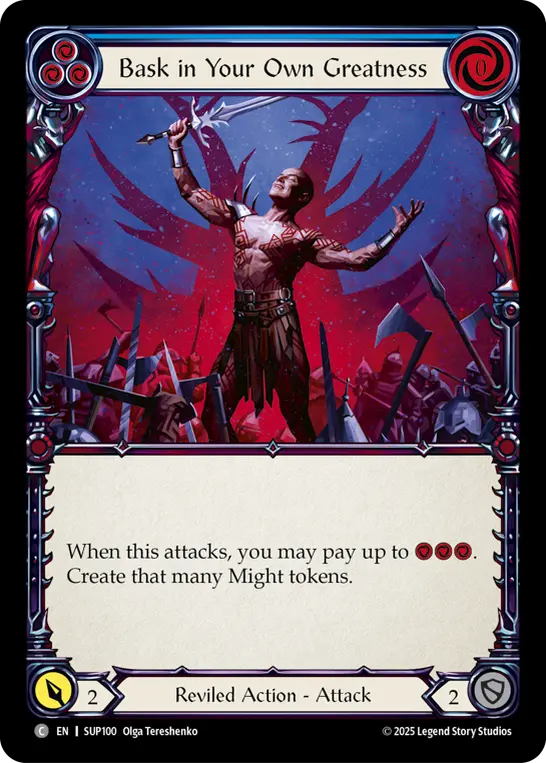
Bask in Your Own Greatness
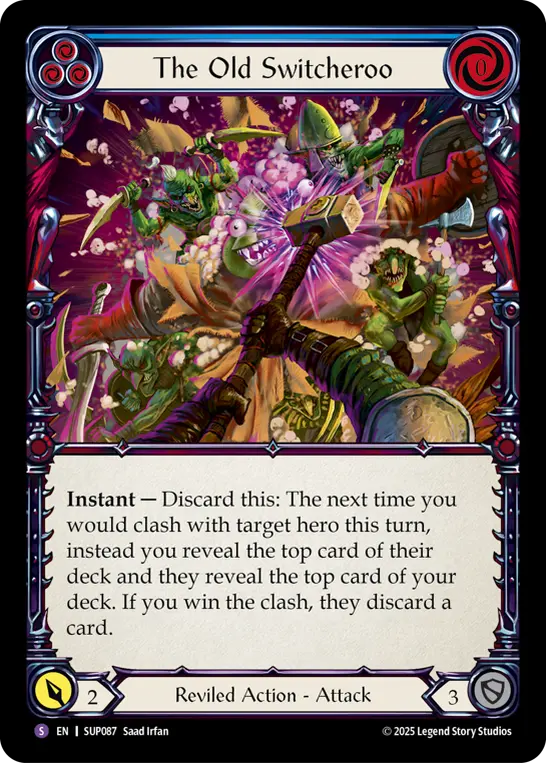
The Old Switcheroo
Sideboarding
For this hero specifically, it’s important to know which cards are considered in the “main deck”, which are in the “sideboard”, and which are in the “toolkit”.
The toolkit consists of the cards mentioned above that are stored in our inventory as targets for Outside Interference.
The sideboard consists just of our arcane protection (Nullrune Boots, Skullhorn, and Spell Fray Gloves), 3 copies of Outed, and 2 copies of Steal Victory (with the third copy living in the main deck).
All remaining cards, including our 5 main equipment and weapon, are the main deck.
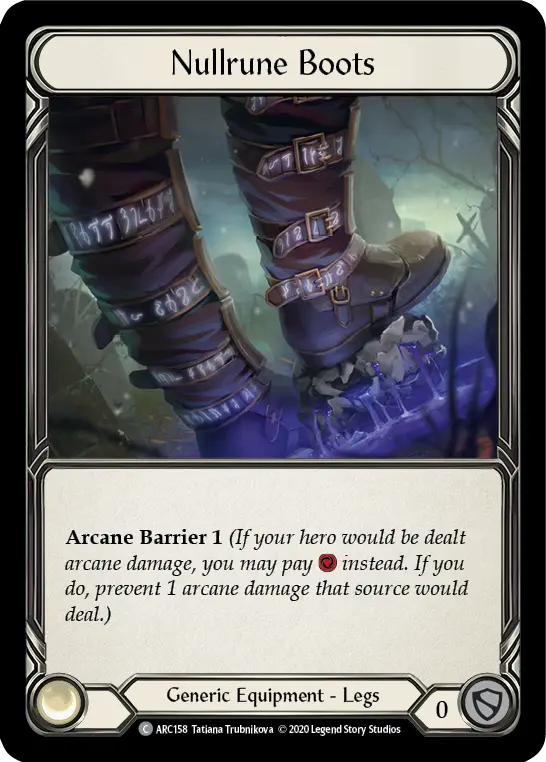
Nullrune Boots
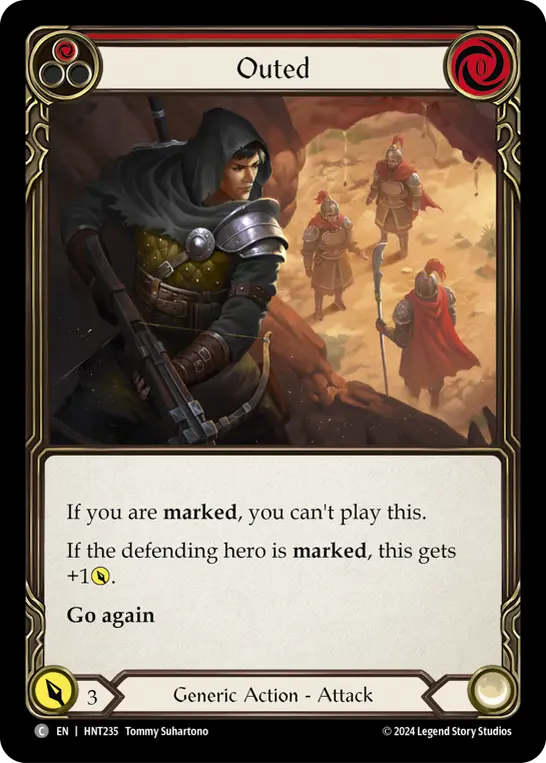
Outed
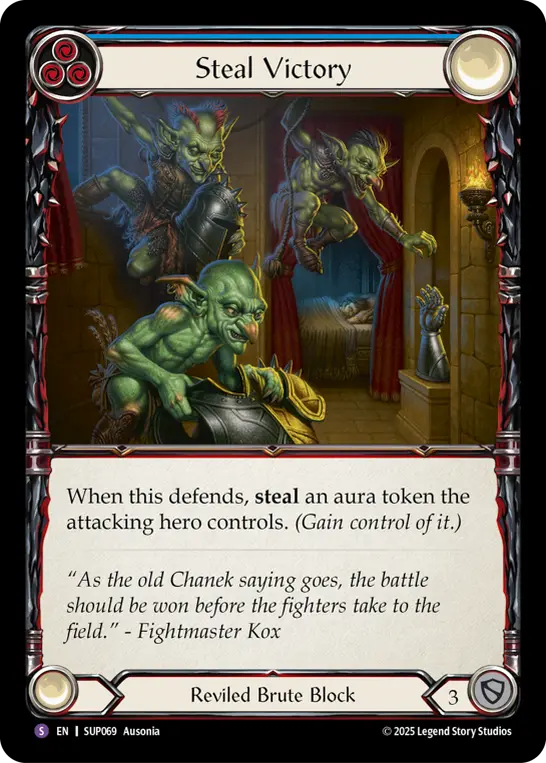
Steal Victory
In general, we’re going to use Outed to improve our hand conversion into some matchups, and use Steal Victory to have a flexible resource base (i.e. siding out a couple of blues if they serve a below-average purpose in a given matchup). Thankfully Kayo’s main deck is very good at targeting most of the heroes in the format, so the 5 in-deck sideboard cards just shore up a few weaknesses, and grant him an edge against some of the more powerful heroes we should expect to sit across from.
Earth
Notably, the main deck contains 5 cards whose only function is to defend - Fiddler’s Green and Sink Below. It’s very important to have the ability to sideboard into a deck that does not need to rely on the option to defend every turn cycle, as this can be very detrimental into certain decks such as Verdance, with her numerous tall arcane spells she has access to after the release of Super Slam, while also being an Earth hero we need to kill before they reach their powerful late game.
Into Florian, Verdance, and Jarl, we’re going to remove all 5 defensive main deck cards, in exchange for our 5 sideboard cards (increasing the blue density is totally fine, especially since two of these three will attack us on the axis of arcane damage).
Kassai
Kassai also poses a tad of a problem for us - a lot of our resource base is attack action cards, which in an ideal world we won’t be using to defend against Cintari Sabers. In this matchup, replace 2x Rowdy Locals with 2x Steal Victory, to improve the defensive potential of the deck, while also having the potential to steal an opposing Vigor token created from Grains of Bloodspill.
Gravy Bones
While Gravy Bones took a hit from the recent Banned and Restricted Announcement, he’s still alive (well…) and kicking. Given Outed is the perfect card for killing a cheeky Sawbones, we may as well make use of it, especially given we have very few cards that turn on Mandible Claw's go again. We’ll replace 2x Fiddler’s Green and 1x Sigil of Solace for 3x Outed, to give us the aggressive output we need to deal with any skeletons that hit the board.
Cindra
Cindra is a deck that allows us to block each and every turn, and also requests we block a lot, thanks to Mask of Momentum. This is the matchup where hand conversion is the least important, while ability to block and convert for the highest rate is the most important.
For this reason, we’ll side out 2x Villainous Pose and 1x Looking for a Scrap (blue) for 2x Steal Victory and 1x The Old Switcheroo from the toolbox. This overall increases our turn-to-turn value when we have the opportunity to block, which should be every single turn against a deck like Cindra.
Kayo, Armed and Dangerous
Our alter ego, Kayo, Armed and Dangerous is set up to be one of the most powerful heroes in the upcoming meta, with all the support he gains from Super Slam. If we play against him, Steal Victory is going to be one of our most important cards to make use of.
Stealing a Might token from Kayo, which is possible every single turn cycle, makes this card worth 5 value on its own. This is the type of value we’ll need to get back in the game against a deck with access to Bloodrush Bellow. We’ll pull out 2x Rowdy Locals for this, and use Steal Victory wherever possible to turn the game in our favor.
Others
If you’re able to grasp the principles about why each card exists within the deck, you should be able to make informed decisions when it comes to approaching other matchups. To apply these informed sideboarding decisions elsewhere, just consider how much hand conversion matters and whether or not the opponent makes valuable aura tokens, to work out the value of Outed and Steal Victory compared to the rest of the cards in the deck.
Get in the Ring!
Kayo is the most unique Brute we’ve seen in Flesh and Blood so far, which opens him up to a world of creativity in deckbuilding. This is by no means the only way to build Kayo, but it’s what I’ve found the most success with, using impressive turn-to-turn value, the ability to convert hands where necessary, and the most interesting and powerful toolkit we’ve seen in a hero to date. Kayo stands out as a strong meta contender moving forward, and I can’t wait to see what becomes of him in the Deathmatch Arena!