From zero... to your first eighty cards!
Yuki Lee Bender breaks down her competitive Gravy Bones, Shipwrecked Looter Classic Constructed decklist, complete with sideboard and matchup tips. When a new hero hits the track, the pros get you up to speed with Zero to Eighty!
Gravy Bones is a very exciting addition to Flesh and Blood’s Classic Constructed metagame, representing not just one, but two brand new classes in Pirate and Necromancer. As such, he is built almost entirely out of new cards from High Seas, and really puts on display what some of the new cards are capable of.
Gravy Bones in some ways reminds me of a mix of Dromai (with his ability to create allies) and Dash I/O (with his top of deck knowledge and potential future draws being highly important), while also having his own flavor and feel, thanks to boats, drinking rum, and swarming enemies with his horde of undead crewmates.
In this article I’ll share my current list for Gravy Bones and discuss card choices, play patterns, equipment, sideboard plans, and more.
Card Choices
This decklist is on the lower end of total number of allies played and instead focuses on utilizing lots of go again attacks to provide additional pressure, while using high power allies as chain enders.
The rationale behind having so much access to go again is that it gives us flexibility to convert our hands for good value, even if our opponent decides to take a defensive line and clear our allies.
In Gravy Bones you don’t always get the option to defend, so I believe that being able to consistently pressure and convert hands is paramount.
Go again attacks
Saltwater Swell can be used to fuel High Tide for Swiftwater Sloop and/or Conqueror of the High Seas turns, allowing you to push wide combat chains with very high damage output.
Golden Tipple, in addition to being a go again attack, allows us to discard allies while drawing a card and getting a Gold for our troubles! Additionally, because we have already created a Gold, we can activate Gold-Baited Hook to threaten additional Gold generation either on the Golden Tipple or a later Pirate attack without the risk of it being destroyed.
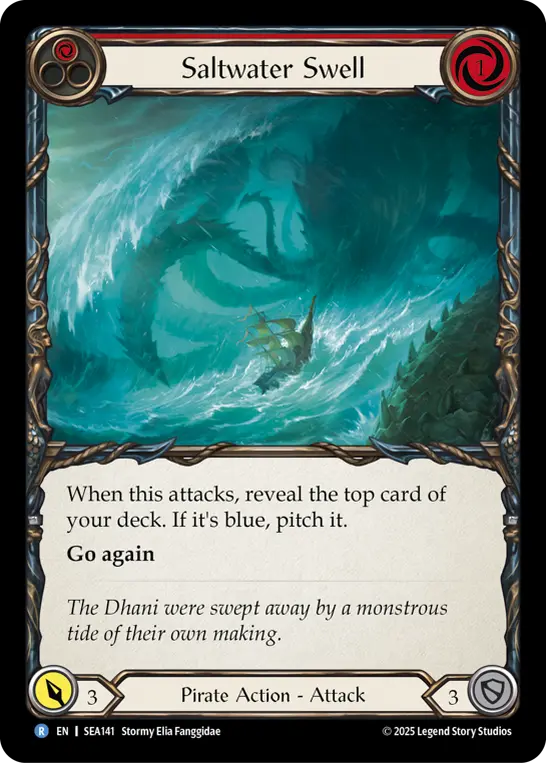
Saltwater Swell
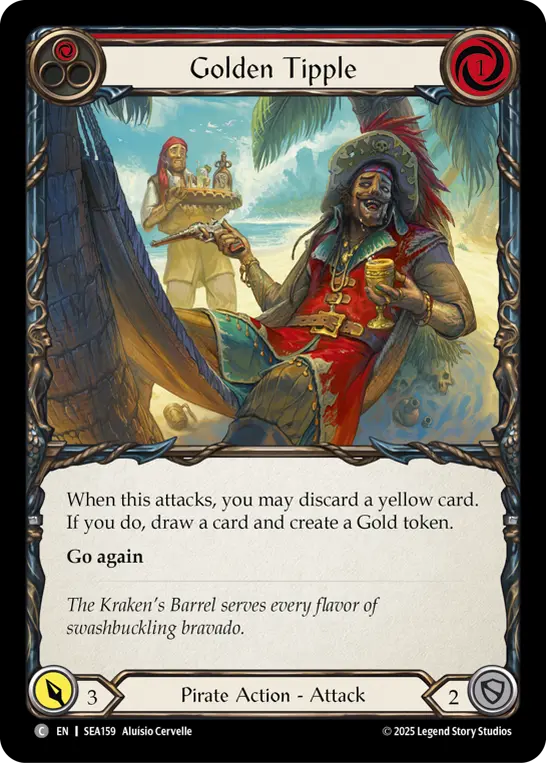
Golden Tipple
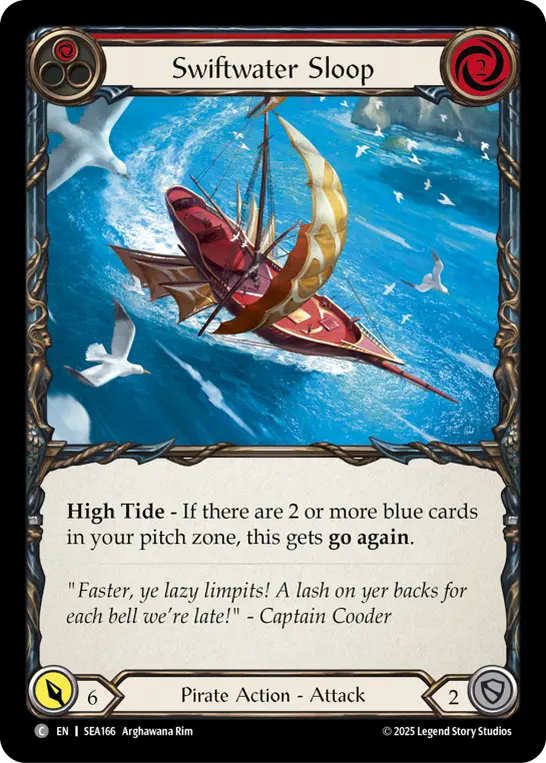
Swiftwater Sloop
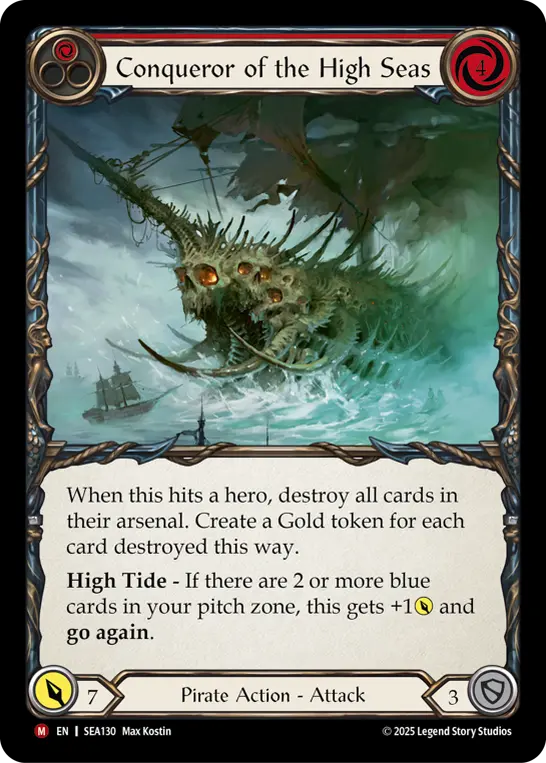
Conqueror of the High Seas
Allies
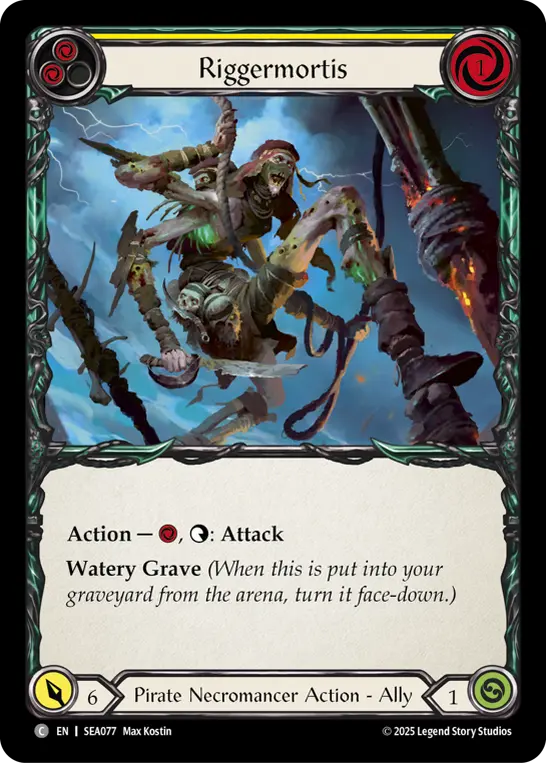
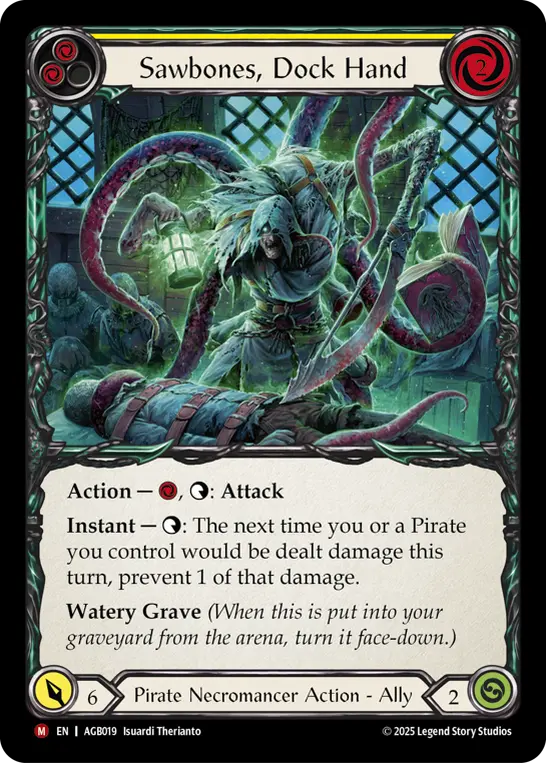
This decklist favors a low ally count to avoid drawing too many of them at once. Riggermortis and Sawbones, Dock Hand are both excellent 6-power allies with low resource costs, and Sawbones also has a nice defensive ability when we have multiple allies available.
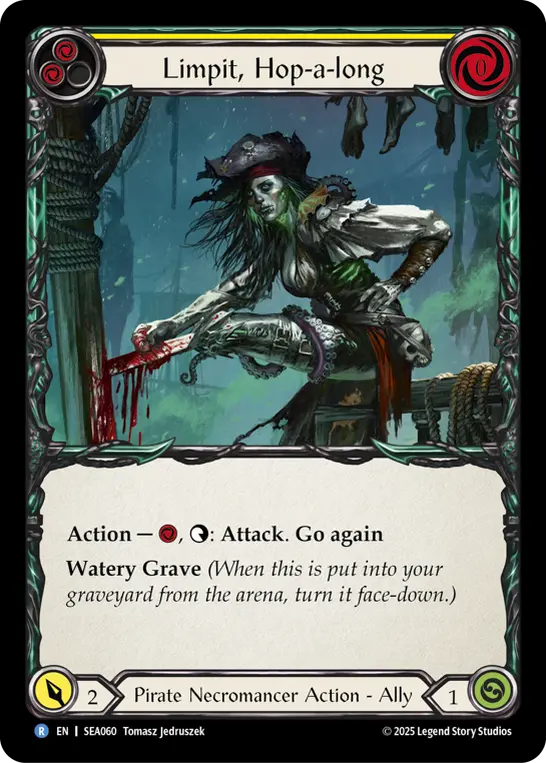
Limpit, Hop-a-long is the only ally with go again and essentially represents a Zephyr Needle that has to be attacked to be destroyed, making her an excellent choice at punishing our opponents for leaving allies on board from the previous turn cycle.
Chum, Friendly First Mate is expensive, but has a nice 4-power attack for 0 resources, is very tough to clear with 6 life, and often buys us a lot of space, since the activated ability forcing attacks to target him can be very scary for opponents.
Riggermortis
Sawbones, Dock Hand
Limpit, Hop-a-long

Chum, Friendly First Mate
Blue starters
Because Gravy Bones requires you to have a blue enter your graveyard in order to play Watery Grave cards from your graveyard, the deck wants lots of blues with go again. I have focused on including what I believe to be the highest value blues, while still trying to maintain a good amount of 3-blocks.
Give No Quarter, Chart the High Seas, and Saltwater Swell generate resources, Murderous Rabble is an efficient attack when it reveals a blue, Loot the Hold offers disruption, and Golden Tipple feels like a glue piece for the deck. Call to the Grave is a great utility blue that can find any ally we want and also enable Dead Threads, which really helps us play a lower number of total allies in the deck.
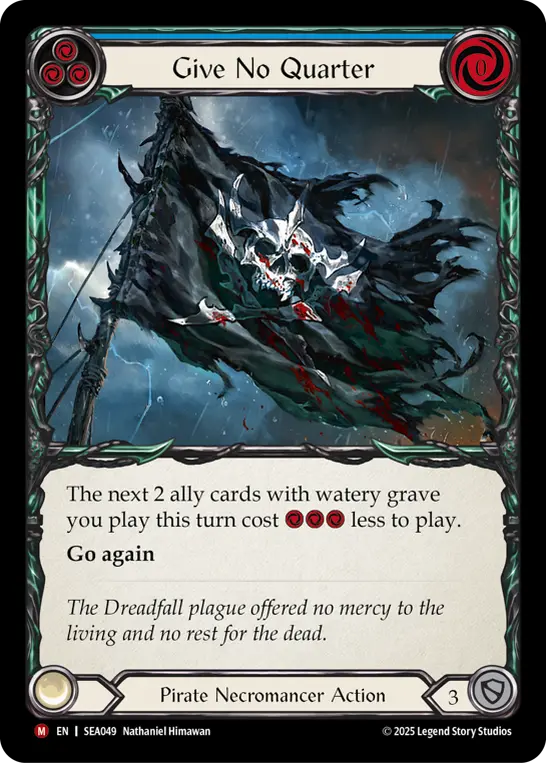
Give No Quarter
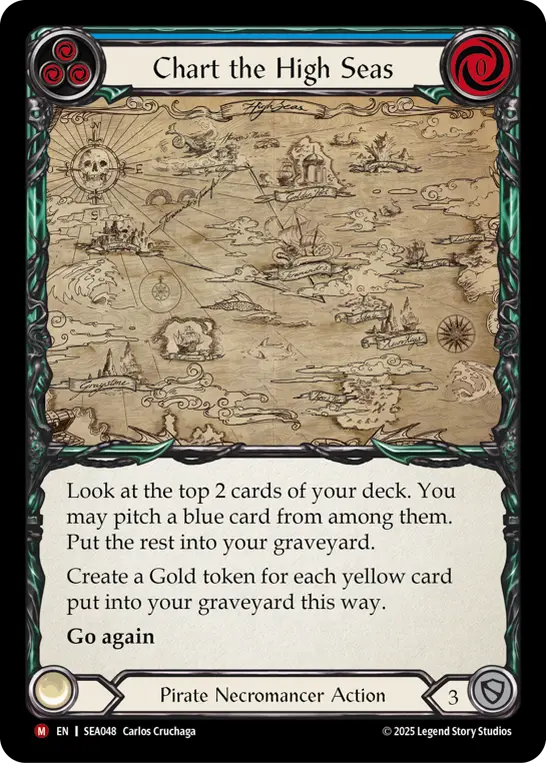
Chart the High Seas
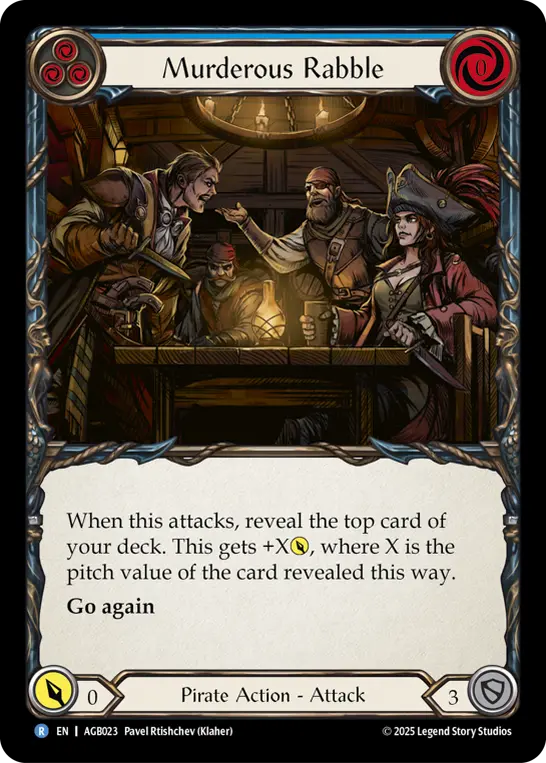
Murderous Rabble

Loot the Hold
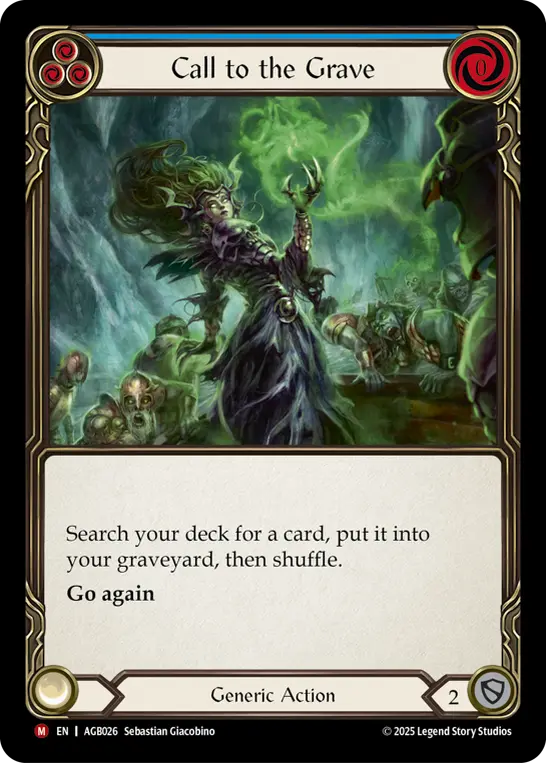
Call to the Grave
Action points
Gravy Bones’ allies don’t have go again, so access to extra action points can help us leverage a large board. I have included Avast Ye! and Tip the Barkeep since they are blue 3-blocks that have go again and enable Watery Grave. I'm also running Sea Legs, which we can discard with Gravy Bones' ability or Golden Tipple to get a Goldkiss Rum, while being a 3-block yellow that can also be a popper or a respectable attack in a pinch.
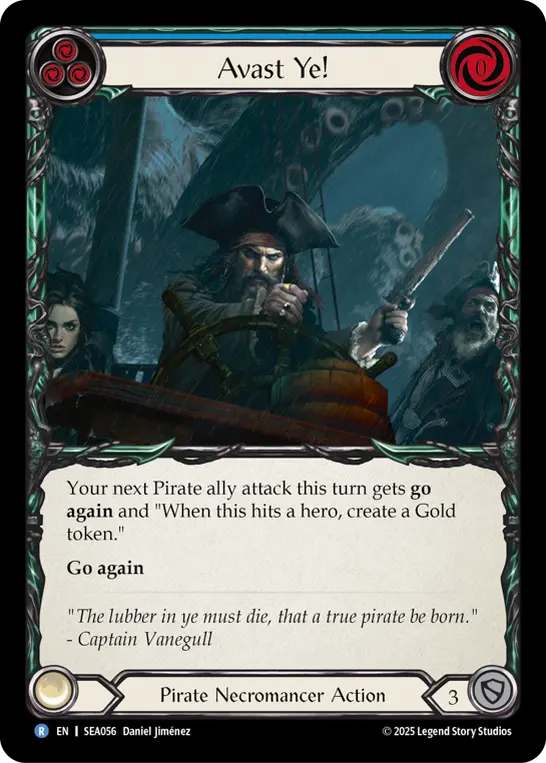
Avast Ye!
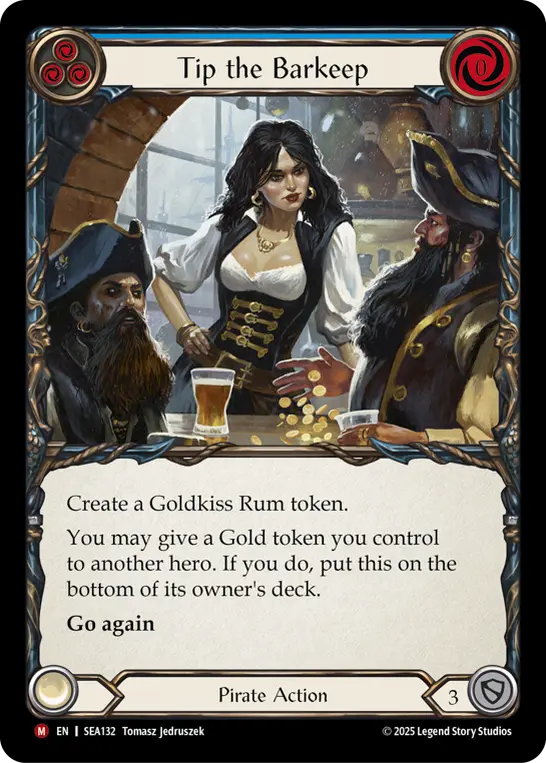
Tip the Barkeep
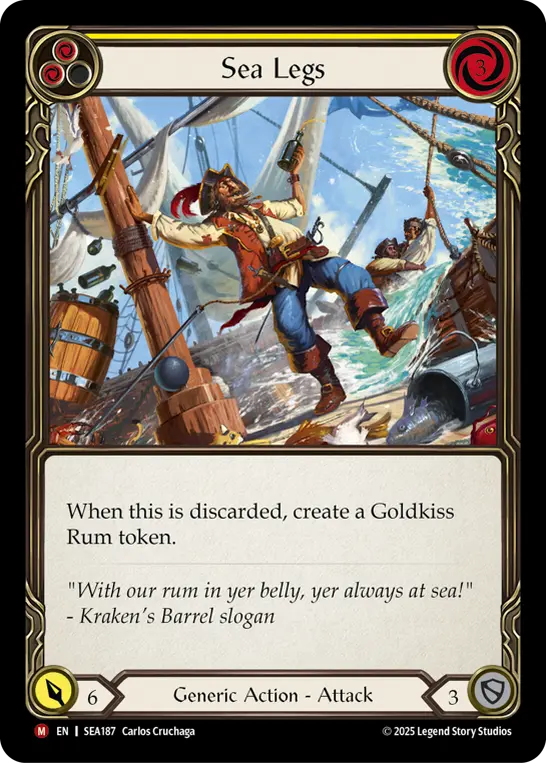
Sea Legs

Goldkiss Rum
Equipment
Compass of Sunken Depths
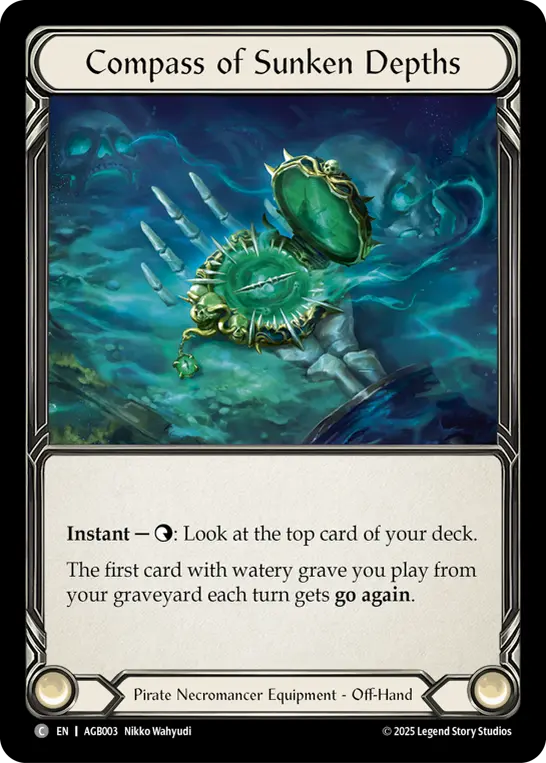
Compass of Sunken Depths, like most weapons, is core to our deck’s construction.
While this off-hand may be the only option we really have available to us in Gravy Bones, giving the first Watery Grave played from graveyard each turn go again is essential to our core gameplay loop as it allows us to play and attack with an ally on the same turn.
Additionally, the ability to peek at the top card is very valuable in this deck, especially in combination with draw effects like Golden Tipple, Gold, and Gravy Bones' ability, as well as cards which care about the top of the deck like Murderous Rabble, Saltwater Swell, Chart the High Seas, and Blood in the Water.
Keep in mind that you only get to activate the Compass once each turn, and the optimal time to use it can vary quite a bit depending on the hand. Sometimes knowing what we might draw before activating Gravy Bones’ ability can be helpful, especially if it shapes our blocking decisions. Other times it can be best to start our turn by activating Gravy Bones to enable Dead Threads and then peak at the top card. Additionally, Chart the High Seas and Saltwater Swell are often excellent reasons to check your top card before making further decisions.
As a rule of thumb, you usually want to use Compass either to inform your blocking decisions, or after you’ve drawn all the cards you know you plan to draw for sure that turn, so you can decide if you want to later crack your Gold to draw cards. For example, if your hand has two allies and you are always going to play Golden Tipple, discarding one, then loot the other away with Gravy Bones, you should likely draw those cards first before activating Compass.
Using Compass optimally is quite skill-testing and it is worth thinking carefully about when to activate it, depending on how your turn is likely to play out.
Compass of Sunken Depths
Crown of Dominion
The first Gold is extremely important, as it helps us activate Gravy Bones’ ability and filter allies from our hand into the graveyard where we can later play them.
Other head pieces like Crown of Providence offer strong defensive effects but can lead to clunky early games, which feel largely smoothed out by having access to Gold on the first turn of the game.
Tricorn of Saltwater Death offers a similar effect to Gravy Bones, but it being contingent on blocking ultimately makes it less flexible than the Gold token, so Crown of Dominion gets the nod even though we miss out on a point of equipment defense.
Crown of Dominion
Dead Threads
Fyendal’s Spring Tunic was in the very first Flesh and Blood booster set ever created and sees widespread play due to an additional resource in the right spot often being worth an entire card, and Dead Threads does the same thing but at a much higher frequency than once per three turns.
While we do have slightly less control over when we trigger Dead Threads due to the reliance on having an ally in hand and a way to discard it, we end up triggering this far more often than Fyendal’s Spring Tunic, and it is a real centerpiece of the deck. Dead Threads allows us to have 1 more resource to get an ally swing or play an extra card, or can also be used to play a 1-cost like Saltwater Swell or Golden Tipple in hands without blues in order to dig deeper for resource cards.
Because of Dead Threads, we will often activate Gravy Bones on our own turn so that we have access to that resource when we need it, which may be a big shift for folks who have only played Gravy Bones in limited. However, it’s also important to remember that Dead Threads can be activated on the opponent's turn if they have killed an ally or if we choose to activate Gravy Bones and discard an ally, then we can get a resource for Arcane Barrier, Quickdodge Flexors, or Winter’s Bite.
Dead Threads
Gold-Baited Hook
What kind of captain of the ship would go without his trusty hook?! Gold is at a premium in Gravy Bones and generating it is not always easy, so Gold-Baited Hook offers an excellent source of additional Gold for us.
In the majority of cases we will activate Gold-Baited Hook when we have already made a Gold from another card, most commonly Golden Tipple, meaning we essentially get to threaten an on-hit where even if they block it out, we still get to keep our hook.
Sometimes this can be used on the biggest attack to demand multiple cards, but putting it on a pesky blue Golden Tipple for 1 can be quite a nuisance for your opponent and sometimes earn you an equipment block. Additionally, putting the effect on early attacks can sometimes trick your opponent into defending before you follow up with an additional scarier on-hit like Conqueror of the High Seas or Command and Conquer.
While it’s often safest to use Gold-Baited Hook when we have already generated Gold, towards the end of the game as life totals get low don’t be afraid to activate it more liberally—you can’t get the on-hit anymore when they are at 1!
Gold-Baited Hook
Mage Master Boots
Mage Master Boots are in the deck for their ability to give an ally go again. This allows us to play two allies on the same turn from our graveyard, the first one getting go again from Compass and the second getting go again from Mage Master Boots, and then closing out the turn with an attack or even a third ally. Mage Master Boots are powerful for their ability to present more threats than your opponent can effectively clear in a single turn, especially against classes that are low on action points like Guardian.
Mage Master Boots
Quickdodge Flexors
Our deck plays 27 blues in the main deck, and we have a bunch of yellow non-blocks in there too, so Quickdodge Flexors gives us some much needed defending power against decks that like to go wide, such as Ninja. Flexors can help you convert your allies into defense if needed, and combos very nicely with Dead Threads should you find yourself activating Gravy Bones, or your opponent killing an ally and then attacking you.
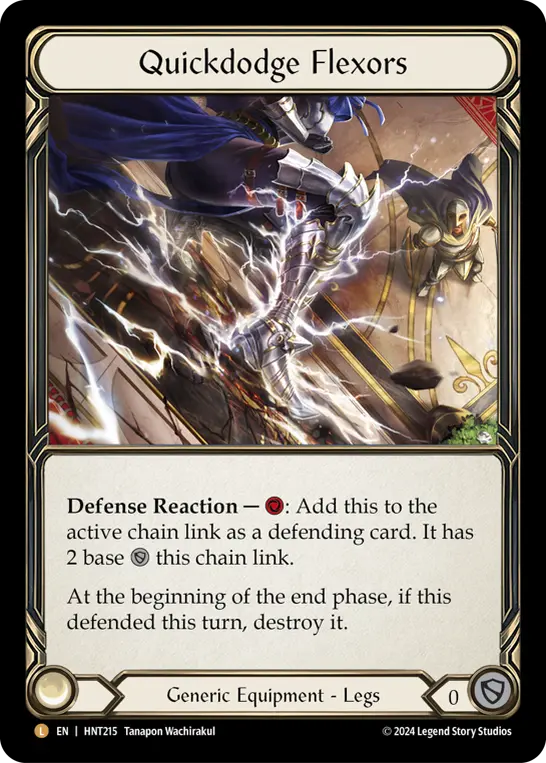
Quickdodge Flexors
Sideboarding
This deck is constructed with a 52-card core that seldom shifts with some sideboard options to address different types of matchups. Due to how early it is in the season, the sideboard can likely use some tweaking and shift as new potential problems for Gravy Bones arise. Broadly speaking though, the deck has access to defensive tools, aggressive tools, and anti-fatigue tools.
Defensive package
The defensive sideboard package includes 3 Blood in the Water, 2 Sink Below, and 3 Command and Conquer. The defense reactions help shore up our defense and deal with the reality of having 13 non-blocks in our deck.
Both Sink Below and Blood in the Water help us convert allies in hand into defense, but keep in mind that sometimes we can also choose to destroy the top card of our deck even if we don’t know what it is, just for the chance of getting some extra block value and a potential ally into our graveyard.
In addition to these defensive tools, we have Command and Conquer to help supplement our other disruption, like Conqueror of the High Seas and Loot the Hold, to help buy us some space to make bigger plays.
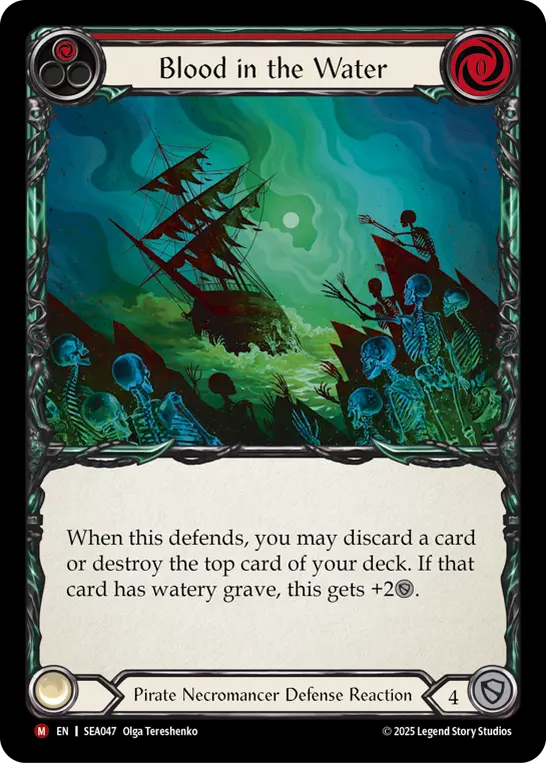
Blood in the Water
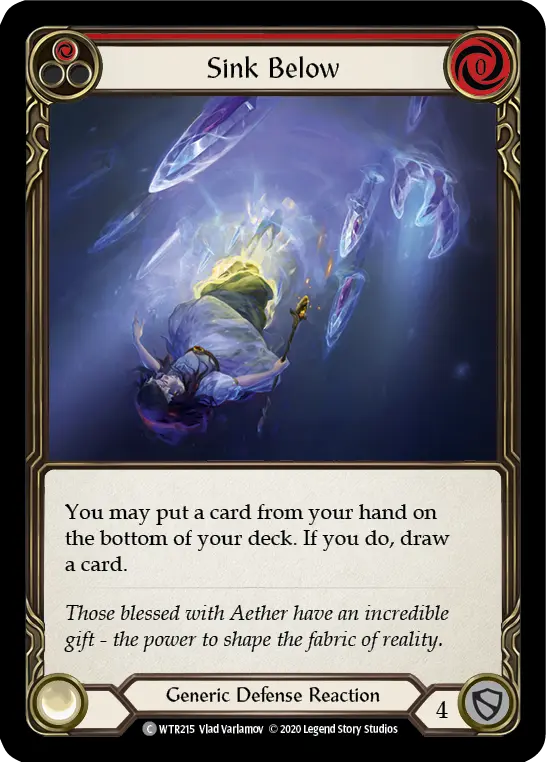
Sink Below

Command and Conquer
Aggressive package
The aggressive sideboard package includes 3 Swiftwater Sloop, 3 Sea Legs, and either 2 Command and Conquer or 2 Swabbie depending on both how powerful allies are in the matchup and how scary non-blocks are to include in our deck.
Swiftwater Sloop being a 2 for 6 go again that pairs nicely with Saltwater Swell can allow us to put out surprisingly large amounts of damage, while the Goldkiss Rum from Sea Legs can help us store extra action points for especially powerful turns. This sideboard package really shines in matchups where we want to be the aggressor, like Wizard and Brute.
Swiftwater Sloop
Sea Legs
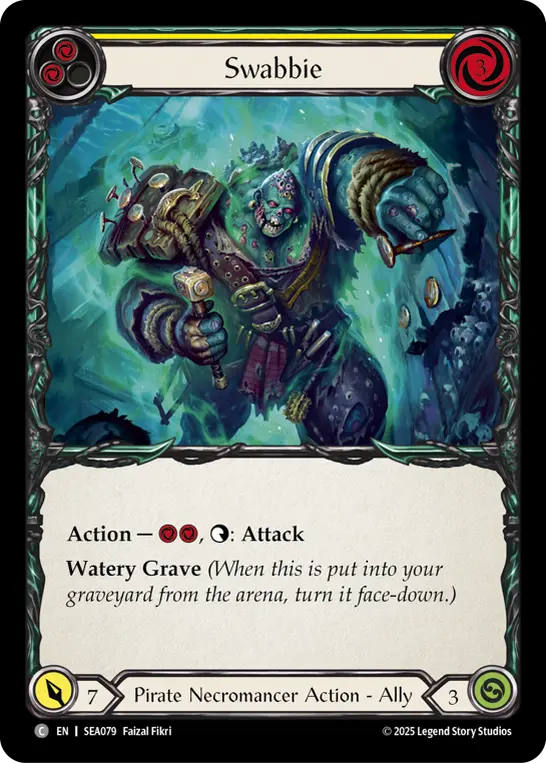
Swabbie
Anti-fatigue package
The anti-fatigue tools usually include the aggressive sideboard package to pressure and have access to action points, in addition to 2 Swabbie, 2 Wailer Humperdinck, 1 Diamond Amulet, and 2 Timesnap Potion.
Into these matchups we often want to apply some pressure with attacks while setting up our graveyard, and get out Goldkiss Rum and/or some Timesnap Potions for access to extra action points. From there we can play multiple allies per turn with our additional action points and threaten some very wide turns.
Double Wailer Humperdinck off of Give No Quarter in the very late game is a particularly powerful way to close a game as it is generally hard for decks to clear both. This sideboard package is used for decks aiming to fatigue us, like Guardian and Florian.
Wailer Humperdinck
Diamond Amulet
Timesnap Potion
Other options
With only 80 slots available, not every card you want to play can necessarily make the cut. Here is a brief list of sideboard cards plus their use cases that you could consider including to adapt to shifts in the meta:
- Nullrune Robe and Nullrune Gloves to have Arcane Barrier 3 for Wizard.
- Arcane Compliance or Oasis Respite for Kano.
- Riches of Tropal-Dhani and/or Loan Shark for more Gold generation.
- Yellow Golden Tipple for more Gold generation and ally filtering.
- Additional Sink Below and Shelter from the Storm for aggressive decks.
- Back Alley Breakline (blue) for access to additional action points in combination with Call to the Grave and Saltwater Swell.
- Blanch (red) as additional poppers for Prism.
- Anka, Drag Under as a less efficient but more dagger-resistant Riggermortis. The activated ability may also be good in the mirror match and against Pirates or other heroes who draw cards.
- Lead the Charge (blue) for Jarl as an additional way to play allies and attack if Compass is broken. It also works for other fatigue matchups.
Metagame Position
It’s still very early and there are more matchups I haven’t played than ones I have, but my initial impression of Gravy Bones is that he’s quite powerful and likely a strong meta contender. His ability to build a board state while also pressuring makes him very good into slower strategies like Florian.
His disruption, in addition to his raw turn-to-turn value due to Pirate cards and allies, allows him to stand toe to toe with aggressive decks like Katsu and Death Dealer Marlynn builds. Additionally, early testing into Assassin seems favorable thanks to his ability to create must-answer threats that Assassins don’t have excellent tools to deal with, while also dishing out lots of damage.
In terms of matchups that need additional testing but seem like they could potentially be problematic, Kano and Prism come to mind. On paper, we are a deck that takes some time to set up, plays expensive cards, and wants to play blues to play allies, so Kano might not be a fantastic matchup for us.
On the other hand, Kano has a notoriously difficult time dealing with allies, we play a lot of resource cards, and Sawbones represents damage prevention for their Aether Wildfire turns. We aren’t an aggressive deck but we do have a decent clock, so while I’m not convinced that Kano is a good matchup, it’s not necessarily hopeless either. The current decklist only has access to Arcane Barrier 1, but of course you could find space for Arcane Barrier 3 and potentially Arcane Compliance or Oasis Respite if you want to respect Kano and get some points in the matchup.
The other deck that comes to mind is Prism. The potential challenge is that Prism can use Heralds to clear our allies, trigger her on-hit, and search figments without giving us the ability to block and deny her. This sounds very scary, but we do have access to 12 poppers, and while the angels are strong, Prism does need to spend a full two cards to clear our allies, which potentially gives us quite a bit of breathing room to pressure back. I suspect this matchup has quite a bit of play to it on both sides, but it’s hard to say since it’s still on my list of things to test.
Jarl is a hero that I have frequently heard people speculate may be a negative matchup due to his ability to destroy your Compass, but I have found the matchup to be surprisingly close and interesting. Goldkiss Rum and Timesnap Potion can help serve as a Compass replacement, and with all the go again attacks in the list we are very good at pressuring Jarl.
I believe this matchup may be incredibly deep and in the future could resemble matchups like Dromai vs Guardian, where both sides believe they are favored because there is so much room for skill expression on each side, and superior understanding of the matchup can lead to very big advantages in win percentage in either direction.
Set Sail!
Gravy Bones is some of the most fun I’ve had in Classic Constructed in quite a long time.
I really enjoy the flexibility in gameplans and complex decision making the deck gets to do, while also playing into leveraging the graveyard as a resource in a way that no other class has really done before.
I think Gravy Bones looks to be in a great spot in the metagame, and I think he will be a real force to be reckoned with as people explore the hero, learn the deck, and refine their lists even further.