Prepare for Skirmish Season 12 with Primed to Fight - a series where we break down competitive decklists, their matchups, and sideboard options. Sleeve up, get reps, and secure your victory!
Today we welcome Pitch Perfect to the stand, with Kiki Labad tackling Living Legend, and Elaine Hamontree taking over Blitz!
At the Rainbow x Pitch League we love inclusion and playing games, which is why we love Skirmish! Skirmish is a great way to test your skills against your locals and compete at a level higher than a typical Armory Event!
This time around, the Skirmish Season 12 format options are Living Legend, Blitz, and Crack, Shuffle, Play. Since we’ve already provided you with content regarding weather reports and Mastery Pack Guardian, we'd like to now take a moment to talk about the other two Skirmish formats: Living Legend and Blitz!
Living Legend - Prism, Sculptor of Arc Light
Those familiar with me, Kiki Labad, know of my devotion to the Light of Sol. Prism was one of the earliest board state heroes, with access to turn-ending auras, filling up your playmat with more cards than your local game store's display case. This power makes her more than deserving of earning the Living Legend status, and being one of the first two heroes to receive the Armory Deck: Legends treatment!
So let's take a look at this decklist, influenced by her time in Classic Constructed, and break down the choices.
Luminaris
The power level of Start in Play, Stay in Play cards (SIPSIP) has often played a key part in some of the most powerful heroes in Flesh and Blood history, especially when it comes to go again. It's with this in mind that I say I think the original Luminaris may be the most powerful weapon ever released. While it has no attack value on its own, the rest of the deck is more than capable of synergising with Luminaris, as it grants all of your Illusionist attacks go again, as well as turning your auras into 0-cost weapons. Of course, it does come with the deck building restriction of requiring yellows to turn the weapon on, but it more than makes up for that restriction by allowing you to get to insurmountable board states.
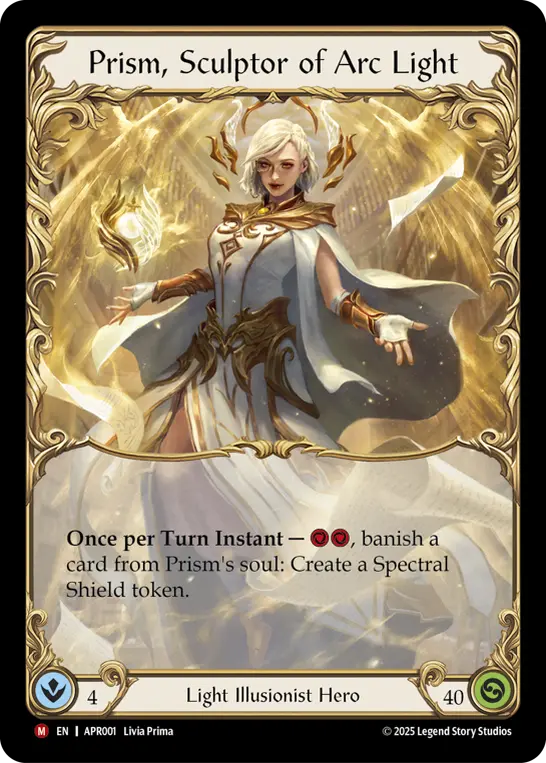
Prism, Sculptor of Arc Light
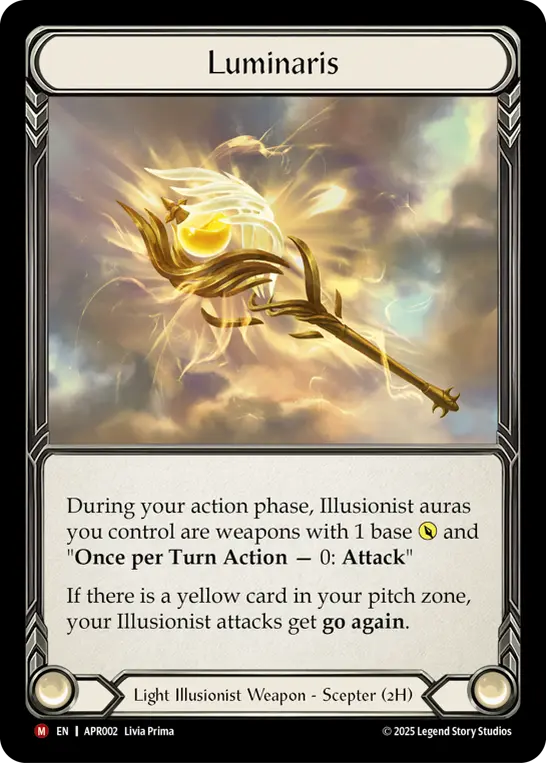
Luminaris
Auras
What makes the original Prism different from Prism, Awakener of Sol is her ability to use her auras on the offensive end. Both Light Illusionists will play to the board with permanents, however it is harder to commit to the full aura plan as Prism, Awakener of Sol because of her need for figments to keep her life high. When we don't have to fit 6-8 figments in our deck, we can afford to play more auras that force the opponent to sacrifice an action point to remove them, or face the threat of said aura attacking every turn in addition to providing its powerful static effects.
Speaking of auras, Prism's hero ability allows her to create a Spectral Shield by pitching, which allows her to have powerful one card plays attacking with all of her auras, something which Prism, Awakener of Sol doesn't have access to in the same way.
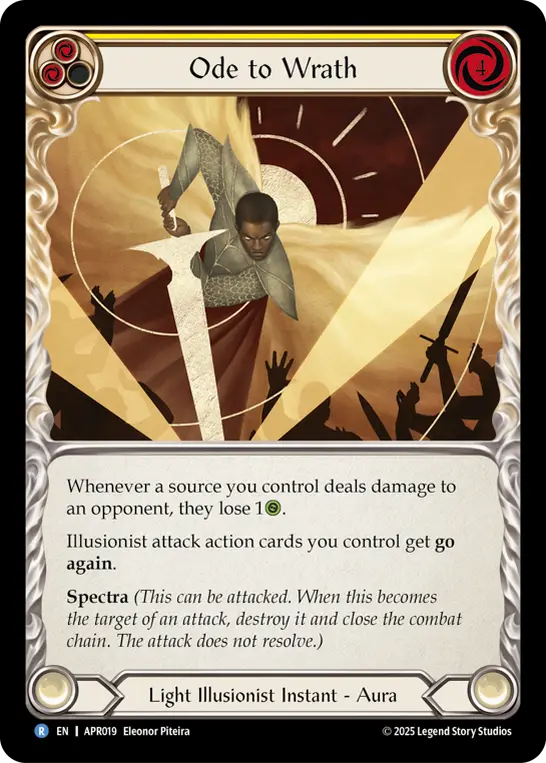
Ode to Wrath
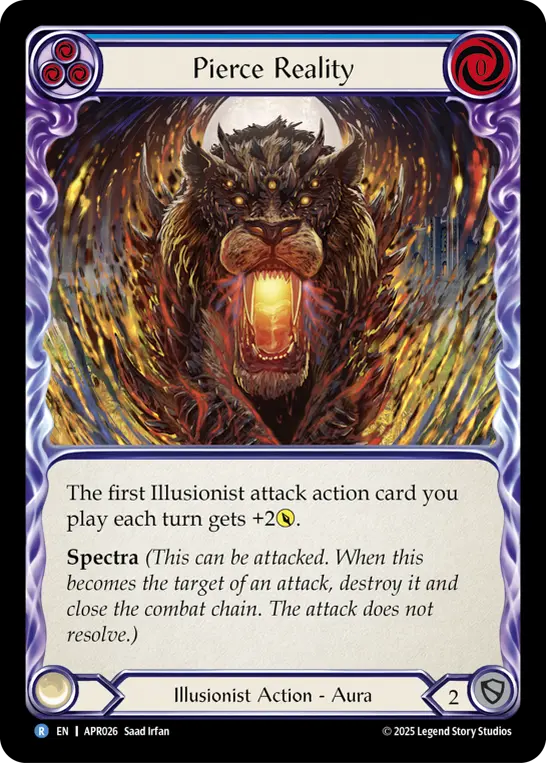
Pierce Reality
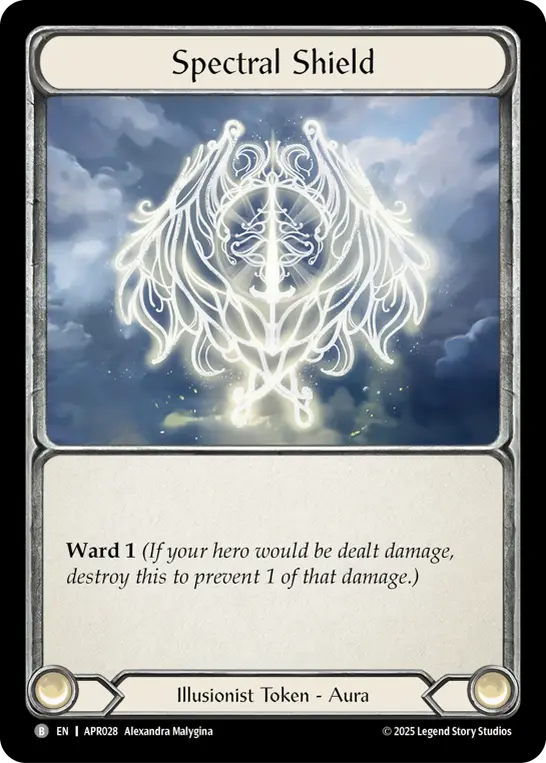
Spectral Shield
Equipment
Arguably the hardest decision I had to make when building this list was deciding on whether to go with Halo of Illumination + Vestige of Sol to lean into the Tome of Divinity strategy, or to go with what I eventually chose, which is Fyendal’s Spring Tunic + Crown of Providence. What lead me to this decision was the efficiency in aura turns. Unlike the more modern Prism, Awakener of Sol decks, original recipe Prism likes playing blue cards because of the 4-cost nature of the auras, and Fyendal's Spring Tunic is really good at making the aura a two card play instead of three.
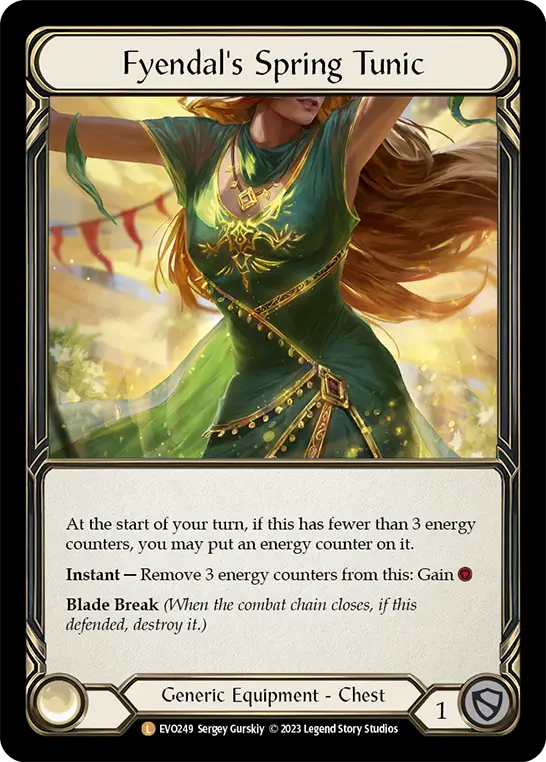
Fyendal's Spring Tunic
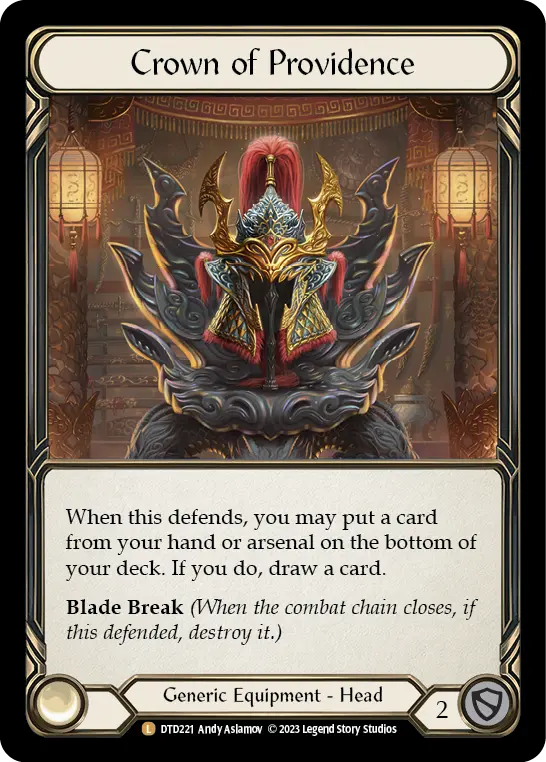
Crown of Providence
Dual Playstyles
Prism functions as a great dual mode hero. The Heralds provide amazing value as above rate attacks (with the important downside of having phantasm), in addition to being efficient blocking cards too. This means that we can go aggressive with meaningful on-hits and high damage outputs, or if we expect a match up with low action point production and high popper counts, we can pivot into the 27 aura gameplan. While it may seem counter intuitive to sideboard into cards that don't block against these go tall strategies, they don't cope well with the insurmountable aura board state. The downside of this as a strategy is that you lose spots you would normally save for sideboarding silver bullet answers, but Prism makes up for it by giving you the opportunity to have more game into a wider meta.
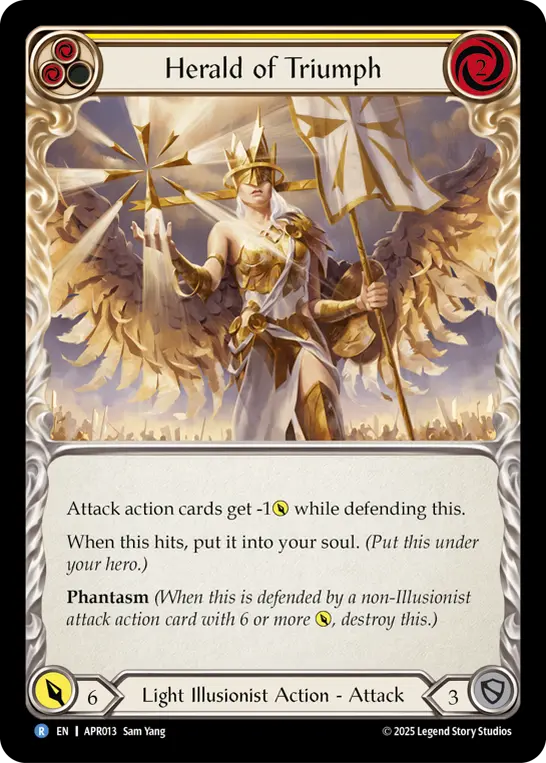
Herald of Triumph
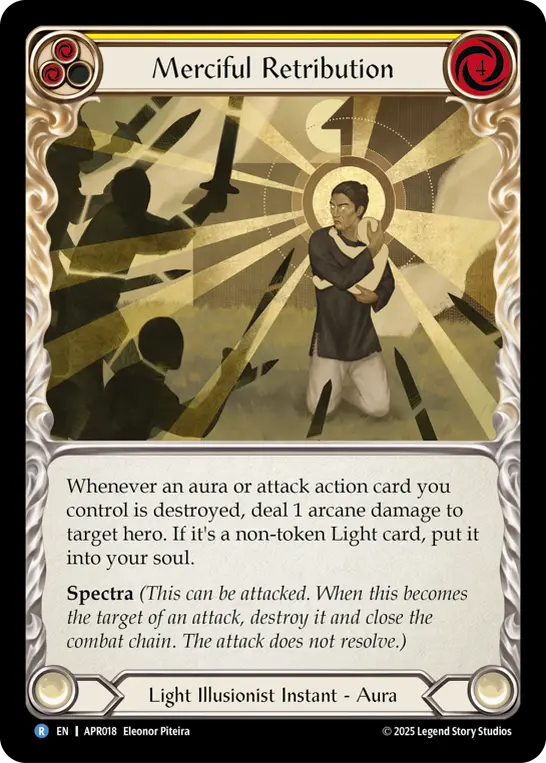
Merciful Retribution
With these factors in mind, let's have a look into how you may sideboard into some general strategies and what your focus is (please note, my sideboard guide works by starting with the full 80 cards and then removing cards that aren't needed for the matchup).
Sideboard vs Aggro
Take out:
- Great Library of Solana
- 3 Genesis
- 3 Merciful Retribution
- 3 Ode to Wrath
- 3 Tome of Divinity
- Silent Stilettos
- Calming Gesture (if playing against Runeblade, take out Stonewall Gauntlet instead)
These decks thrive on sacrificing their defensive prowess in exchange for high damage outputs. Multiple breakpoints and split damage makes it difficult to defend, so I say we match their energy and declare "no blocks".
Here we can cut some auras, as they don't provide any defensive value and we don't have enough time to play most of them. Thankfully for us, our Heralds boast not only above average stats for their cost, but they also possess an all important 3-defense, which means we can trade fairly efficiently in the long run and stop any critical attacks if need be. These sorts of aggressive decks tend to not run many poppers for our Heralds, although we would be foolish to assume that they’ve cut them entirely. Keep an eye out on your sequencing with attacks and available resources, as a well timed popper from the opponent may be enough to end your turn prematurely and immediately give tempo back to them!
One card that we’re really looking to use to punish the opponent here is Herald of Protection! It provides a great damage to cost ratio, especially with the Spectral Shield not just providing 1 point of ward, but also acting as a free point of damage for every turn it gets to stay. In addition to this, red Wartune Heralds are so good at applying pressure that we’re even running two copies of Miraging Metamorph as extra pseudo-copies of this card, which occasionally gets value if popped while you have an aura in play.
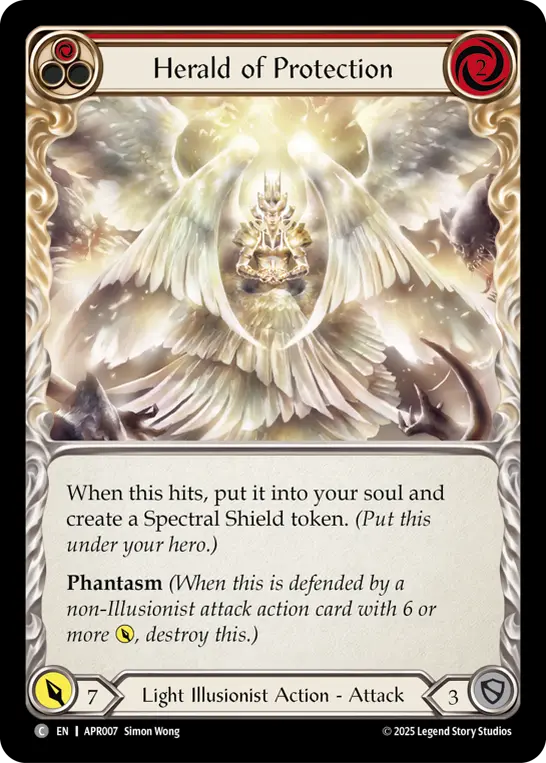
Herald of Protection
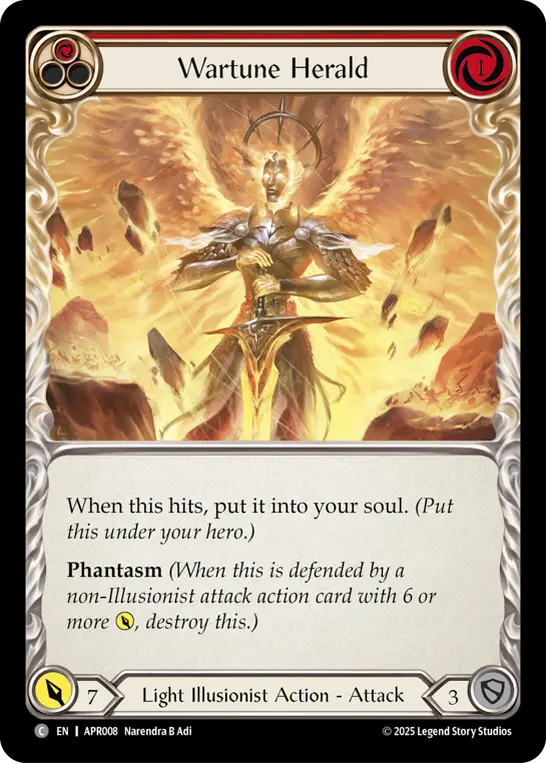
Wartune Herald
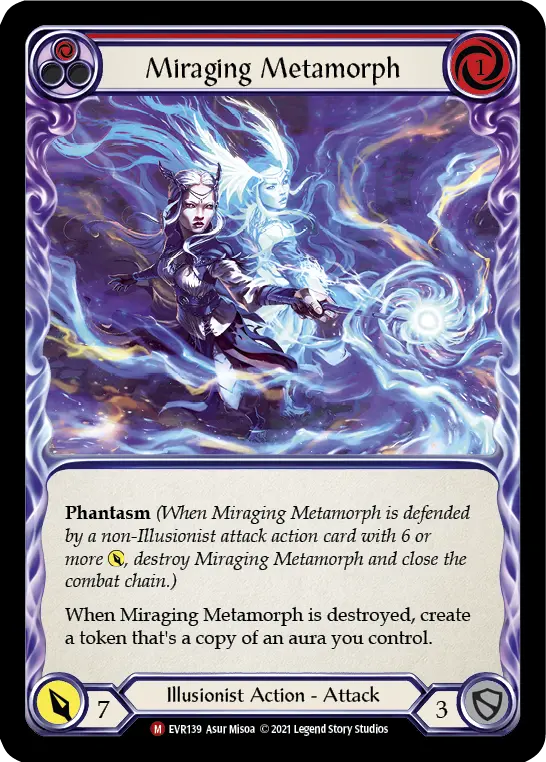
Miraging Metamorph
Sideboard vs Slow Decks
Take out:
- 3 Herald of Protection (red)
- 3 Herald of Triumph (red)
- 2 Miraging Metamorph
- 3 Wartune Herald (red)
- 2 Herald of Judgment
- Calming Gesture
- Silent Stilettos
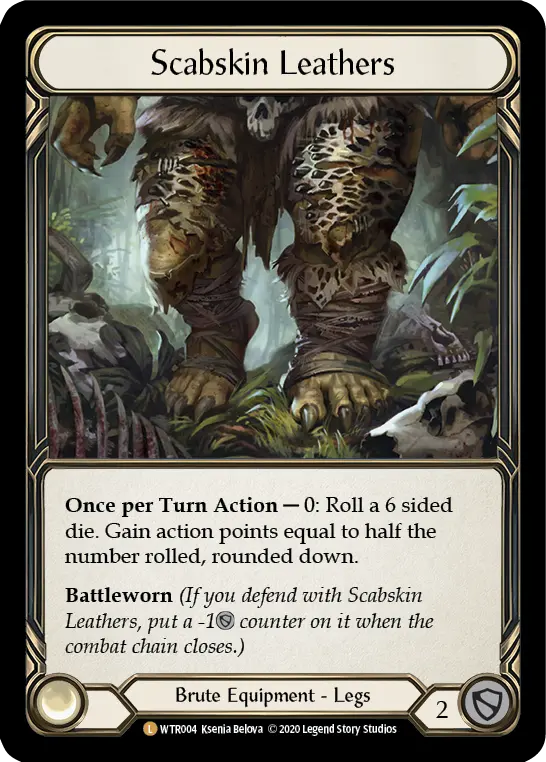
I’d be lying if I said that anything other than the aura gameplan was my favourite part about playing this deck. I love the slow, inevitable grind that Luminaris provides for these matchups with low action point generation. Despite the fact that Guardians, Brutes, and even Florian can overwhelm your Heralds with poppers, they don’t usually have meaningful ways to deal with multiple auras (short of rolling a 6 on Scabskin Leathers). With these kinds of matchups, we’re trying to play double auras as often as we can, so we’re paying the full suite of 27! We want to be careful to start off our aura chain with a double aura when possible, as having auras stick around for more than one turn is how we can accrue all that extra value. Starting on one means that we don’t get to pull ahead with them.
We do also want to be able to protect our life total while we set up, so we make use of defense reactions in our arsenal. We can also take advantage of Soul Shield by pitching a blue in our opponent's turn, using the floating resource to pay for Phantasmal Footsteps, or playing a 4-cost aura without having to pitch more than a second blue card.
The key auras we’re looking for here are all of the blue ones. Each of them have arguably lower power levels than the yellow ones, but left unchecked, still provide a lot of additional power. Shimmers of Silver really accelerates the fatigue nature of the gameplan, and forces your opponent to take their attention away from the other auras like Pierce Reality and Passing Mirage, which bolster your Heralds. Finally, Haze Bending puts your opponents into a bind, because if they’re trying to pressure your board state, they either have to remove Haze Bending first and let your other auras get some additional value, or they get punished for dealing with the other auras first, allowing Haze Bending to keep on accruing value.
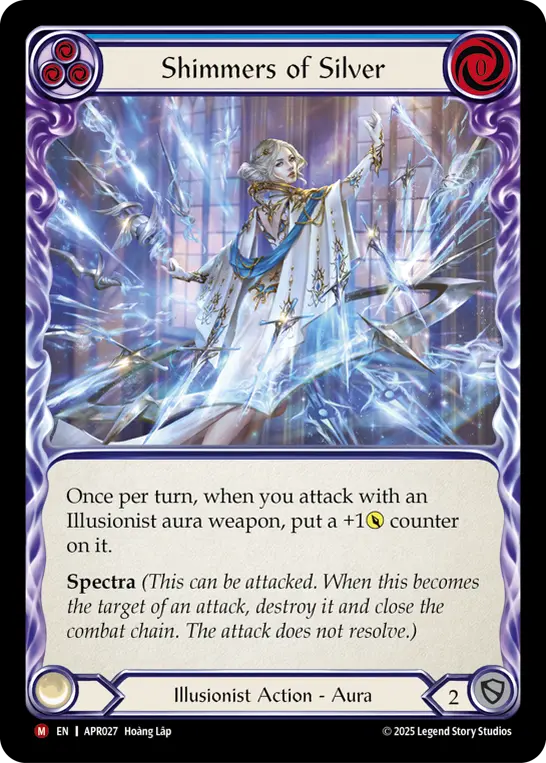
Shimmers of Silver
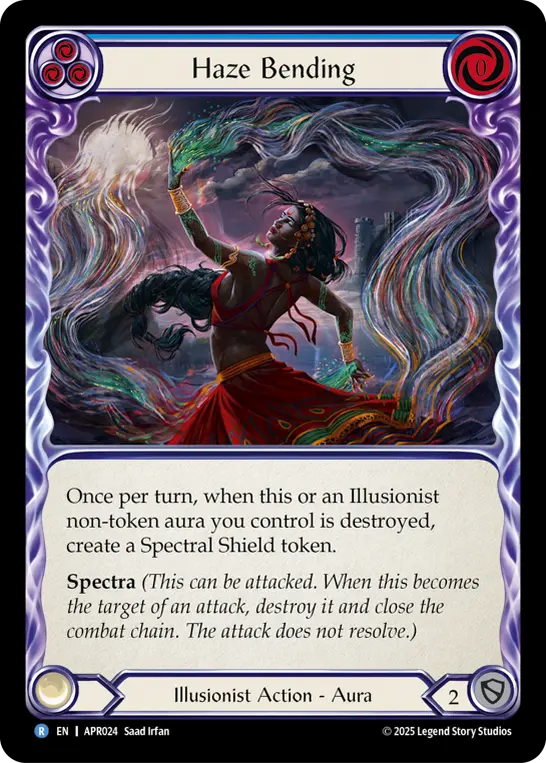
Haze Bending
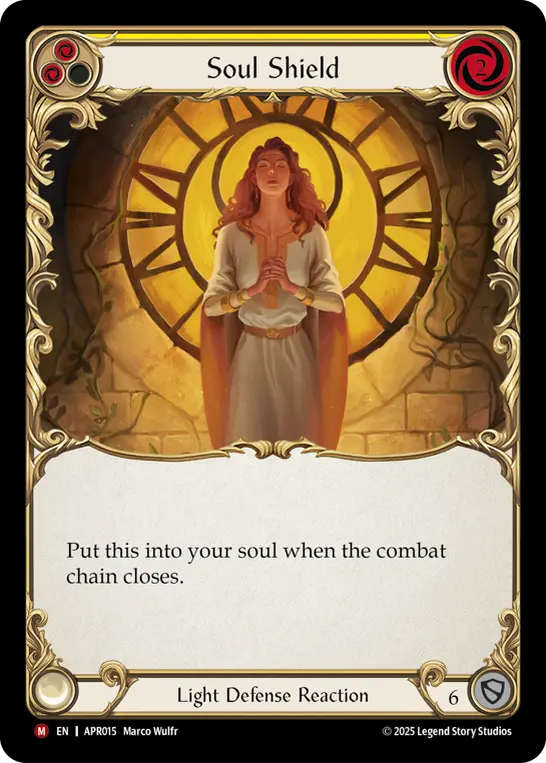
Soul Shield
Metagame
The metagame for Living Legend has shifted dramatically with the May 20 Banned and Restricted Announcement! Chane got hit hard with the loss of Carrion Husk, alongside restrictions on support cards: Deadwood Dirge, Cull, and Succumb to Temptation. Formerly being one of Prism’s worst matchups due to Carrion Husk being able to stifle a Herald on demand, his notable absence means Prism is now stronger than she’s been before, and can finally break free.
We are seeing an increase of aggro decks trying to fill Chane’s void, which doesn’t bode too well for Prism, as she can struggle into them if she can’t claim tempo. But not all is lost, as they do not carry the same sort of disruption and stopping power that Chane had access to.
I also believe that if you’re facing a Wizard-heavy meta, Prism has always had some very favourable play into them. Gaining Spectral Shields makes for a great way to preemptively prevent damage, and their lack of rapid pressure means you can really get set up. They’re also not efficient at dealing with your auras, so Genesis can present such a strong problem for them to face.
While Prism’s greatest matchups (midrange decks) may not be super popular in Living Legend right now, I do believe with some dedication, creativity, and correct prediction on your local metagame, Prism is a skill-testing and fun take for this season, which will reward you for being able to adapt where necessary, and correctly read and predict your position in each game. Make sure you get your reps in soon, and decide if you need to update your list to account for more defense reactions or different Heralds, and let me know how you go with my favourite hero of all time!
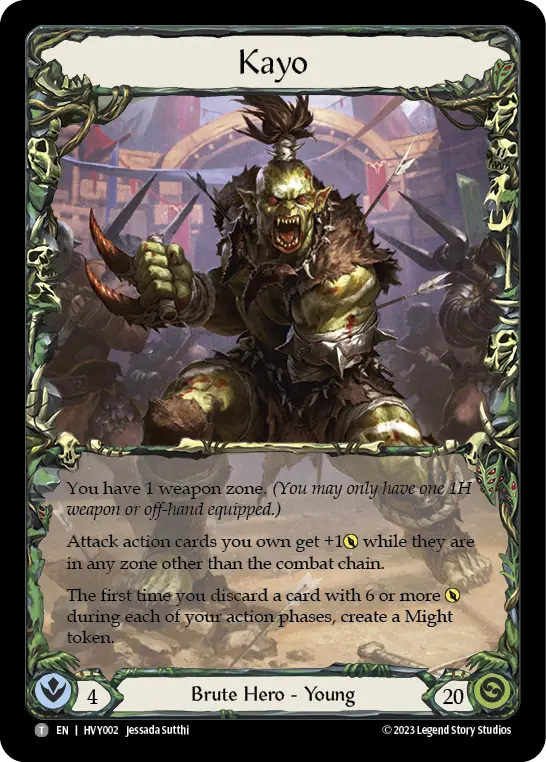
Blitz - Kayo
If you know me, Elaine Hamontree, you know that a Kayo decklist might come as a shock. It is true, I have left behind my one true love, Kassai, for Skirmish Season 12. Kayo is just so well positioned in the meta right now, and let's be honest, his variance makes him fun and exciting to play.
Kayo’s hero ability allows him to play really efficiently and also present a lot of damage really fast, which is important in a format like Blitz when life totals are halved and deck sizes are smaller. With a five card hand, Kayo can present major turns with massive damage output!
Kayo
Mandible Claw
Might
However, that’s not always good enough to be a top deck. Kayo also can play really well when life totals are close in the late game, because he has no problem using two cards to block and then throwing back 7 with his last two cards. Those are efficient numbers! I also think he’s well positioned into the other heroes I predict to be top decks this Skirmish.
Equipment
Now that we’ve all gotten over the shock that I am writing about Kayo and not Kassai, let’s dive into the essentials for building a Kayo deck. First of all, Kayo has POWERFUL equipment. This might be a stretch, but I think it’s possible that Brute just has the best equipment in the game.
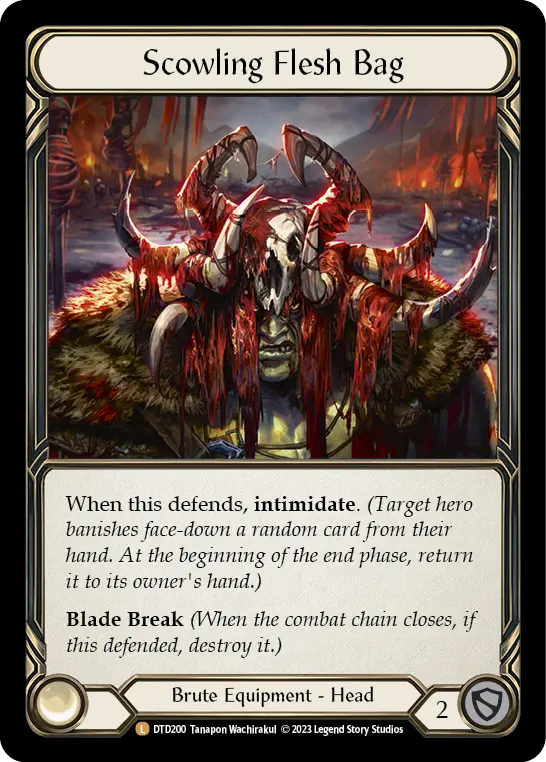
Scowling Flesh Bag is a 2-defense head piece that intimidates a card from your opponent's hand on defense. This card provides so much disruption during your opponent's turn and can save you a ton of life when used correctly. You usually want to time this to stop an opponent's big turn, or stop a second attack from your opponent when you’re at low life and trying to maintain control of the game.
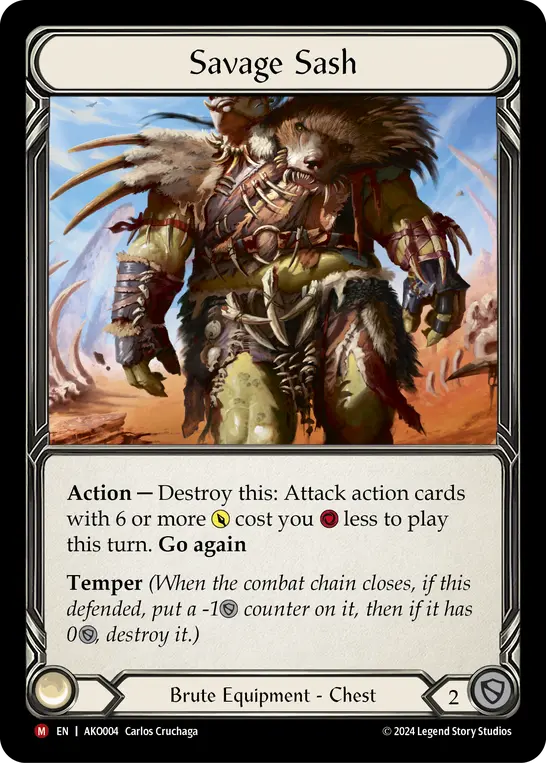
Savage Sash is a 2-defense chest piece. As an action you can destroy it to make your attack action cards with 6 or more power cost 1 less to play. If that’s not value, I don't know what is! Usually it’s a good idea to get the block value from this card semi-early in the game so that you can destroy it when you want to have a Bloodrush Bellow turn.
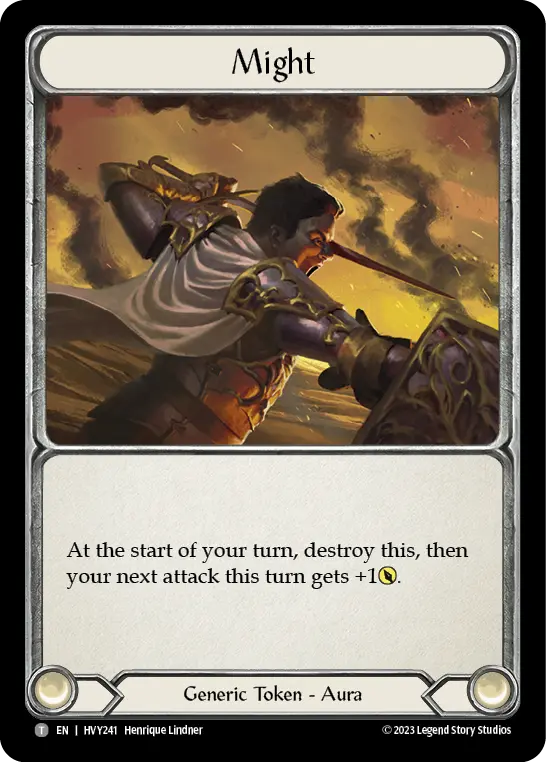
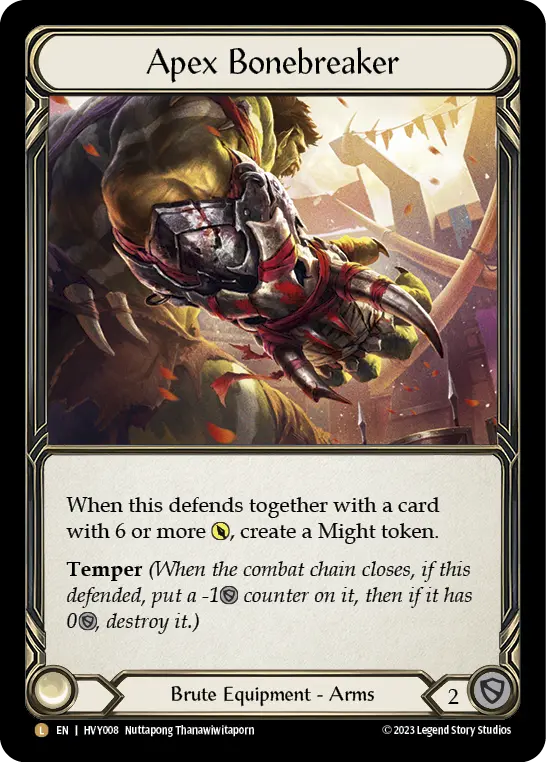
Apex Bonebreaker is a 2-defense arm piece, and can create a Might token when it defends alongside a card with 6 or more power. Temper plus the Might token makes this single equipment worth 5 total value. You really want to use this at an opportune time to save some life and still hit back hard with the Might token.
Scabskin Leathers is a 2-defense leg piece. Once per turn you can roll a 6 sided die to gain action points equal to half the number of your roll. Kayo has a lot of big attacks but not a lot of natural go again, these legs provide 3 value throughout the game, but also can help you go really wide when you need to take the risk to make a big comeback.
Scowling Flesh Bag
Savage Sash
Apex Bonebreaker
Scabskin Leathers
Brute Stuff
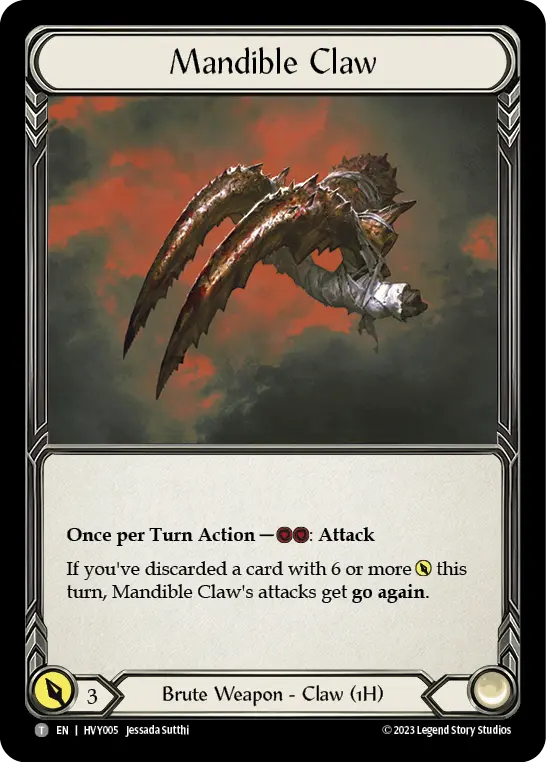
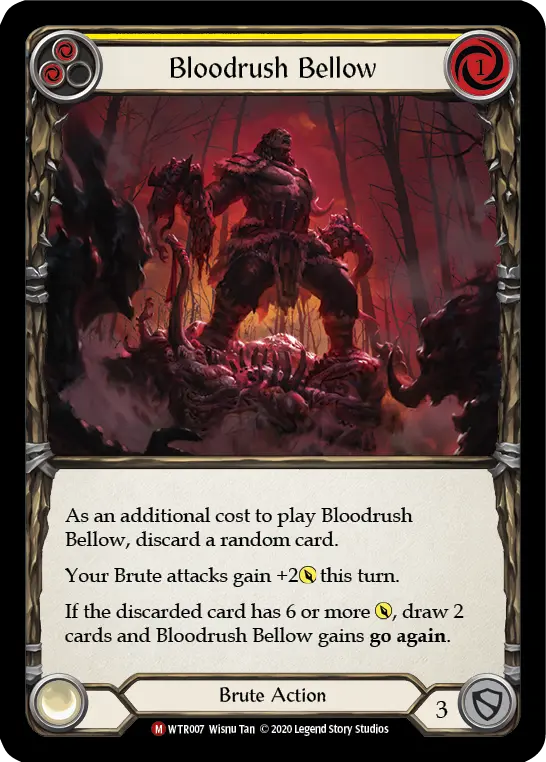
Bloodrush Bellow is the key card in Kayo decks. This card gives your Brute attacks +2 power and lets you draw 2 cards if you discard a card with 6 or more power when you play it. This synergises well with Kayo’s hero ability, which gives attack action cards +1 power while they are not on the combat chain. This card allows you to present a crazy amount of damage in a turn, especially when paired with Savage Sash. Don’t forget, Bloodrush Bellow also buffs your Mandible Claw.
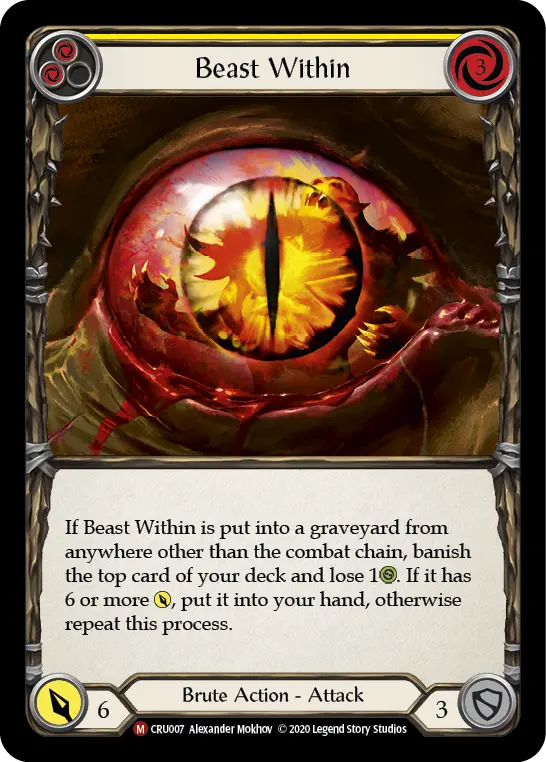
Beast Within is another staple card for Kayo. When Beast Within is discarded you banish the top card of your deck and lose a life, but if that card has 6 or more power, it goes to your hand. And if it doesn’t, well, you keep on going until you hit that 6! This is really powerful when combined with Kayo’s hero ability, allowing you to hit blue cards for resources that you wouldn’t be able to as other Brutes.
Since Kayo doesn’t have a lot of go again, Wild Ride and Pulping are important cards to include to allow you to go wide. Pulping also has dominate, which pushes damage by making it difficult for your opponent to block.
Lastly, I would say that every Kayo deck should have Swing Big. This is just a really good attack and allows for powerful two card hands. It’s especially great during a Bloodrush Bellow turn, and the downside of the potential Quicken token is nullified by the fact that your opponent usually has to give you three cards to prevent it, and if they do, it’s going to be hard for them to take advantage of the Quicken on the following turn, meaning they usually have to eat a whole extra turn of damage just to make use of it!
Bloodrush Bellow
Beast Within

Pulping
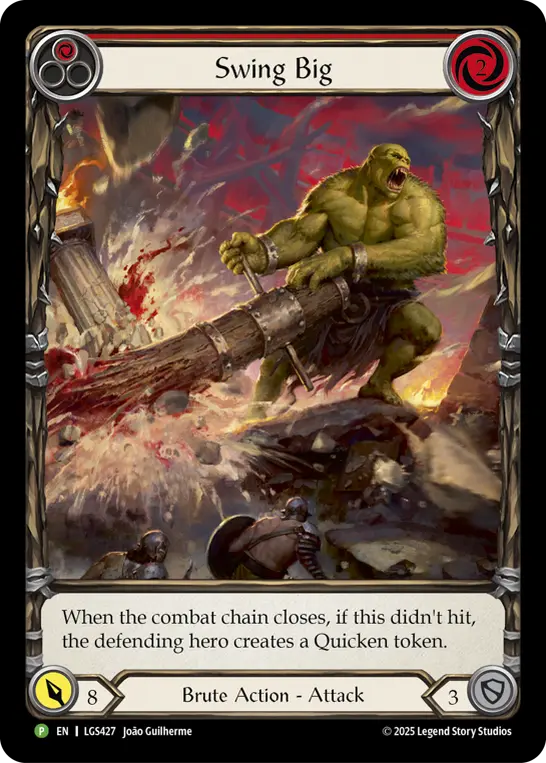
Swing Big
Sideboard - Aggro
Take out:
- 1 Cast Bones
- 2 Reckless Swing
- 2 Clash of Might or 1 Clash of Might + 1 Humble
The first sideboard is for when you are playing a matchup where you want to race your opponent and be able to go wide. This strategy will be useful if you’re playing against decks like Ninjas, Levia, Aurora, Dash, Puffin, etc.
The decision on the final two cards really depends on the hero you are paired against and how devastating Humble is into them. For example, you would not want to play Humble into Levia because you want her to take Blood Debt.
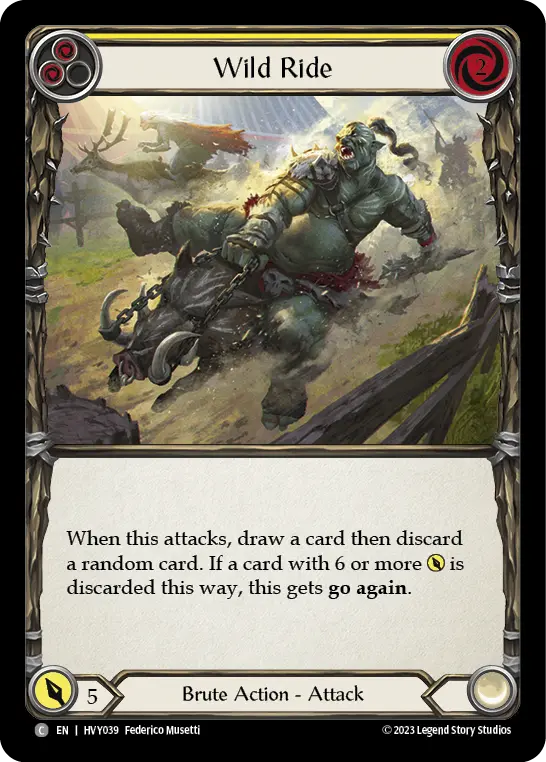
Wild Ride

Pulping
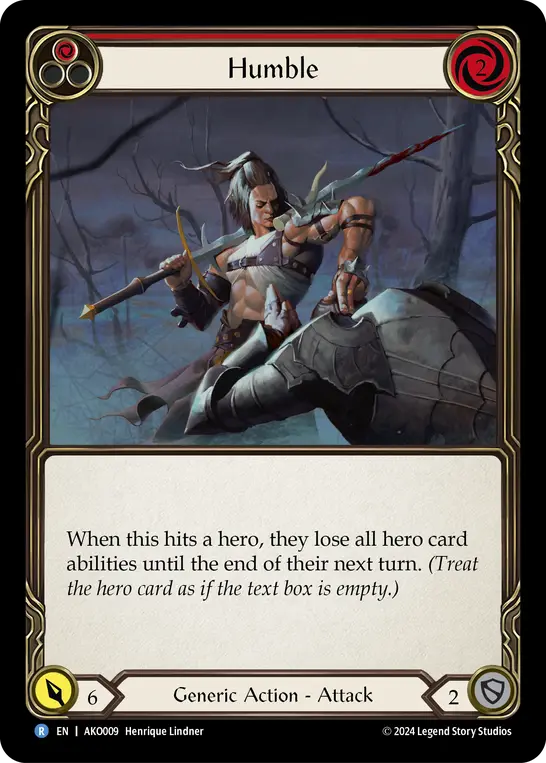
Humble
Sideboard - Fatigue
Take out:
- 2 Pulping (yellow)
- 2 Reckless Swing
- 1 Wild Ride (yellow) or 1 Humble
The other package the sideboard presents is for matchups where the game is going to move at a slower pace and your opponent might be trying to fatigue you. This type of game might happen if you’re playing against Guardians, Riptide, Dorinthea, Florian, etc.
The most important part of this strategy is Cast Bones. You want to set up at least one turn where you are guaranteed to get over the top of their blocks. This really helps against fatigue. In terms of going first or second, I would say this deck pretty much always wants to go second. However, if you’re running Cast Bones it is usually a good idea to go first because playing Cast Bones can be such a powerful move on the first turn of the game.
The clash cards provide great defending value while also having 6 or more power, and the decision to bring Humble in or not again depends on which hero you are facing.
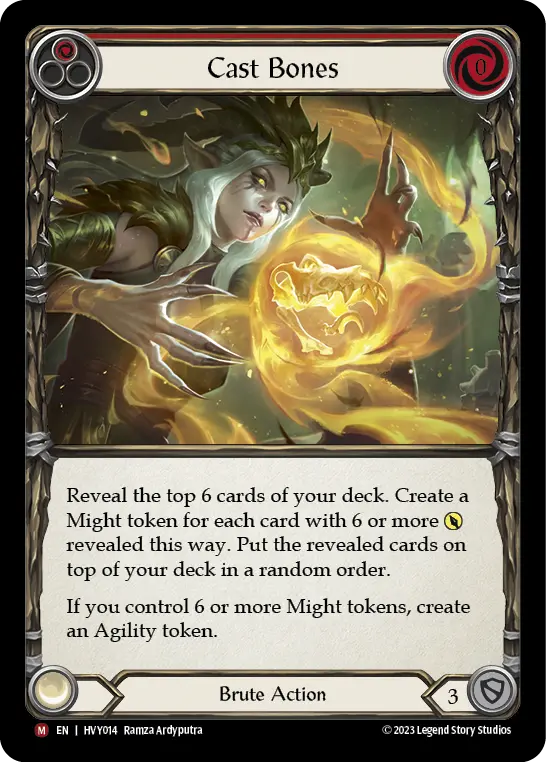
Cast Bones
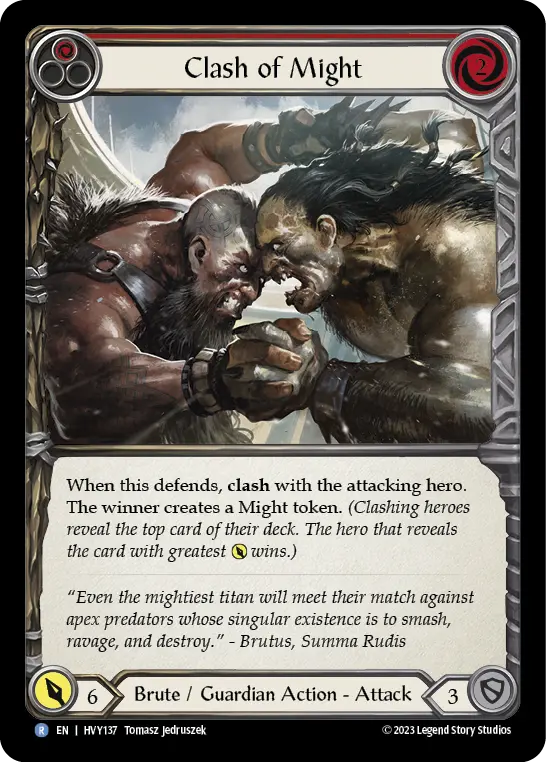
Clash of Might
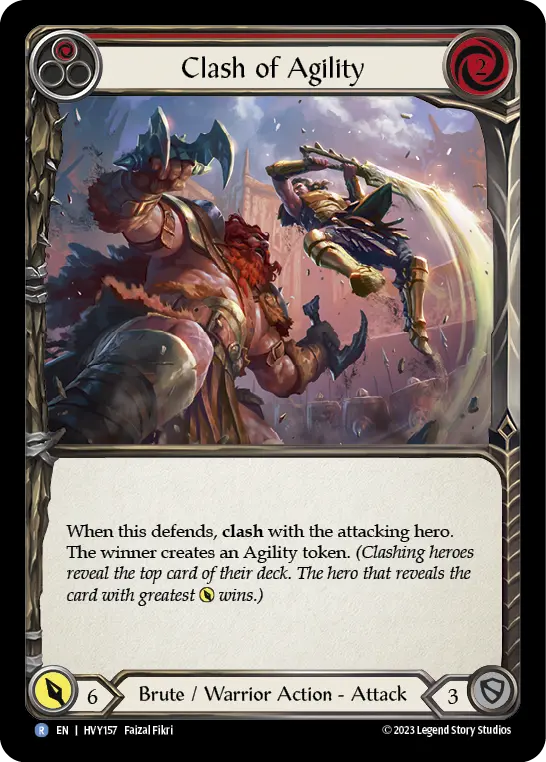
Clash of Agility
Sideboard - Arcane
Put in:
- Skullhorn + Nullrune Gloves (against Wizard)
- Nullrune Gloves (against Runeblade)
This is really straight forward for Kayo. Since he can present so much damage so fast, he only needs to run Arcane Barrier 3 against Wizard. However, against a Runeblade you only need to play the Nullrune Gloves, and play Scowling Flesh Bag as your headpiece to really disrupt their hands.
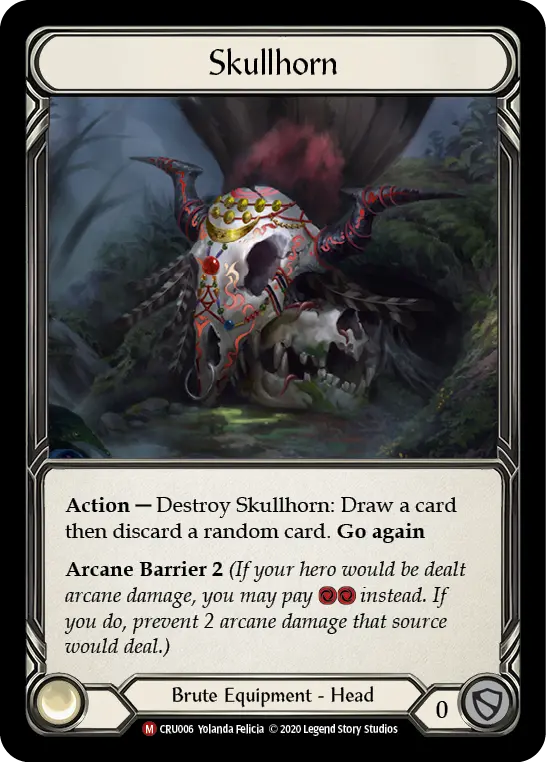
Skullhorn
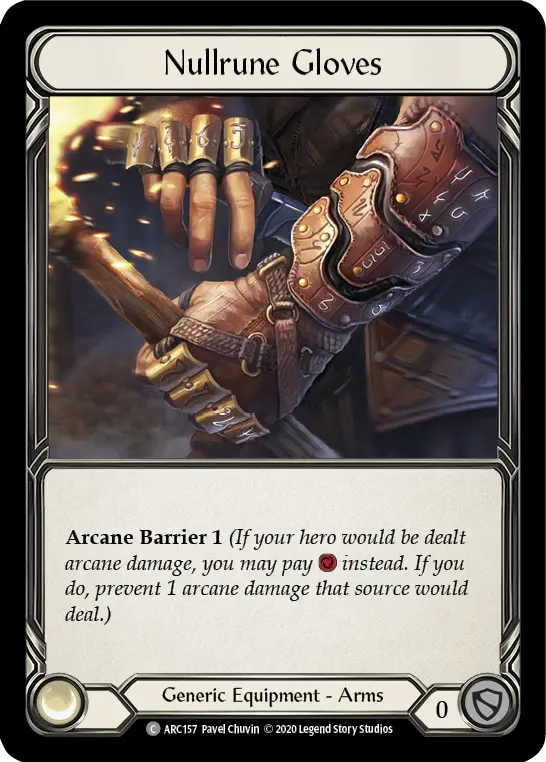
Nullrune Gloves
Metagame
Now before I send you off to go conquer your local Skirmish, I want to talk about one last thing: the top three matchups this Skirmish season. I think that Kayo, Prism, and Arakni, Solitary Confinement will be some of the most powerful decks this Skirmish season, so let’s talk about the sideboard for those specific matchups.
The Mirror
Take out:
- 1 Cast Bones
- 1 Reckless Swing
- 1 Clash of Agility
- 2 Clash of Might
The extra Pulpings and Wild Rides allow you to have wider turns. Humble can turn off Kayo’s ability, therefore lowering the power of most of the cards in his deck. Reckless Swing helps you defend and potentially do lethal damage to your opponent, which is really good in the late game in this matchup.
Prism
Take out:
- 1 Cast Bones
- 2 Reckless Swing
- 2 Pulping (yellow)
The clash cards provide decent block value, but more importantly, are cards that can be used to pop phantasm. Humble can also be used to trigger phantasm, but is really good into Prism, as she relies on her hero ability a lot to have powerful turns and make her deck function efficiently.
Arakni, Solitary Confinement
Take out:
- 1 Cast Bones
- 2 Wild Ride (yellow)
- 2 Pulping (yellow)
The clash cards are really good into Arakni because you will pretty much always be winning them. Reckless Swing provides damage, but is also is a defense reaction, which is really good at countering Arakni because they run a lot of attack reactions. Humble is really effective because it turns off the go again from Arakni’s hero ability, stopping their turns from going too wide.
Kayo
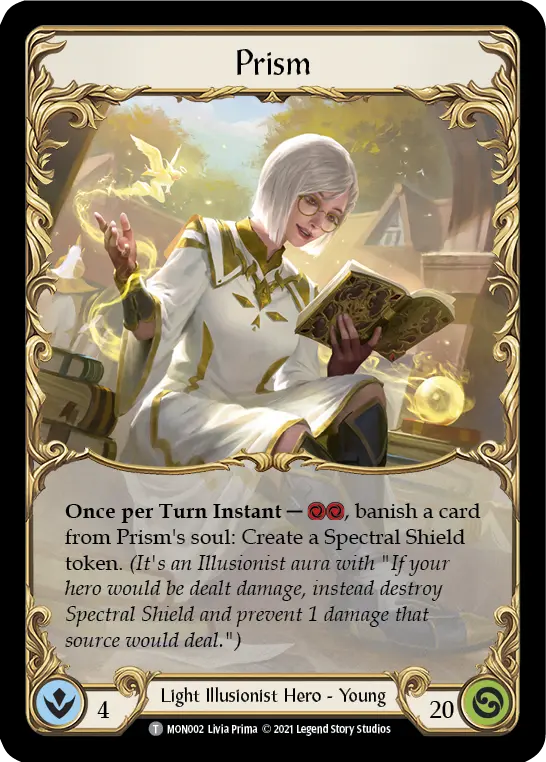
Prism
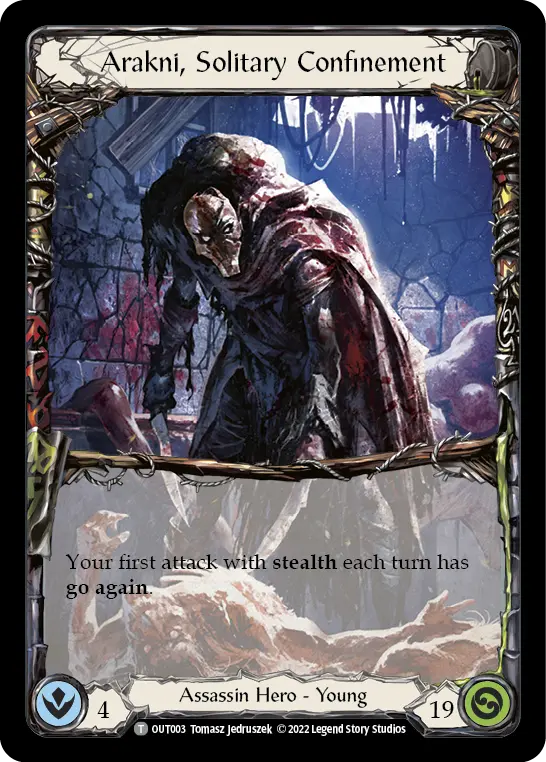
Arakni, Solitary Confinement
That’s all the advice we at Pitch Perfect have for Skirmish Season 12! Enjoy, play smart, have fun, and we hope you are now Primed to Fight!