Learn from the best with a monthly Masterclass lesson from renowned pro player Yuki Lee Bender. This month, Yuki breaks down what makes defensive decks tick, and how you can take them down!
Defensive decks, or ones that often like to block with multiple cards from hand each turn, are a force that have been omnipresent in the metagame and are a cornerstone of Flesh and Blood deckbuilding. These strategies are often robust, and across Flesh and Blood’s competitive lifespan there has virtually always been at least one defensive deck near the top of the format.
This article will talk about different types of defensive strategies and how to counter them while drawing examples from our most recent Pro Quest metagame. While the examples here are specific to this late metagame, the concepts discussed should extend to a variety of current and future formats and help you understand how to defeat defensive decks as a whole.

Value vs Deck Damage
Before we discuss defensive strategies, we need to briefly introduce two different metrics that can decide who is winning in a game of Flesh and Blood: Value and Deck Damage.
Value can be conceptualized as how efficient each of your turns are in terms of total damage blocked and total damage threatened. When decks are trying to win on a value axis, they look to have a total combined damage blocked and damage threatened that is higher than their opponents turn after turn. If you can consistently threaten higher value turns than your opponent, you should gradually pull yourself into a winning position.
To illustrate why having high value turns works, consider a simple example where you are attacking for 8 and blocking for 6 every turn for 14 total value, while your opponent is attacking for 7 and blocking for 6 every turn for 13 total value. Each turn you should lose 1 life while your opponent loses 2 life and slowly but surely you should establish an insurmountable life lead. In real games of Flesh and Blood both players' turns are often varied, but generally the player who was able to find higher value over the course of the game should be the one who wins.
While many games of Flesh and Blood are decided by value, a secondary win condition exists called deck damage. The idea behind deck damage is that while both players in a game of Classic Constructed may start with 60 cards (or more) in deck, the number of cards in deck decreases throughout the game and if one player runs out of cards in deck before the life totals hit 0, that player may find themselves unable to win. Winning through deck damage is about pulling ahead of your opponent in terms of cards in deck by carefully managing the cards you have available to you.
So how can you pull ahead of your opponent in terms of cards in deck? One of the easiest ways to pull ahead on deck damage is by swinging a weapon. If we attack with Mandible Claw for 3 and our opponent blocks for 3, they have lost a card in their deck, while the card we pitched to Mandible Claw returns to the bottom of our deck at the end of turn, effectively making us go up one card in deck. Another common way to pull ahead on deck damage is by playing attacks with high power. For example, if we play Cadaverous Tilling and decompose, attacking for 8, our opponent can block with two cards and take 2 damage, which means we traded one card from our deck for two of theirs as well as 2 life. Big attacks have much better deck damage than small attacks like Head Jab which will trade one card on offense for one card on defense.
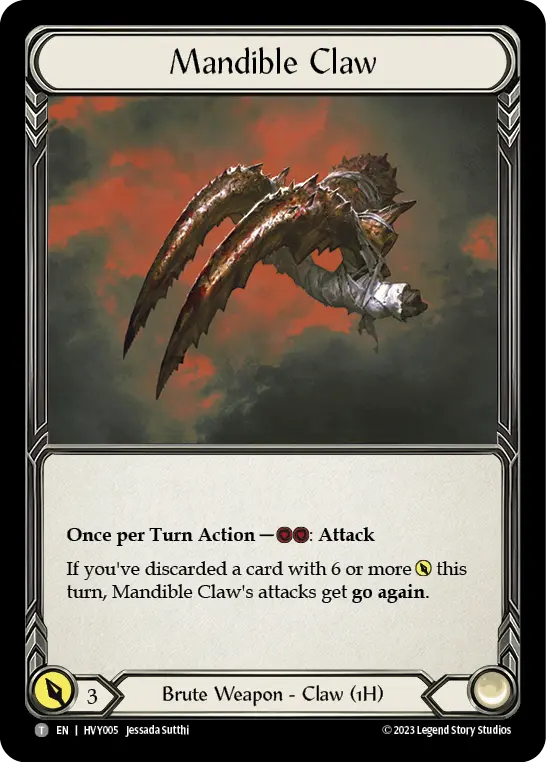
Mandible Claw
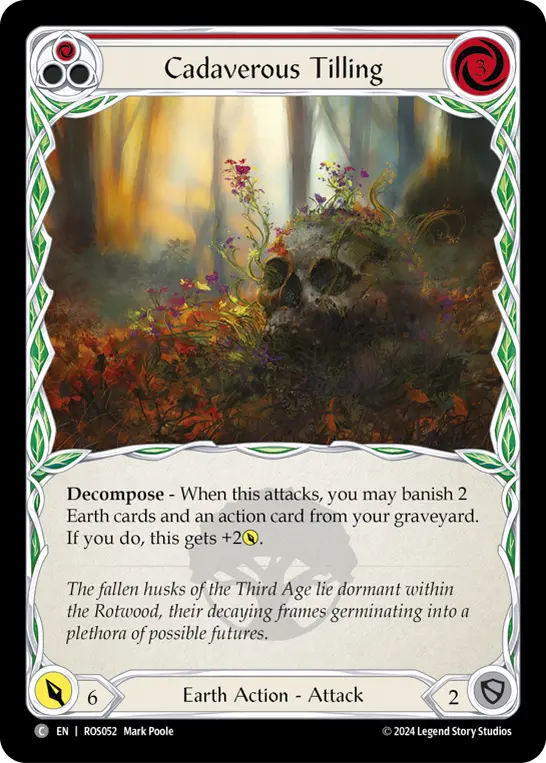
Cadaverous Tilling
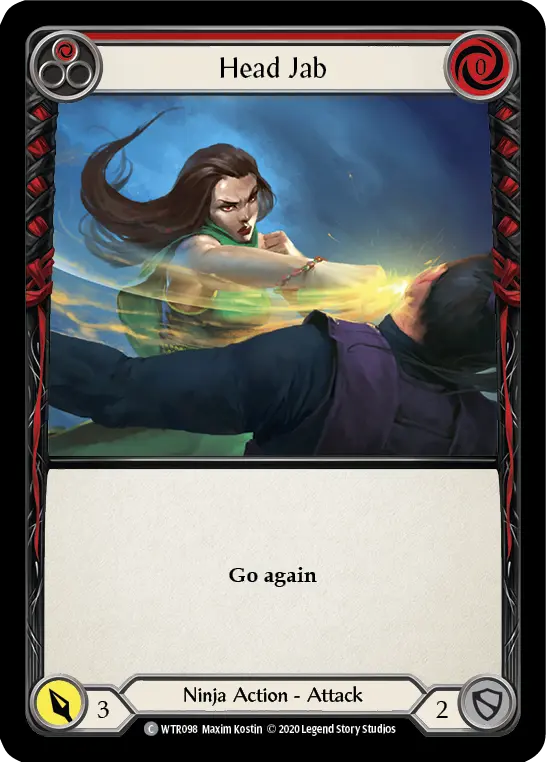
Head Jab
Because weapons can often be used repeatedly at the end of the game, deck damage is measured not only by cards remaining in deck, but also by life totals. In general you can assess who is winning in terms of deck damage by counting the total cards remaining in each player's hand, pitch zone, and arsenal, then adding the difference in life totals divided by 3 to the player who has a higher life total.
For example, you have 30 cards remaining in deck, and your opponent has 32 cards remaining in deck, but life totals are 35 to 20 in your favor. (35 - 20) ÷ 3 = 5 extra “cards” worth of life. In terms of deck damage this places you at "35" cards, roughly 3 cards ahead of your opponent.
The tricky part about deck damage and value is that the game is ultimately decided by only one of these factors. If your life total reaches 0 before you run out of cards in deck, it doesn’t matter how far ahead you were in terms of deck damage. Similarly, you may have a large life lead because you are outvaluing your opponent, but if you are unable to finish them off before running out of cards in deck, you may find yourself fatigued.
Understanding which axis your opponent is trying to win on is very important for winning a long game of Flesh and Blood. Usually defensive decks can threaten to win in both of these ways, and defeating these strategies requires you to correctly assess whether value or deck damage is more important in the matchup in general, as well as at various points in the game, as the emphasis on each can often shift throughout.
Fatigue
Fatigue is a concept that comes up frequently in Flesh and Blood discourse and describes the game state where a player runs out of cards in deck and as a result becomes functionally unable to win the game. In this fatigue state weapons that can be used repeatedly to threaten damage without taking cards from deck reign supreme.
While fatigue is often what first comes to mind when thinking of defensive strategies, only some decks that like to block rely heavily on fatigue, while others threaten alternate win conditions. Additionally, the way in which these decks threaten to fatigue their opponents can vary quite drastically. Understanding both how important fatigue is to a deck and how it plans to get there is key to understanding how to defeat it. Improperly assessing how important fatigue is can often be game losing.
Types of Defensive Decks and How to Play Against Them
Generally I would say there are three main types of defensive strategies that exist in Flesh and Blood, which we will call Attrition, Disruption, and Set Up. Each of these strategies threatens to win in its own way, and understanding how you can interact with each of them is key to defeating them.
Attrition
First we will discuss attrition style decks. Historical examples include defensive Guardian decks like life gain Oldhim, Count Your Blessings Enigma, or more recently Count Your Blessings Jarl.
These decks want to win through deck damage and fatigue, and generally rely on a combination of good defense, big attacks, and a strong weapon to close out the game. The idea behind these gameplans is to keep playing defense until their opponent runs out of threats and their superior weapon can take over. While these decks don’t tend to prioritize playing proactively, if their opponents stumble or take too much time off to set up their big turn, they may try to heal, threaten damage, or attack with disruption like Command and Conquer. So when playing against these strategies it’s still important to think about value to some degree, even though fatigue is their primary win condition.
Count Your Blessings was recently banned, but you can usually expect strategies that revolve around maintaining high life totals to be present in the metagame. Generally there are two main ways to defeat these types of strategies. First, you can create very high damage turns that exceed their ability to defend, threatening their life total. Past examples of this include Aurora with Arc Lightning and Flicker Wisp, or Viserai setting up many Runechants.
Second, you can rely on strong recursive value with weapons. By repeatedly threatening lots of damage with your own weapon while also playing offensively you can potentially deal more deck damage than these types of decks are prepared to deal with. A current example of this is Fai who can repeatedly swing Searing Emberblade and Phoenix Flames to deal a large amount of damage without losing cards from deck. This is especially potent since Fai has a strong endgame loop of activating his ability on your opponent's turn, then on his own turn attacking with Phoenix Flame, Searing Emberblade, activating his ability, Phoenix Flame for a total of 5 damage if you still have Tiger Stripe Shuko.
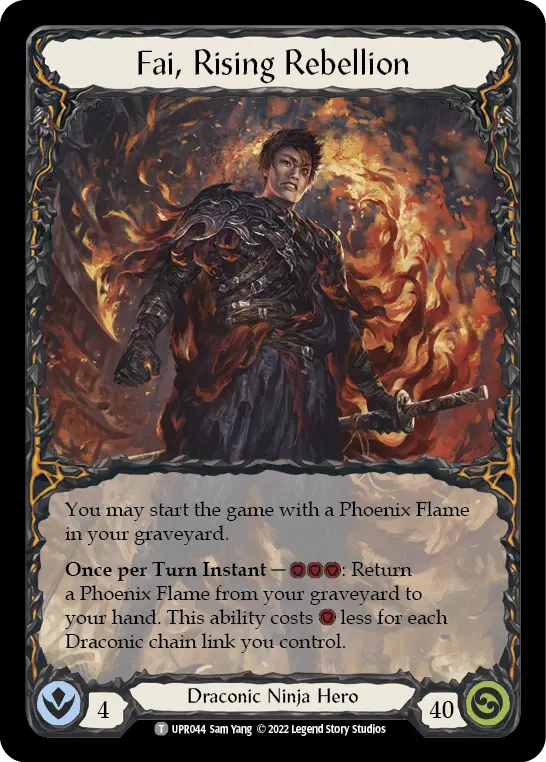
Fai, Rising Rebellion
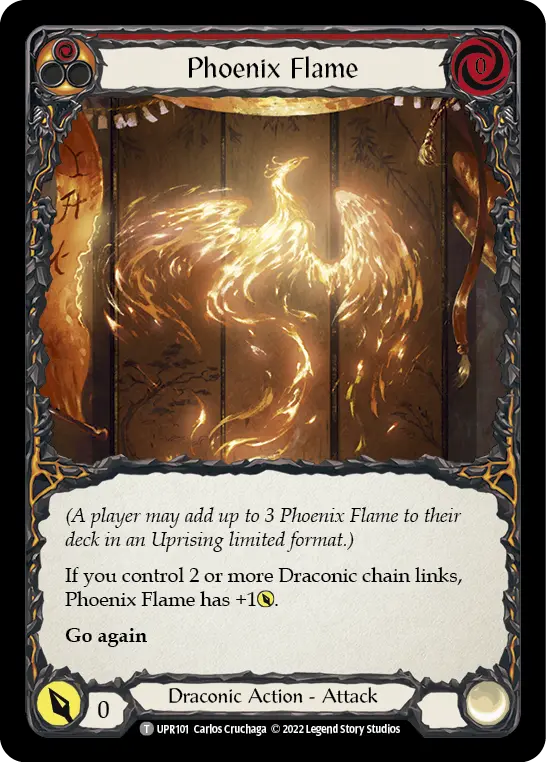
Phoenix Flame
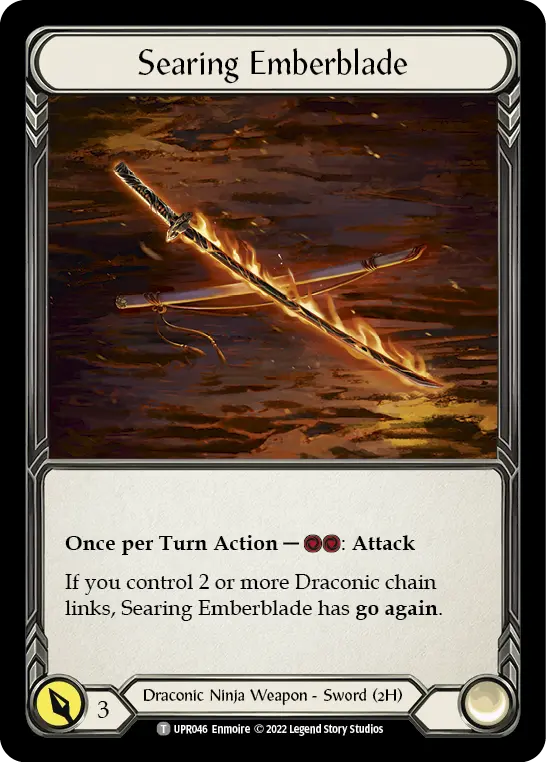
Searing Emberblade
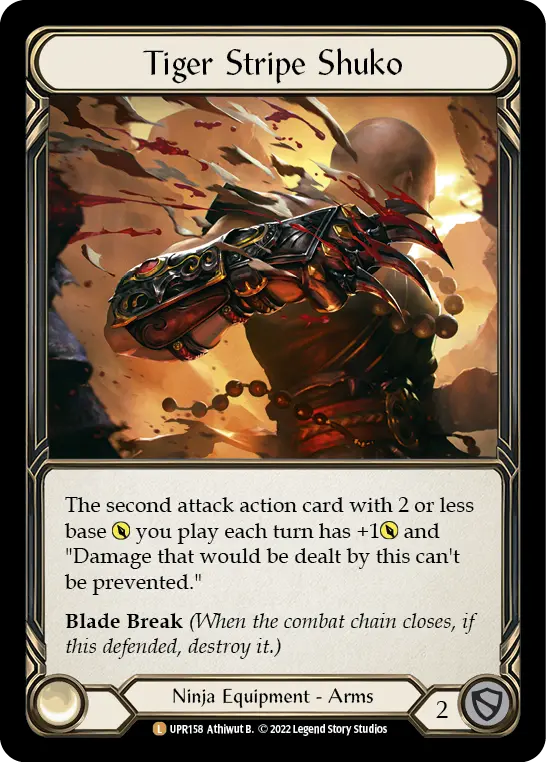
Tiger Stripe Shuko
Disruption
Disruption decks generally want to block with 1-3 cards and then threaten their own disruptive attacks back. These decks block less than attrition decks, but instead play defense by lowering the output of their opponent's turns by forcing them to either block or suffer a debilitating on-hit. The best current example of this is Nuu who generally aims to fatigue her opponents in the long run, but does so by constantly threatening various disruptive on-hits like Persuasive Prognosis, Bonds of Agony, Command and Conquer, etc. Other classic examples of this style of deck are defensively slanted Bravo, Showstopper lists with attacks like Spinal Crush and Crippling Crush.
Because these decks play proactively and disruptive attacks usually have significant power, they tend to straddle the line of value and deck damage. On one hand, if all you do is block their disruption, you probably will have a hard time getting their life total to 0 before they run you out of cards with their attacks. On the other hand, they still present relatively efficient damage, so if you eat too much damage trying to set up big turns you can find yourself so low that all their attacks become must-blocks. In this game state they can usually very easily fatigue you.
The weakness of disruption decks is that while their value is generally okay, if they are not getting value out of their on-hits, it is not as high as other decks. This means that if you are correctly able to navigate this disruption and play high value turns through it, you may be able to outvalue them. Defense reactions are a great tool for helping you evade their disruption, and is especially potent against Nuu who can threaten a wide variety of attack reactions. Additionally, understanding when and how to defend with both equipment and cards in hand is key to defeating these strategies.
Correctly identifying when to use your equipment blocks is especially key against disruption decks as it is the only way you can block without reducing your hand size, and equipment blocks are always a very limited resource. You should make sure that when you are using your equipment it not only saves you cards in hand, but that you are also able to threaten a large amount of damage in return. Squandering your equipment for a mediocre turn is one of the easiest ways to fall behind against disruption decks. Remember, they can also choose to block out, so using all your equipment blocks to send 15 damage might feel great in the moment but if your opponent blocks most of it you might not get as close to winning as you had hoped, unless your follow up turn is also very good.
Avoiding playing medium size hands is another way to beat disruption decks. Their bread and butter is playing 2-3 card hands and if you keep blocking and returning 2-3 card hands you are playing right into their gameplan. Playing some of these smaller hands is unavoidable, and finding ways to present breakpoints or get chip damage on these small turns is important, but generally you want to try to find the space to play big turns.
Generally disruptive attacks are 2-3 card plays, except for Leave no Witnesses. Because of this you want to aim to play turns that force them to take damage to throw disruption. For example, if they have no arsenal they can block with two cards for 6-7 in order to play a disruptive attack like Command and Conquer. This means if you can present more than 7 damage, you are likely forcing them to either take damage, or choose to not disrupt you, which is exactly what you want. Similarly, if they have an arsenal they can block with three cards for about 9-10, so if you can deal more than that you are likely forcing their life total lower.
If your return is going to be small and unlikely to reduce their life total, it’s fine to do some extra blocking, establish an arsenal, and force your opponent to disrupt you again. This is especially powerful if they took considerable damage to disrupt you on that turn. By forcing them to disrupt you again, you give them the opportunity to miss on drawing disruption, meaning you can play your big hand which can often be game winning. If they do draw disruption, you can continue to trade small hands until they do miss, and then you get to play a five-card hand.
Aurora was a prime example of a deck that was very good into these disruption strategies as she had a variety of cards she could arsenal that played around arsenal disruption, like Channel Lightning Valley and Electromagnetic Somersault. She also had excellent equipment to buy space for a few big turns each game.
Disruption decks are often the most challenging for players to learn to play against as they threaten you on both a deck damage and value axis, and if you lean too far in one direction or the other you can find yourself in a lot of trouble. Playing against these decks takes a lot of practice understanding what is the most important focus at different points in the game, as well as understanding what the opposing player wants at any given point.
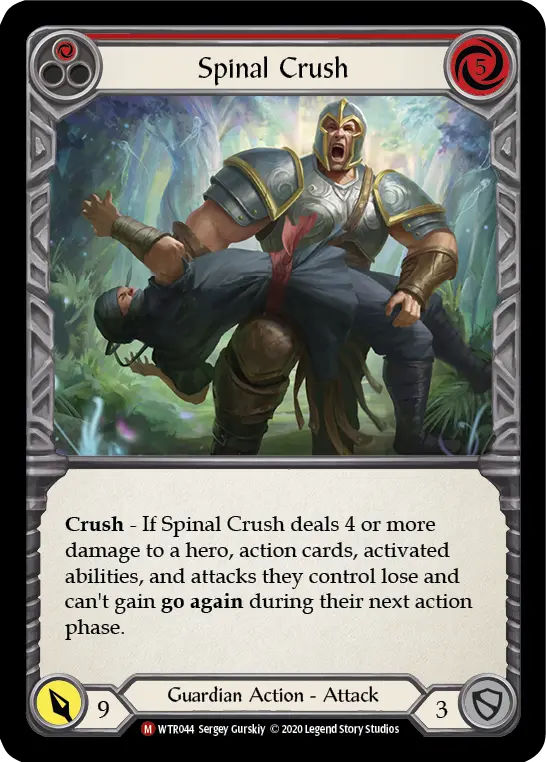
Spinal Crush
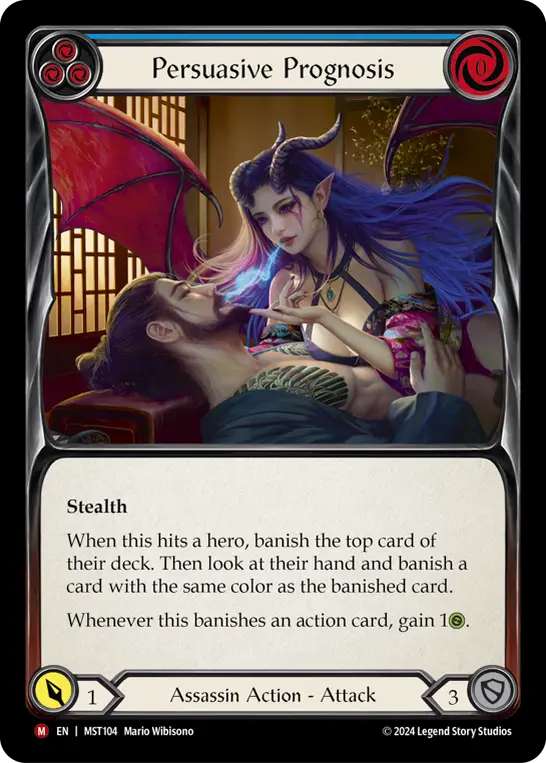
Persuasive Prognosis
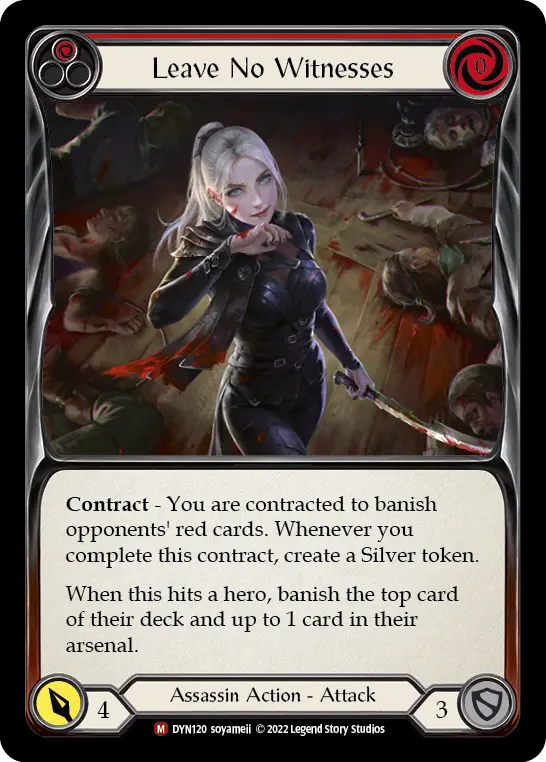
Leave No Witnesses

Command and Conquer
Set Up
Examples of set up decks include Runechant Stacking Florian decks and Pistol Dash. The recent banning of Germinate and Scepter of Pain may have reduced the popularity of these style of Florian decks but it’s also possible they will still find their place in the new metagame, as set up strategies are fundamentally quite powerful.
The idea behind set up decks is they get to play excellent defense while building up to a very strong endgame. In the case of Florian this is one or two turns with a lot of Runechants that exceed what your opponent can block, and in the case of Dash this looks like multiple Induction Chambers and Plasma Purifiers to make your Teklo Plasma Pistol extremely threatening.
The strength of these strategies lies in the fact that they can often progress their own gameplan without attacking, meaning they prevent their opponents from blocking with cards to help them convert full hands into value. These decks are powerful because they ask their opponents if they are able to fully convert their deck and push through their defenses before their inevitable endgame is set up. For this reason, set up decks can often also be a strong counter to attrition and disruption decks.
While set up decks do sometimes fall back on fatigue and it's something you should consider when playing against them, their primary plan is to win with damage very late in the game. Instead of focusing on deck damage you should be focusing on maximizing value, especially early in the game and especially in the form of offensive pressure. Going faster than these decks is the best way to circumvent them, as they are built to have inevitability in the endgame.
Playing on-turn and off-turn with five-card hands that end on no arsenal, into three-card hands that end on an arsenal, setting up another five-card hand, is a great way to quickly push their life total to 0. Decks like Cindra and Fai are great examples of heroes who can punish set up strategies and I suspect that’s exactly why we saw a resurgence of Cindra in the final week of Pro Quest: Singapore.
While some decks may not be so tailor-made to counter these strategies, an offensive package may go a long way to defeating them. For example, we have seen some Arakni, Marionette decks play a dagger pump package to help them play offense, and in the past we have seen Guardian decks play cards like Pummel, Zealous Belting, and Rouse the Ancients to help with offensive pressure.
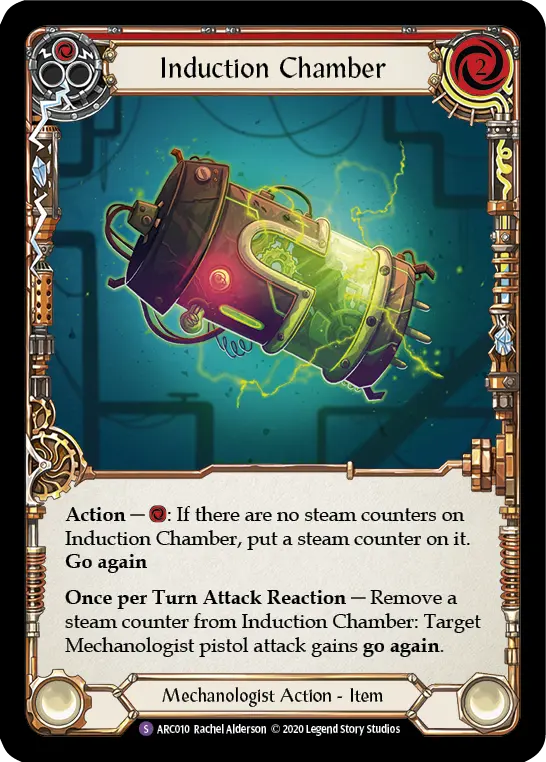
Induction Chamber
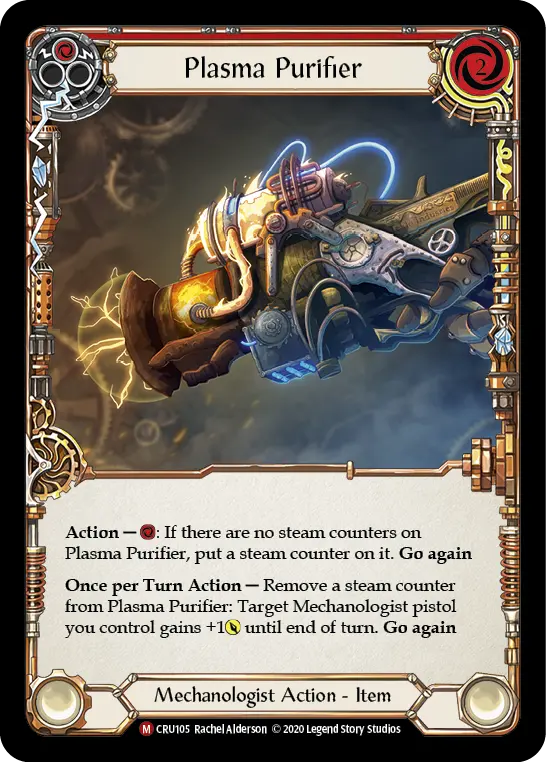
Plasma Purifier
Up Sticks and Run
Zealous Belting
Additional Strategies and Counters
While we have largely focused on broad strokes strategies and lines of play that can counter these defensive decks, there are also some specific heroes that tend to prey on them. Two prime examples of this are Kano and Verdance who, given enough time, can set up extremely large combo turns that push way over what the defensive decks can reasonably defend.
Dual-wielding Warriors tend to have very good defense, value, and recursive weapon damage, making them often line up very well into attrition and disruption decks, although they can sometimes struggle to sufficiently pressure set up decks.
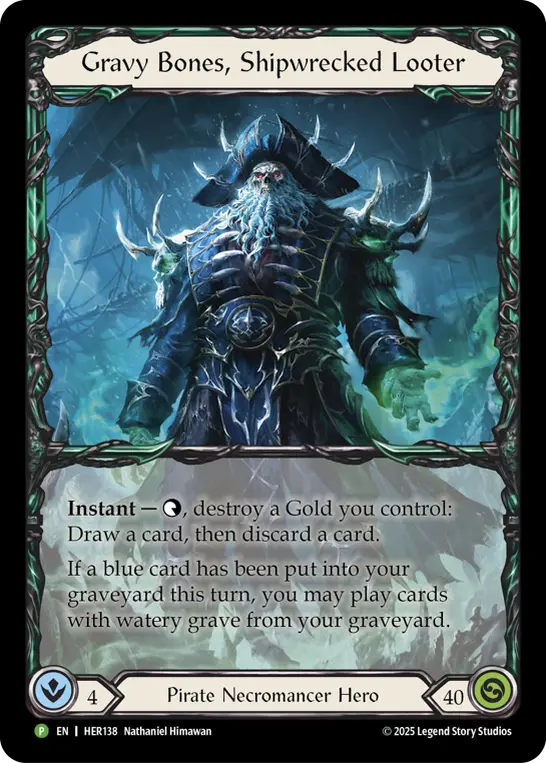
Finally, Illusionist is typically quite a strong counter to these defensive strategies as they have trouble pressuring and managing the Illusionist's board state. We recently saw this with Enigma, although with her recent Living Legend attainment there is a bit of a void in this metagame space. While Prism is an Illusionist, she tends to not build board state quite as effectively and isn’t as clear of a counter against defensive decks. However, our first Necromancer—Gravy Bones, looks like he could end up occupying a similar role, although we will have to wait and see what the High Seas have in store for us to know for sure.
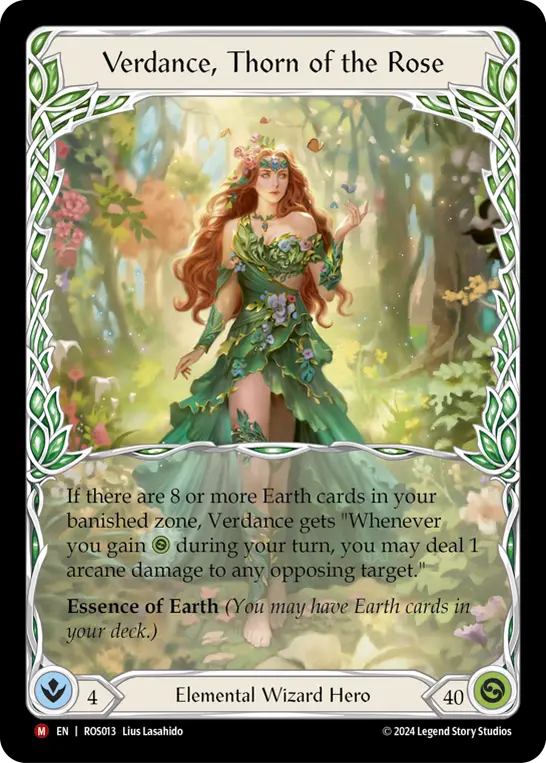
Verdance, Thorn of the Rose

Fang, Dracai of Blades
Prism, Awakener of Sol